views
- Strokes are bold outlines that can be applied to any layer in Adobe Photoshop.
- Right-click the text layer, click "Blending Options", then "Stroke".
- You can adjust the Size, Position, Blend Mode, Opacity, and Color of your Stroke.
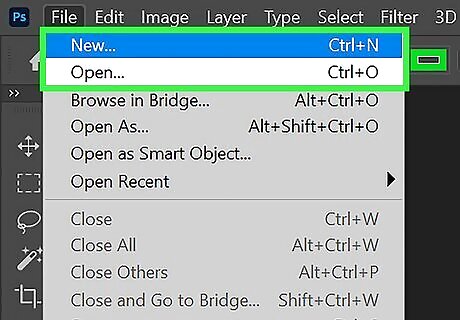
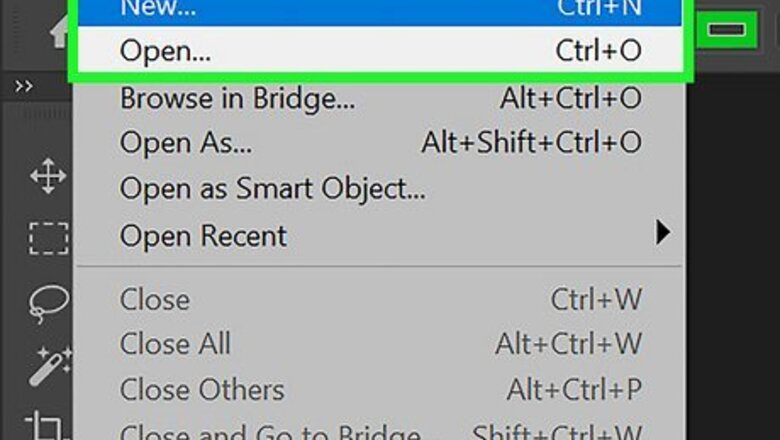
Open Adobe Photoshop and launch a new or existing file. To create a new file, click File, then New.... To open an existing file, click File, then Open.... Find your file using the File Explorer (Windows) or Finder (Mac).
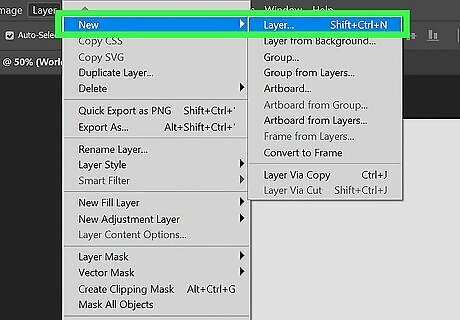
Select the layer for your Stroke. You can create a new layer or use an existing one. To create a new layer, click New layer in the Layers panel menu. If desired, you can combine or unlock layers in Photoshop.
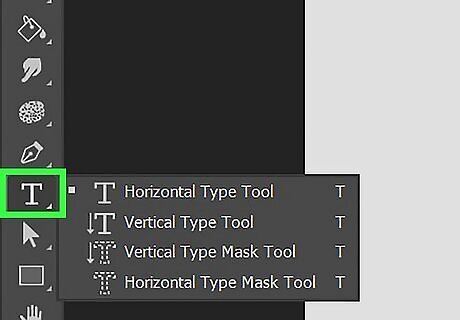
Select the text tool and insert your text. Customize your text to your liking. You can center the text, change the text color, or use an added font.
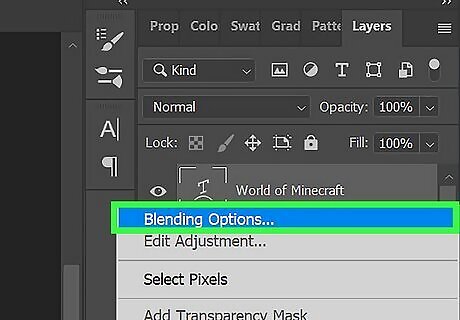
Right-click your text layer and click Blending Options…. You can find your text layer in the Layers panel.
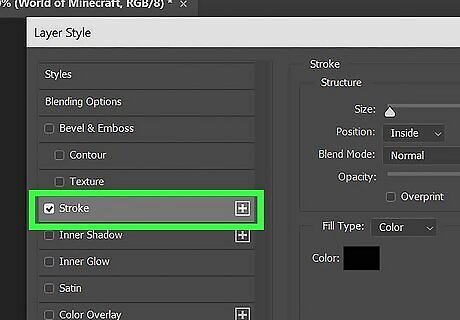
Click Stroke. It will be checked off when activated.
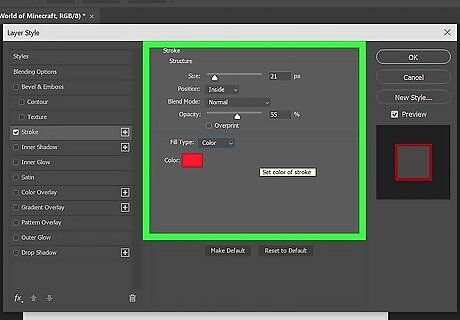
Adjust Stroke preferences. You can adjust the Size, Position, Blend Mode, Opacity, and Color. To adjust the Size, use the slider or manually input the value. To adjust the Position, select Inside, Center, or Outside. To adjust the Blend Mode, select your preferred mode. To adjust the Opacity, use the slider or manually input the value. To adjust the Color, click the color box and select the desired color. Click OK.
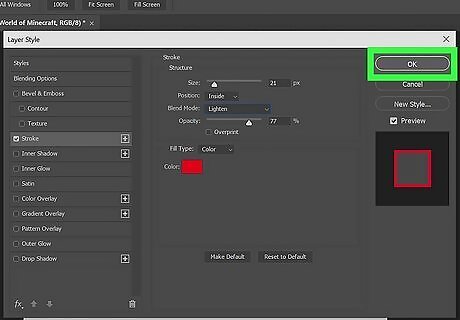
Click OK. Your Stroke settings will be applied and saved.


Comments
0 comment