views
Taking in the Waist
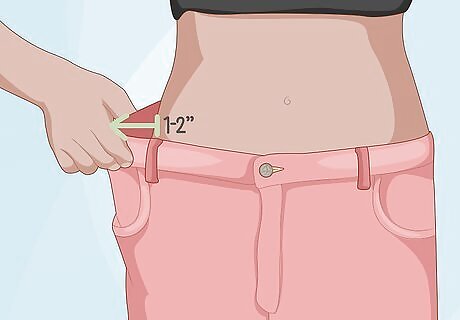
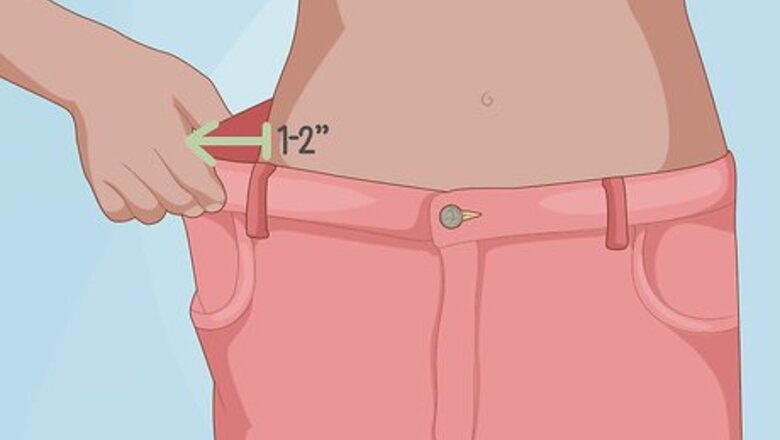
Decide how much fabric to remove from the waist. Try on the pants and pinch the excess fabric at the waist until the waist is as tight as you like. Mark the place where you're pinching with pins or chalk, being sure to get both sides of the pinched fabric. Then, take the pants off and measure between the two points you marked to see how much fabric to remove. Tip: To make it easier to alter the waist, round your measurement up to the nearest ⁄2 inch (1.3 cm). For example, if you need a small adjustment, you might only need to remove 1 inch (2.5 cm) of fabric. For a larger alteration, you could remove 2 to 3 inches (5.1 to 7.6 cm).
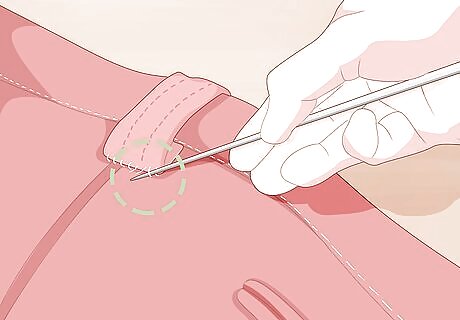
Remove the belt loop from the back of the pants. Take off the pants and use a seam ripper to pull out all of the stitches that are securing the back belt loop to the waist of the pants. Then, remove the loop and set it aside. Keep the back loop so you can reattach it to the pants after you've adjusted the waist.
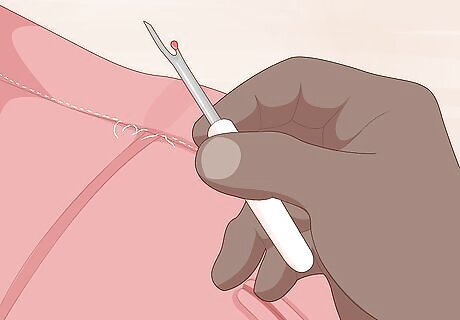
Seam rip along the back of the waist near the middle. Use the seam ripper to remove the stitches from the middle of the waist on the back of the pants. Remember to start in the center and remove an equal length of stitches along both sides of the waist. For example, if you wanted to take in the waist by 2 inches (5.1 cm), you'll need to take out the center 2 inches (5.1 cm) of stitches on the back of the waist. Once you've removed the stitches, you should be able to open up and unfold this part of the waistband.
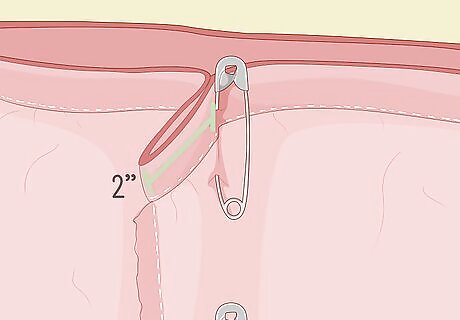
Turn the pants inside out and pin the excess fabric from the center seam. Fold the inside-out pants in half so the creased pant legs are stacked. Then, pinch the excess fabric along the waist that you want to remove. For example, if you want to make the waist 2 inches (5.1 cm) narrower, pin 1 inch (2.5 cm) of the fabric from the center seam. Since the pants are folded, this will mean you're reducing the waist by 2 inches (5.1 cm).
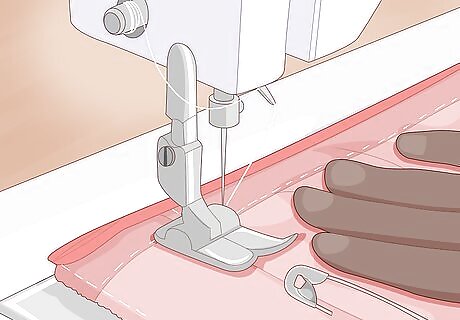
Straight stitch from the top to the bottom of the waist. Start stitching where you pinched the fabric together. You will probably need to remove pins as you sew so you don't stitch over them. Straight stitch until you reach the bottom of the waist. You can use a sewing machine or stitch the waist by hand. Once you've sewn the waist, try on the pants to see if the waist fits better. Keep in mind that the excess fabric will form a small loop inside the waist of the pants.
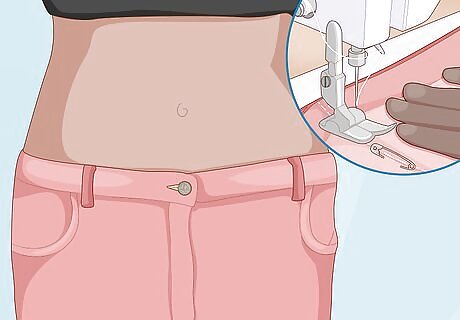
Fold the waistband and straight stitch it closed. If you're happy with how the waist now fits, fold the waistband back down. The waistband stitches should line up with where they were before you seam ripped them out. Then, sew the waistband back in place and reattach the back belt loop if you like.Tip: If you take in a lot of fabric, this will cause the back of the pants to pucker. To fix this, stitch the excess fabric from the waist down to the crotch. Sew in a curve that matches the original curve of the pants. Turn the pants right side out before you're ready to wear them.
Tapering the Legs
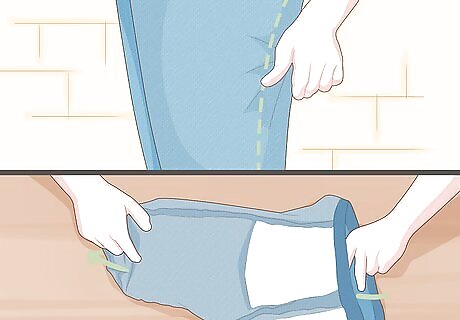
Turn the pants inside out and decide how much fabric you want to remove. Put the inside-out pants on and use your fingers to pinch the excess fabric along the inseam of the pants.Variation: If you don't want to try on the pants, take a pair of pants that fit you well and lay them on the pants you're altering. Then, use the top pair of pants as a guide and mark around them. For a dramatic taper, you'll probably want to remove more fabric from the pant leg hemline than from the inner thigh.
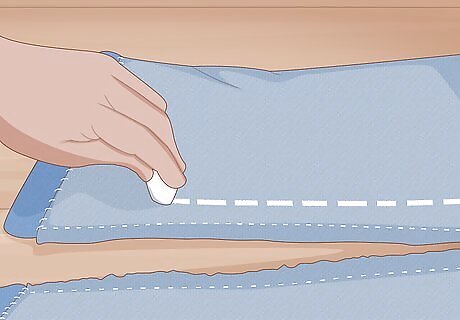
Mark the new seam with tailor's chalk. Keep the pants on inside-out and continue to pinch the excess fabric with one hand. Use your other hand to draw a new seam line with tailor's chalk. Remember to mark the inside seam of the other pant leg as well. It will be easier to have someone else do this, so ask a friend to help you mark the pants. Tailor's chalk will wash out easily or dissolve if you iron the pants.
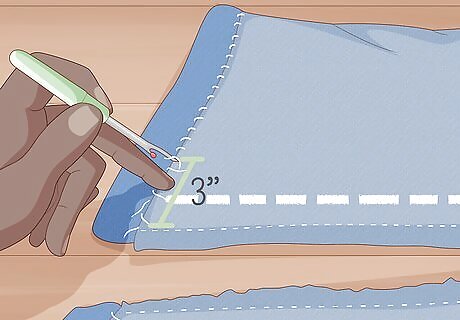
Remove the stitches from the bottom of the pant legs. Take a seam ripper and tear out about 3 inches (7.6 cm) of stitches from each pant leg hemline where it meets the inseam of the pant leg.
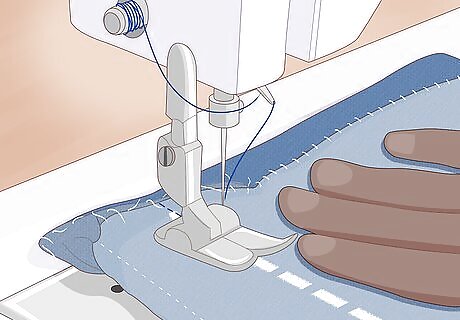
Straight stitch along the guideline you drew. Take the pants over to your sewing machine and use a straight stitch starting near the crotch of the pants. Sew along the line you made with tailor's chalk until you reach the hemline. Then, sew the other pant leg in the same way. If you chose to pin the pants, remember to remove them before you accidentally sew over them.
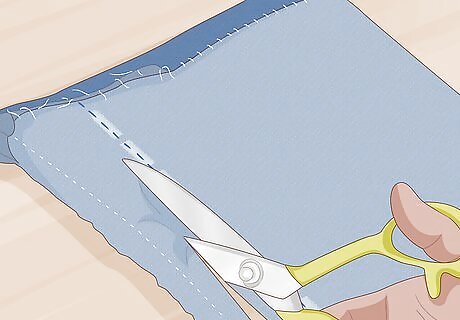
Cut the excess fabric from the inside of the pant legs. Take a pair of sharp scissors and cut away the excess fabric while leaving about ⁄2 inch (1.3 cm) allowance. This will prevent you from accidentally cutting into your inseam.
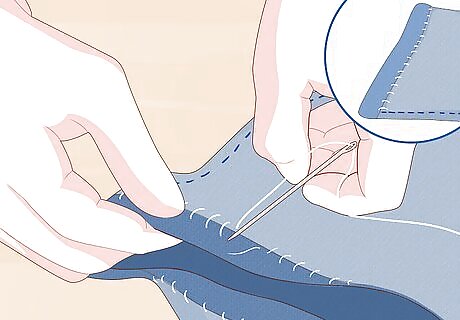
Sew the hemline near the bottom of the pant legs. Fold the hemline that you ripped out so it lines up with the rest of the pant leg. Then, straight stitch the hemline closed and repeat this for the other pant leg. For a neater, more finished look, iron the pants along the new inseam and hemline.
Hemming Pants
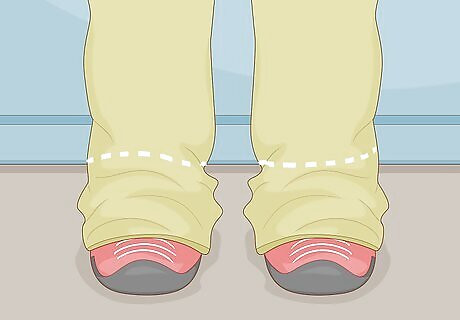
Determine where you want the hemline. Wear the pants with the shoes you intend to wear with them. This will help you see where the hemline falls. Then, use tailor's chalk to make a mark where you'd like the hemline to be. Since it can be tricky to accurately mark your own hemline, ask a friend to mark it for you.
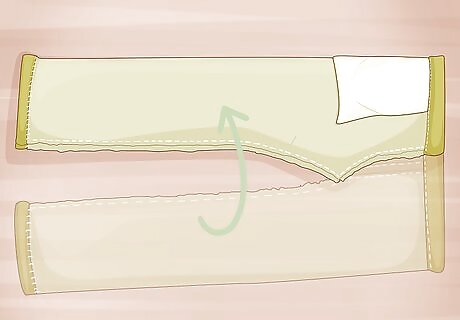
Take off the pants and measure how much fabric to remove. Fold the pants in half and lay them flat so the pant legs are stacked on top of each other. Use a measuring tape to find the distance from the current hem to the mark you made. This will show you how much fabric you'll need to remove when you hem the legs.Tip: Fold the pants so every seam of the pant legs are centered and stacked on top of each other. For example, if you're drastically altering the hemline, you might want to remove 5 inches (13 cm) from the bottom of the pants.
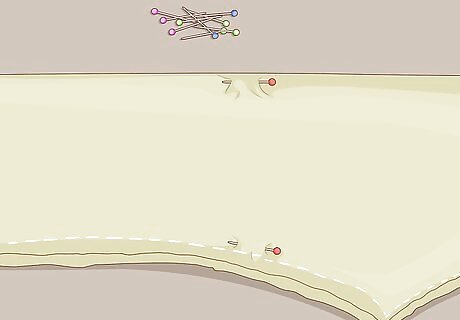
Pin the pants and mark the fold line. Use 2 sewing pins to pin the pants in place near the thighs. The pins will prevent the pant legs from shifting around while you mark the legs. Then, use the tailor's chalk and a ruler to mark a straight line around the entire pant leg where you want the new hemline will be. This will be your fold line. Remember to mark the fold line for the pant leg that's underneath the top one.
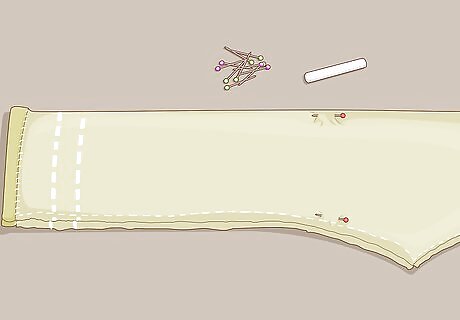
Mark the cutting line across both pant legs. Since you'll need to leave a hem allowance in order to fold and sew the hemline, decide how much space you'd like to leave in order to fold the hemline. Then, make a straight horizontal line below the fold line to make the cutting line. If you're unsure how much space to leave between the fold and cutting lines, measure the distance between the original hemline and the bottom of the pants. For example, the cutting line might need to be 1 inch (2.5 cm) below the hemline.
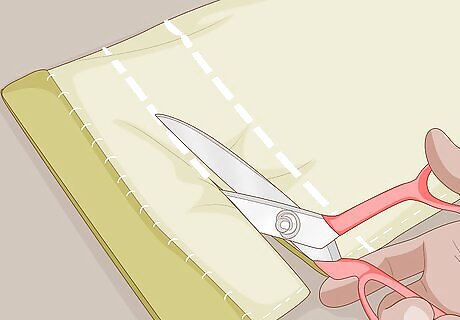
Cut the pant legs along the cutting line. Use a sharp pair of scissors to carefully cut along the straight cutting line you marked. You can discard the excess fabric and take the pins out of the pant legs.
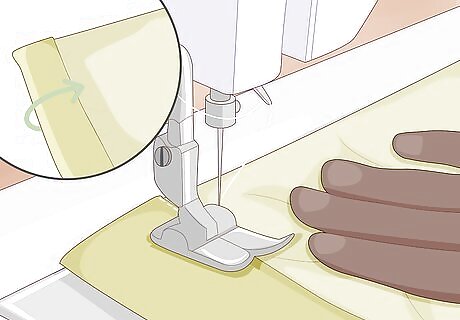
Fold the pants at the fold line and straight stitch across to hem the pants. You should have fabric below the fold line that you can now fold inside the pant leg. The fold line that you marked will now be the bottom of the pant leg. Use a sewing machine to straight stitch across the folded pant leg to create the new hemline. You can fold the pant leg as you sew or fold it all first and pin it in place. If you use pins, ensure that you don't accidentally sew over them or you could damage your sewing machine. Repeat this for the other pant leg.
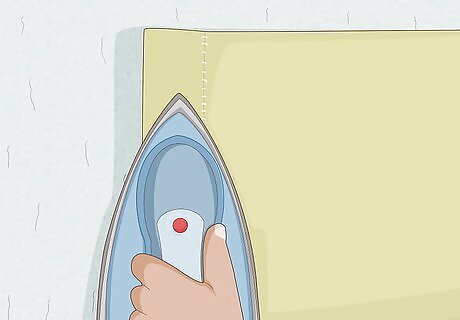
Iron the new hemline. Fold the pair of pants in half so the legs are stacked on top of each other. The seams for each pant leg should be stacked in the center. Then, move the pants to an ironing board and press the hemline with a hot iron. This will remove wrinkles and the markings you made with the tailor's chalk. Use high heat with steam for cotton fabric, such as jeans or scrubs. If you're altering rayon or polyester, use medium heat.
Altering the Crotch on a Pattern
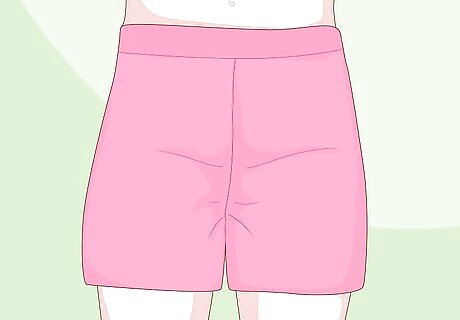
Try on a muslin mock-up of the pant legs. Instead of wasting high-quality fabric on pants that need a lot of alteration, make a muslin mock-up of the pants. Sew it according to the pattern and put it on. Then, wrap an elastic band around the waist to hold it up. The mock-up will show you exactly how the fabric will fit in the crotch area. You'll be able to see if it's hanging too low or puckering in spots.
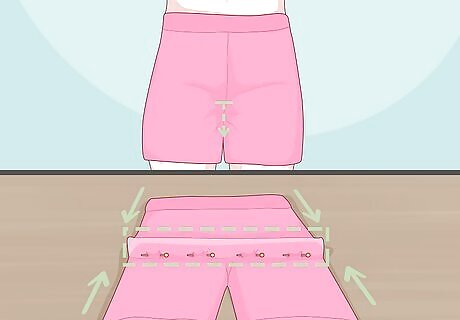
Take in the crotch if there's excess fabric along the seam. If the crotch is hanging too low, use your fingers to pinch the excess fabric. While you're pinching the fabric, insert sewing pins to make the crotch shorter. Walk around a little and try to sit in the mock-up pants. Adjust the pins until the crotch feels comfortable. Keep in mind that you'll probably only need to make a small adjustment, no more than about ⁄2 inch (1.3 cm).
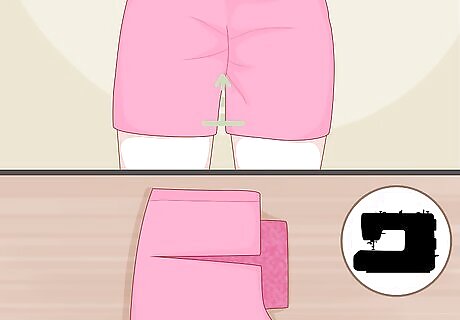
Add an extra strip of fabric if the crotch needs to be longer. You might notice that the crotch is too tight or difficult to move in, which means it's too short. To fix this, use scissors to cut the front seam that runs from the waist down to the bottom of your crotch. Then, slide a piece of muslin into the slit you just made. This will give you more fabric to work with and you can now pin the adjusted crotch where it feels comfortable. It doesn't matter size what the fabric piece is as long as you can easily expand the crotch and pin it in place.
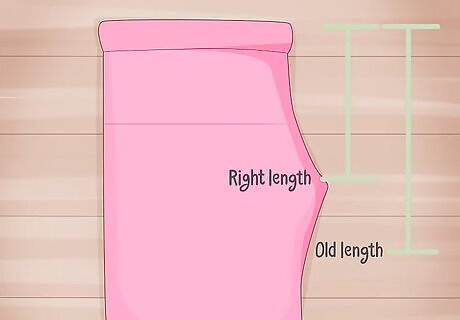
Remove the mock-up pants and measure the new crotch. Lay the mock-up pants on a flat work surface and fold them in half so the crotch line that you pinned is on 1 end. The legs should be stacked on top of each other. Now take a ruler and measure the distance from the pins that you inserted to the fold of the fabric. This measurement will show you how much you need to take in or extend the crotch.
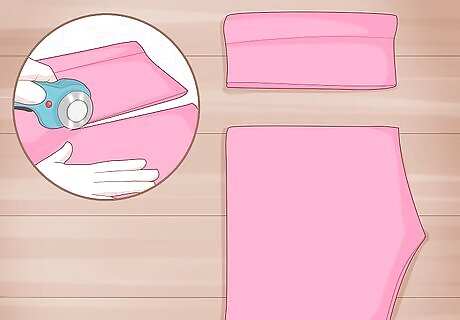
Cut the lengthen/shorten line to leave an ⁄8 inch (0.32 cm) hinge. You should see this horizontal line on your pattern. It moves from the outer hip side to the crotch. Cut along the line starting at the crotch and stopping when you're about ⁄8 inch (0.32 cm) from the other end.
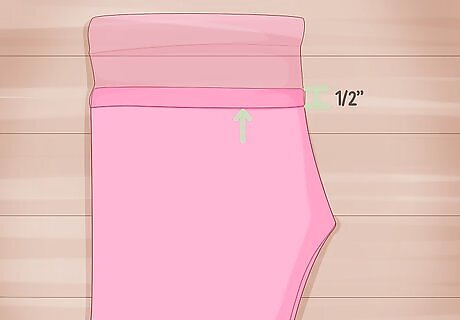
Move the hinged pattern piece to lengthen or shorten the crotch. If you need to make the crotch longer, open the hinge you just cut by the measurement you took. Then, tape pattern paper underneath it to fill in the gap. To shorten the crotch, adjust the hinge until the top and bottom pattern pieces are overlapping by the amount you measured. For example, your hinged pattern piece might overlap by ⁄4 inch (0.64 cm) or there may be a ⁄2 inch (1.3 cm) gap that you've filled with pattern paper.
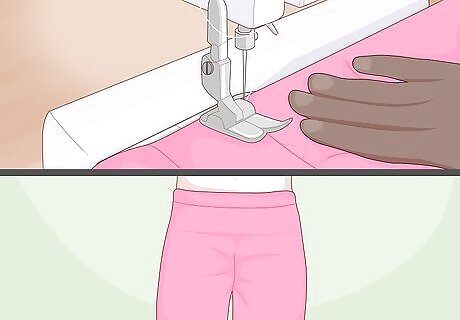
Sew another mock-up with the new crotch measurement. Lay your adjusted pattern on muslin and cut out the pieces. Sew the muslin mock-up and try it on again so you can see if the crotch now fits the way you want. If you're happy with how it fits, you can use the adjusted pattern pieces to cut out the actual fabric you'll use for the pants. Don't be afraid to make more adjustments to the crotch. You might find that you need another alteration in order to get the perfect fit.




Comments
0 comment