views
Laying Down the Basic Foundation
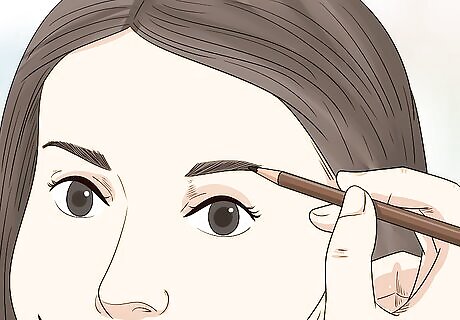
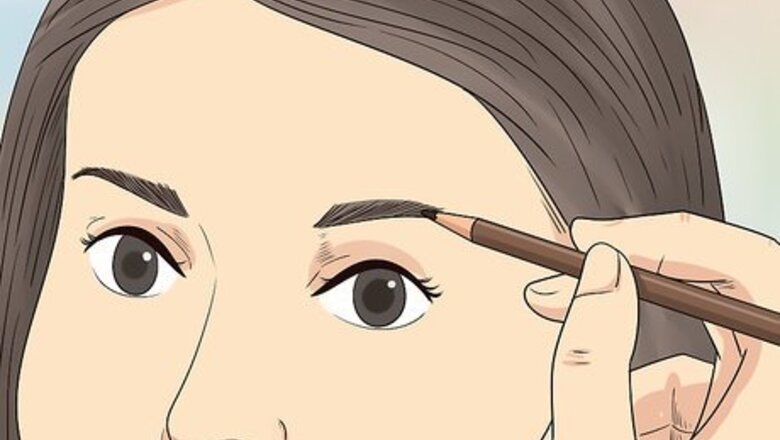
Do your eyebrows. Starting off, you should apply makeup to your eyebrows. When you have round eyes, adding a slight arch to your eyebrows can help make your eyes look bigger and more defined. If necessary, gently pluck your eyebrows into an arched shape. Strive to straighten out your eyebrows when plucking them, and angle the ends of each brow to form a pointed shape. Apply brow makeup in slow, steady swipes on the tip of each brow. Draw out the tips so they form a point. Then, take a brow plumper and brow brush. Paint the plumper across the length of your eyebrow. This will make your brows look more natural as you'll be using the plumper to blend your main brow with the drawn on tips.
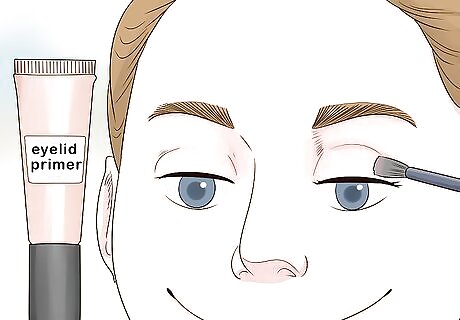
Add eyelid primer. A layer of eyelid primer can really help your color stand out. Dab a makeup brush in your chosen primer. Then, apply to your lids in circular motions. Make tiny circles with the brush as you slide it across your eyelid. Apply to the entirety of your eyelid, as well as to the area between your eyelid and eyebrow.
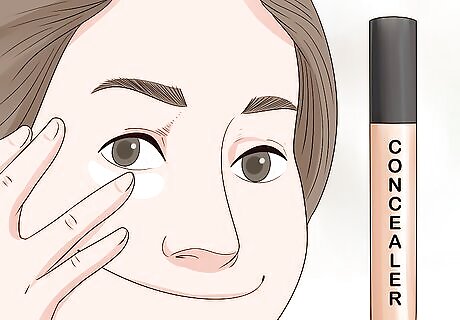
Add concealer around your eyes. It's best to hold off on applying foundation to your face until you're done with eye makeup. Bits of mascara or eyeshadow can spread on your face, contaminating foundation. However, a layer of concealer applied around the eyes is important. This will cover up any shadowy areas and discoloration. Dab a bit of cover up all around your eye. Then, wash your hands and blend the cover up into your skin using your fingers. If you'd rather not use your fingers, you can also use a small makeup brush to blend the cover up into your skin.
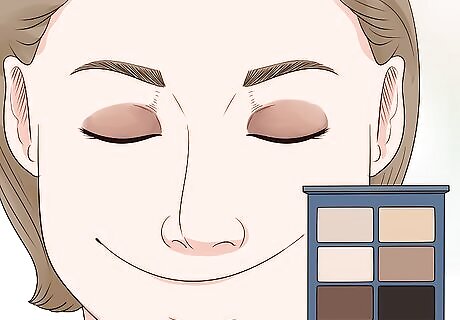
Put a neutral shade of eyeshadow on your lid and brow bone. Round eyes have a tendency to look somewhat sunken in. Adding a base of neutral eyeshadow to your eye can help correct this problem by making your eyes look brighter and more defined. Take a larger, fluffier makeup brush and dab it in a neutral shade of eyeshadow. Pick a shade that matches your natural skin tone. Brush your eyelid with the shade using gently, sideways motion. Continue from your eyelid onto your brown bone. Apply the shade until just under your eyebrow.
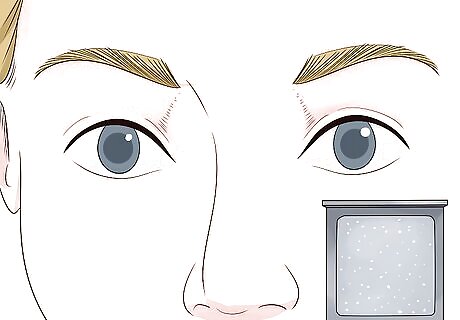
Use a highlight shade on your tear ducts and under your eyebrows. You'll want a somewhat shimmery, bright shade now. Pick something close to your natural skin tone but slightly brighter. You'll be using a corner eyeshadow brush to highlight your tear ducts, as well as under your eyebrows. This can really help in preventing the sunken in look. Your tear ducts are found on the inner corners of your eyes. Rub your corner eyeshadow brush in some of your chosen eyeshadow. Turn the eyeshadow brush sideways. Slowly draw a line of the eyeshadow that outlines your tear ducts. Draw one line on the upper lid, and one line on the lower lid. You want a small shape, something like a sideways "V", encasing your tear ducts. You should also apply a thin line of the shimmery shade underneath your eyebrow. Simply draw on a line or your chosen eyeshadow just underneath each eyebrow.
Adding the Rest of the Makeup
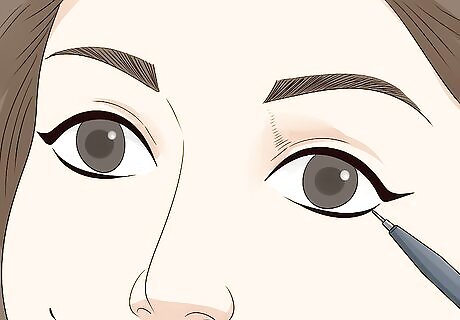
Apply pencil or liquid eyeliner. The type of eyeliner you choose depends on your preference. Some people prefer working with liquids, while others prefer pencils. With round eyes, you want to apply liner to the outer corners of each eye. This can make your eyes pop, and also elongate them slightly. Start with your upper eyelid. You'll be applying the liner along your lash line. This refers to the portion of your eye just above your eye lashes. You will not be covering your entire lash line. You'll start about half a centimeter away from the outer corner of your eye. Slowly move your brush or your pencil along the lash line, working towards the outer corner of your eye. Strive for a thin, neat line. When you reach the end of your lash line, add a small wing to the skin just outside the corner of your eye. The wing should be very small, less than a quarter of a centimeter. To make this wing, use your eyeliner to add a small upturned line that points towards the end of your eyebrow. On the bottom lid, draw another line just below your bottom eye lashes. As with the first line, draw a straight, thin line starting about half a centimeter away from the outer corner of your eye. Keep drawing until the second line merges with the first line.
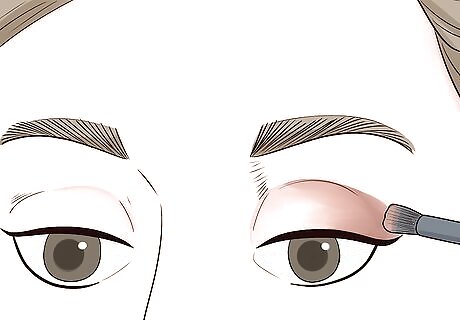
Add some eyeshadow to the outer corners of your eyes. In order to brighten your eyes, you want to add some eyeshadow to the outer corners. Once again, you'll be working with your corner brush. Here, you'll want to choose a slightly darker shade. A brown or a gray would work well. This will balance out the lighter eyeshadow covering the inner corners of your eye. Apply eyeshadow to your corner brush. Then, blend the eyeshadow slightly into the eye liner on the outer corner of your eye. From here, move your brush upward slightly. Create a curved shape outlining the outer corner of your eyelid. Focus mainly on the outer edges of your eyelid here. Make sure to get into the crease where your eyelid meets the curve of your brow bone. Then, add a small, thin line of the eyeshadow underneath your eye below your bottom lash line. This will create a sideways "V" shape that contains the outermost corner of your eyelid.
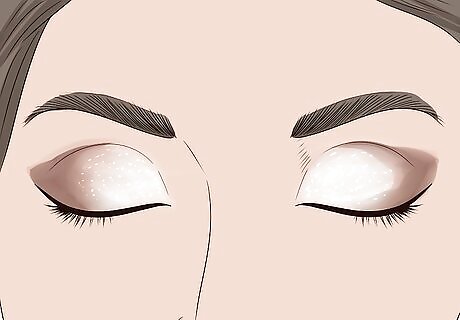
Consider adding a flattering shadow over the remaining lid. If you're looking for a causal, every day look you should only apply eyeshadow to the corners of your eyes. However, for a night on the town, consider adding a fun, flattering eyeshadow to the remainder of your eyelid. Choose a shade of eyeshadow and use a larger eyeshadow brush to apply this to the remainder of your eyelid, filling in the space between the corners of your eyes. The shade is up to you. You may want to pick something that goes well with your eye color. Brown eyes may look great with a brown or gray shade, for example. If you want something fun, consider sparkly eyeshadow. This could be great if you're going clubbing.
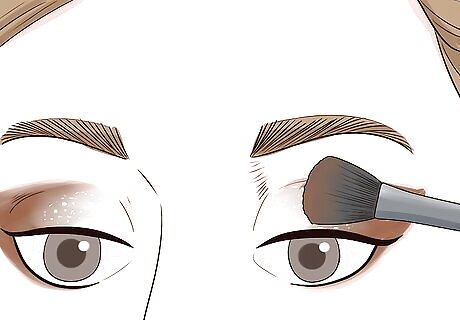
Blend with a fluff brush. Take a large fluff brush. You will use this to blend the eyeshadow on your outer lids into the remainder of your eye. Using sideways motions, swipe your flush brush back and forth from the corner of your eyelid to the center of your eyelid. Keep going until the eyeshadow is more evenly dispersed throughout your eyelid. It should look slightly lighter and more spread out when you're finished.
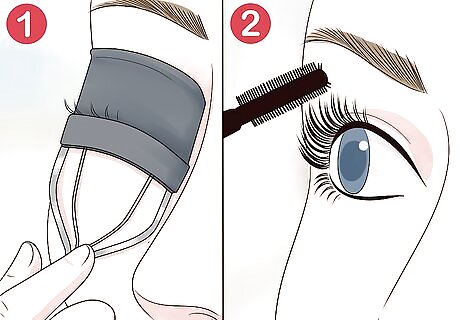
Curl your lashes and apply mascara. Take an eyelash curler and clamp it onto your eyelashes. Hold for a few seconds to give the nails a bit of a curl. With round eyes, curly eyelashes can make your eyes pop and look bigger. Then, take your chosen brand of mascara. Starting at the base of your eyelashes and comb your eyelashes upward in slow, steady motions. Wiggle the brush slightly as you go, as this helps separate your lashes.
Avoiding Pitfalls
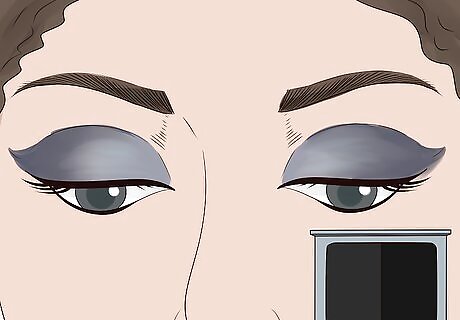
Avoid the cute look with darker shadow. Many people associate round eyes with a cute look. If you want to go for sexy or sophisticated over cute, go for a dark eyeshadow. A shade like gray or black can really help stave off the cute look. Apply the shadow to both corners of your eye.
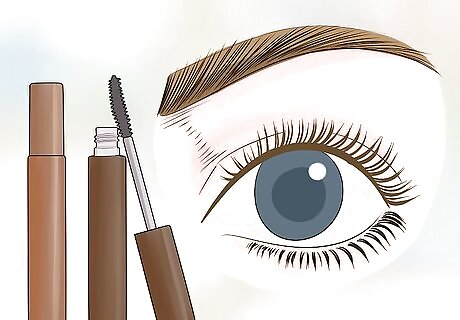
Use darker mascara on your bottom eyelashes if you choose to color them. Round eyes often look sunken in. A good way to avoid this is to use different types of mascara on your upper and lower eyelashes. Use a lighter shade of mascara on the upper lids, and a darker shade on the lower lids. This will make your eyes pop upward more, making them appear brighter and bigger.
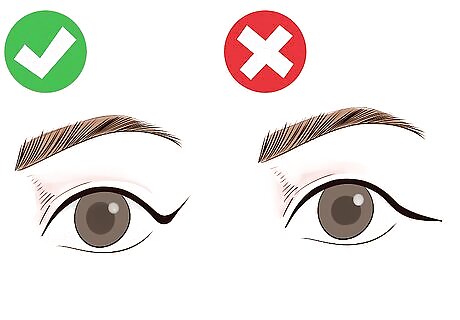
Make sure eyeliner moves upward. Round eyes can look somewhat droopy. A good way to counteract this is to make sure you move upward with eyeliner. If you create a wing, always have the tip pointed up. A downward wing can make round eyes look droopier and duller.





Comments
0 comment