views
- Click on the Edit option within the GIMP software.
- Select Preference from the drop-down menu.
- Navigate to Interface > Icon Theme > Custom icon size.
Open the GIMP software on your computer. Search for "GIMP" in the Windows Start menu to easily find it. If you don't have the GIMP software on your computer, go to www.gimp.org/downloads and download the app for free.
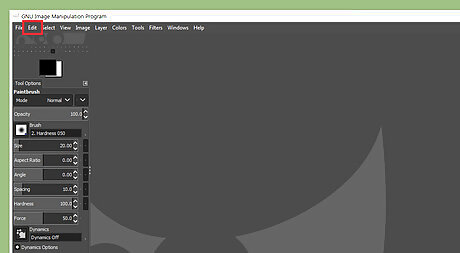
Click on the Edit option. It will be the second option in the menu bar.
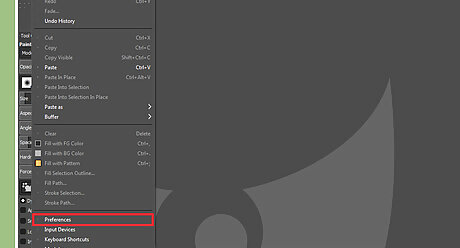
Select Preference from the drop-down menu. This will open a dialog box.
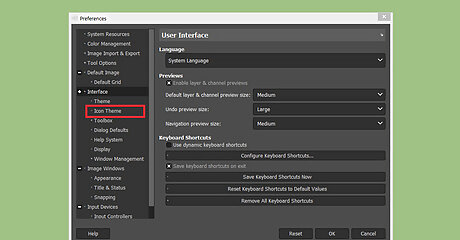
Navigate to the Interface section and click on the Icon Theme option. If you can't see the option, click on the white minus sign, right after the Interface text.
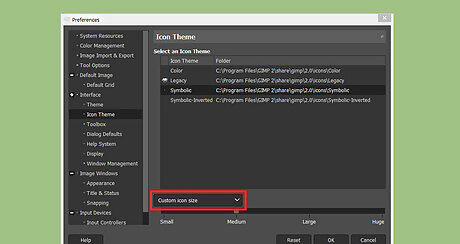
Move to the Custom icon size box. If you can't see the title in the box, click on the same box and select Custom icon size from there.
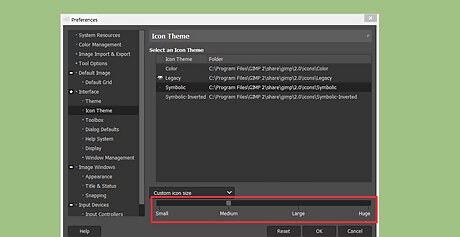
Move the slider to adjust the icon size. Relocating the slider to the right makes the icons bigger; moving it to the left makes it smaller. Four options are available below the slider: Small, Medium, Large, or Huge. Select the "Medium" option for the best visibility.
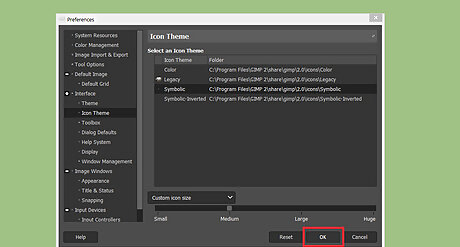
Save your changes. Click on the SAVE button to save your settings.
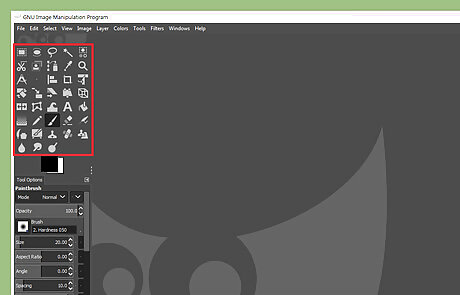
Go back to the normal window to enjoy the software. When you're done, the GIMP icons will be resized.


Comments
0 comment