views
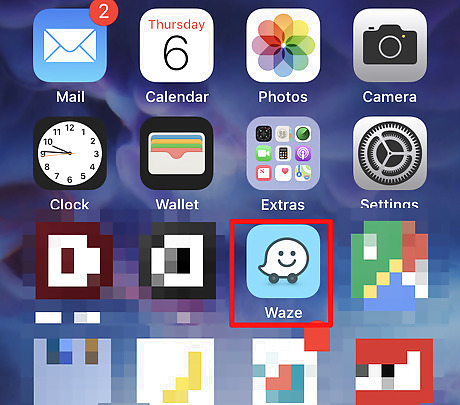
Open up Waze. The icon generally looks like a text-message smiley face icon in the center of a blue-filled box.
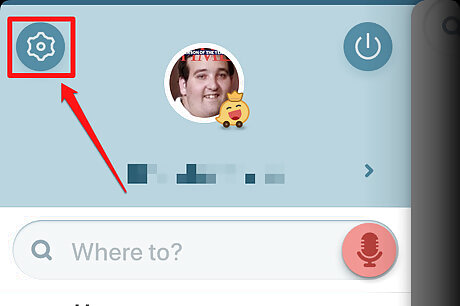
Open up your Waze settings. Tap the magnifying glass in the bottom left corner. Tap the gear icon at the top left corner (to the left of your profile picture) of the menu box that displays.
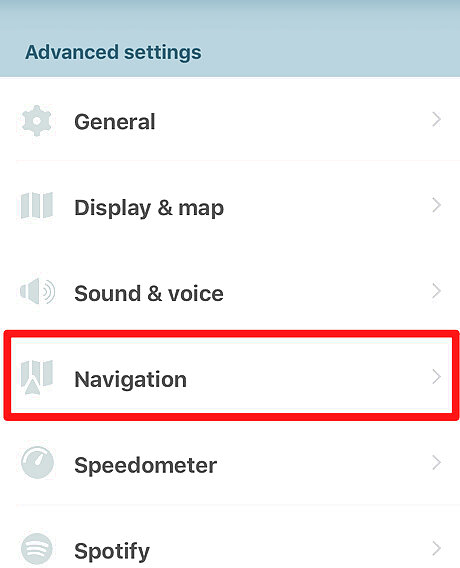
Tap the "Navigation" choice. You can find this between the "Speed & voice" and "Speedometer" choices, which for some devices you might have to scroll down to find.
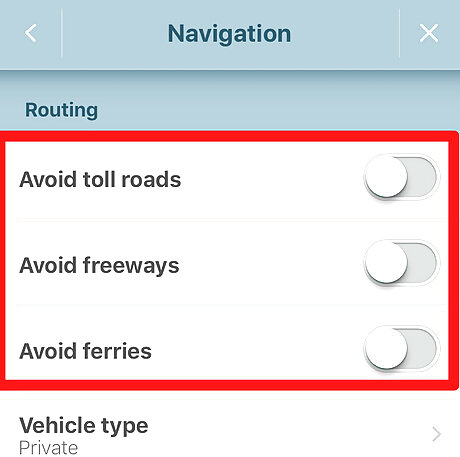
Recognize that you can tell Waze if you'd like to avoid three types of roads including "toll roads", "freeways" and "ferries". Each one can be tweaked and turned off by flipping the switch (so the switch lights up green) to the right of the name under the "Routing" label.
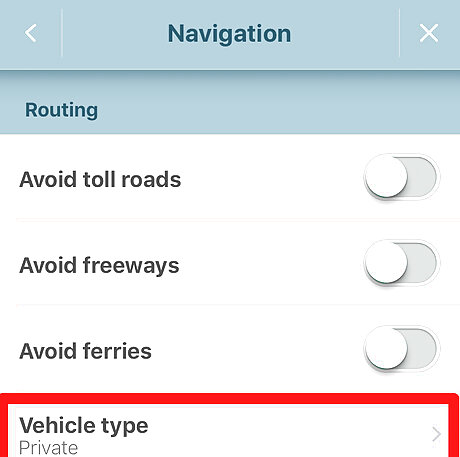
Make sure that the "Vehicle type" matches your vehicle. Since some roads are not open to taxis and commercially-registered vehicles, you have choices such as "Private", "Taxi", "Motorcycle" and "Electric" under the "Vehicle type" choice.
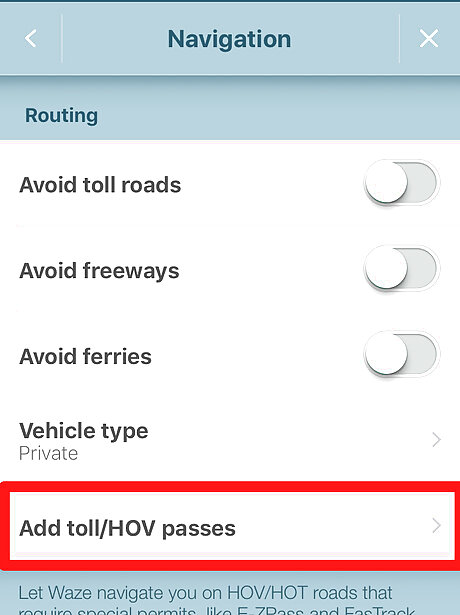
Make sure that the "Add toll/HOV passes" is checked routinely. In some areas, certain lanes have restrictions for those with special highway tollbooth passes and electronic pass-boxes. However, at this time, there is no need to add any account details. Look in the section "Local passes" and find the name of the service then tap "Add". Passes that you've already added can be found under "Your passes". For even more choices, you can tap the "Show all passes" and find your pass.
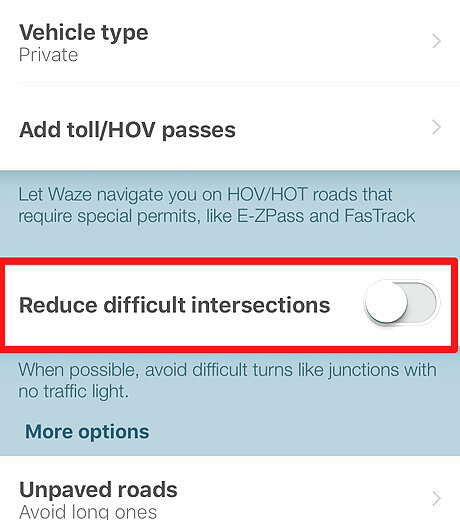
Choose whether to reduce difficult intersections. Difficult intersection - by Waze's definition - have no traffic light, and Waze can help you avoid them if desired. Slide the switch until it turns green to reduce these intersections in navigated routes, however realize that not all intersections like this can be removed entirely.
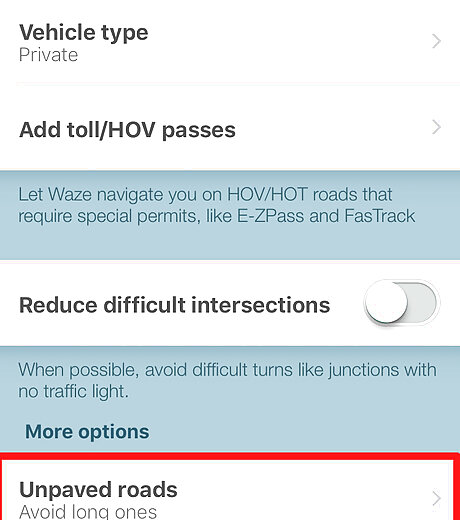
Check the "Unpaved roads" choice if you want to. This will limit unpaved (dirt) roads to Waze's best ability. You can allow or not allow unpaved roads or not, or avoid only long ones.








Comments
0 comment