views
- Siphon tank water into a clean bucket and use it to gently rinse solid debris off of filter pads, sponges, or bio-media.
- If you have a multi-sponge filter or more than one filter system, only rinse one sponge or one filter per cleaning to preserve bacteria levels.
- If you’re replacing the entire filter, reuse an old filter media or keep the old filter in the tank for 4-6 weeks to supply the new one with bacteria.
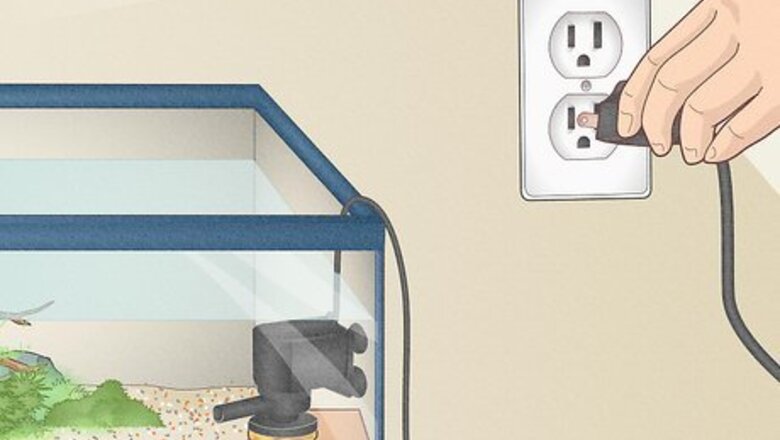
Turn off or unplug the filter system.
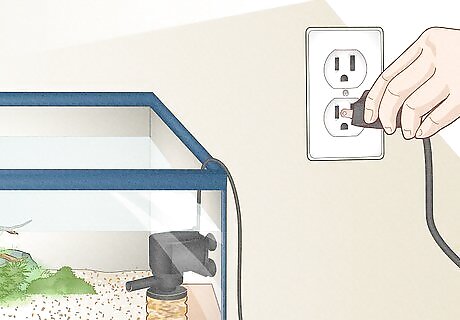
Stop the filter so it doesn’t suck up your fish during cleaning. It also makes it safer and easier for you to disassemble and clean. If you have a UV sterilizer that runs inline with the filter, turn that off too (most models should not run when there’s no water in them). Put on a pair of disposable gloves if you’re concerned about slime or bacteria getting on your hands during the cleaning process.
Siphon tank water into a clean bucket.
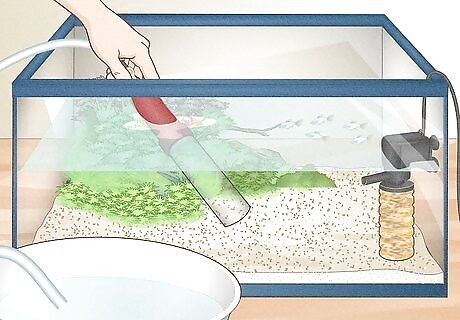
Use a gravel cleaner to transfer 25% of the tank’s water into a container. Make sure the bucket has no liquids or cleaners inside that could mix with the aquarium water. Fill it at least half way so you can easily dunk and squeeze the filter sponges in the water. Using warm, de-chlorinated, bacteria-rich aquarium water to clean your filters makes it less likely you’ll kill bacteria. Never replace all of the water when you’re cleaning the filter. Try to only replace about 25% to keep the water’s chemistry stable. Use a store bought siphon or make your own with a 4-6 foot (1.2-1.8 m) hose.
Remove and disassemble the filter media.
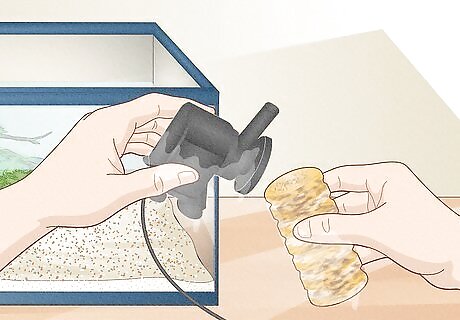
The filter’s media are the pads, sponges, or bio-rings that trap particles. If you have a sponge filter inside the tank, spread a clean plastic bag over the filter, then grab it and remove it. The plastic will catch the dirty water that squishes out of the sponges and keep it from spreading. If you have a hang-on-the-back or canister filter, simply open the media compartment and pull out the pads or sponges that need cleaning.
Wring out one filter sponge in the aquarium water.
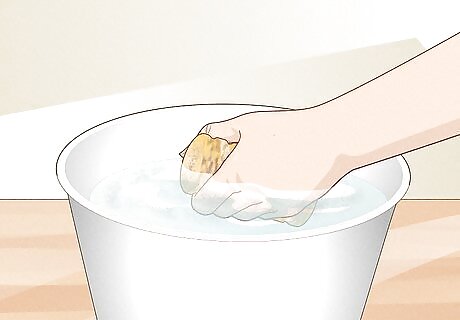
Knead the sponge together to squeeze out dirty water and loose debris. Wring out the coarsest pads from multilayer filters vigorously (they’ll be the dirtiest). Squeeze softer sponges more gently—the goal is to remove all the solid debris, not to get it 100% sparkling clean. If you have a 2-sponge filter or a multilayer filter system, only squeeze out one sponge or pad per cleaning to keep some bacteria in the filter at all times. If you only have one sponge in your filter, consider cutting it in half. Squeeze or replace one half per cleaning and leave the other half to house bacteria. When the bucket of aquarium water turns brown, discard it and fill the bucket with more tank water if needed to keep cleaning.
Swish biological media gently in the aquarium water.
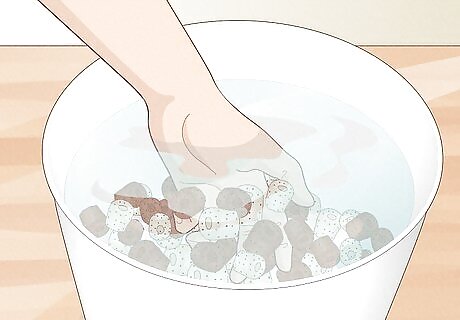
Only clean bio-layers when the porous surface is blocked by debris. Gently rinse and swish the media around in the bucket of tank water to dislodge solid, visible buildup. Be very delicate—the bacteria in these layers can be displaced if cleaned too vigorously. Biological media take months to clog when the mechanical filter layers are working properly, so they need cleaning far less often.
Brush the impeller, inlets, and outlets.
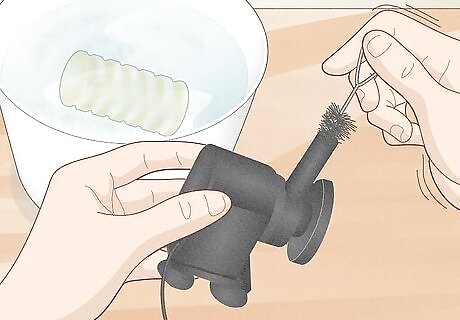
Scrub the non-media parts of the filter thoroughly with the tank water. Use a small cleaning brush, sponge, or filter floss to clean the impeller (the spinning piece that generates water flow), the impeller housing, and the filter housing. Scrub the water inlets and outlets as well so they’re free of solid debris. Once everything is clean, dispose of the dirty tank water.
Reassemble and return the filter.
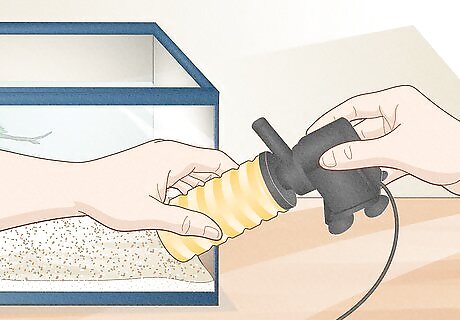
Place all filter media in their respective compartments and test the filter. Check that no fish or objects have drifted inside the pump, then plug the filter back in and turn it on. If all of the sponges or pads were replaced correctly, the filter will run more efficiently than before. Add fresh water to replenish the tank. If the filter is still running poorly, unplug it again and make sure all the media and compartment lids are secure. If the water still appears murky, try cleaning your aquarium gravel to get rid of any muck that’s clogging the filter.
Test the water several days after cleaning.
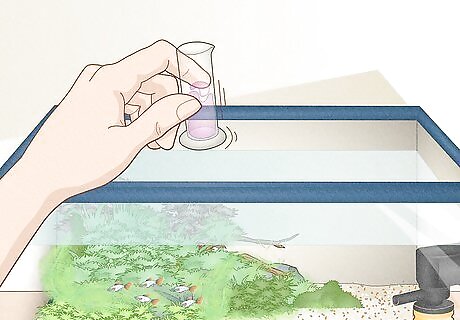
Test for proper ammonia and nitrite levels (AKA, thriving bacteria). Use a home testing kit or take a jar of tank water to a local aquarist or pet store for inspection. If the levels are too high, it you may need to add bacteria from a bottle to avoid cycling the water. Monitor your water for ammonia and nitrite levels above 2 ppm. This is the level where your fish may begin to be affected. Organic waste decomposes into poisonous ammonia in the tank. Bacteria convert the ammonia into toxic nitrites first, and then into beneficial nitrates.
Only clean the filter media when necessary.
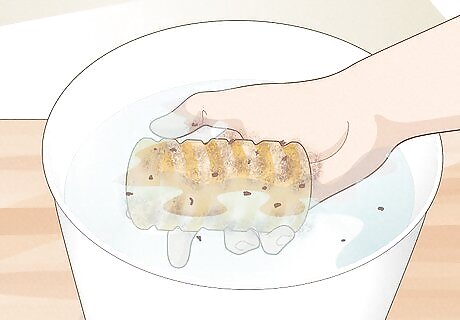
Frequent cleaning risks damaging the filter’s bacteria colonies. Only rinse out the sponges when there’s a noticeable increase in waste clogging the filter, the water flow is weakening, or the tank’s oxygen levels are low. In well-kept tanks, this works out to be about once a month.
Use old media to colonize brand new filters.
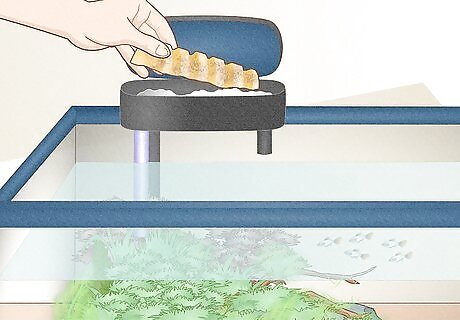
When replacing a whole filter, insert used sponges to maintain bacteria. Reuse any media like bio-rings, sponges, ceramic rings, or foam pads if they fit into the new filter’s media compartment. The majority of your tank’s bacteria thrive in these sponges, and the water’s bacteria levels won’t change drastically when you recycle them this way. Reuse old cartridges if you use a cartridge filter system. New ones aren't necessary unless the old one is damaged, and they last for years in proper conditions. If the old media don’t fit in the new filter, just leave the old filter in the tank for 4-6 weeks along with the new one. This stabilizes bacteria while the new filter integrates into the tank’s biosphere.


Comments
0 comment