
views
Removing Calcium, Lime, and Rust Deposits
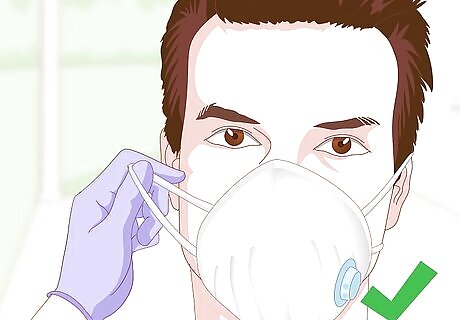
Wear gloves and a face mask to protect yourself from the chemicals. Wear thin rubber gloves since you’ll be working with harsh chemicals that could cause skin irritation. Calcium, lime, and rust cleaners can also create fumes that can make you feel nauseated, so cover your mouth and nose with a face mask. Work in a well-ventilated area to prevent fumes from building up.
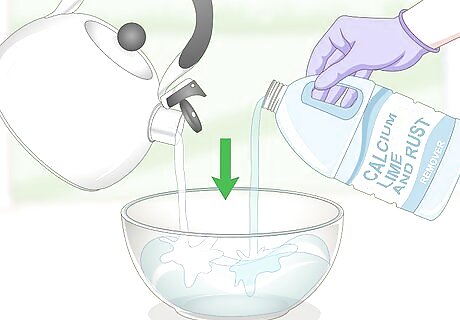
Dilute calcium, lime, and rust remover with water. Read the instructions on the back of the calcium, lime, and rust remover’s bottle. Mix equal amounts of the cleaner and warm water in a large glass bowl and stir them together so they’re thoroughly combined. You can buy calcium, lime, and rust remover from most department stores or online. Keep the cleaner out of children’s reach since it could make you very sick. If you accidentally ingest the remover, contact your local poison control center immediately.
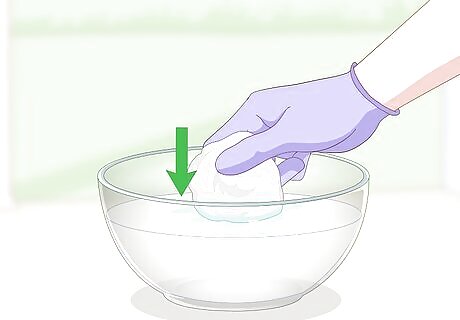
Dip a cotton rag into the cleaner. Use a cotton rag that’s only meant for cleaning purposes so you don’t contaminate anything else with the remover. Saturate a corner of a cotton cloth with the cleaning solution in the bowl. The cotton will prevent scratching your pipes when you’re working on them. The rag does not need to be fully saturated with the solution to work. Just dip it in the solution enough to get a small part of the rag wet. Avoid using a rough-bristled brush for cleaning your pipes since it could leave scratch marks on the surface.
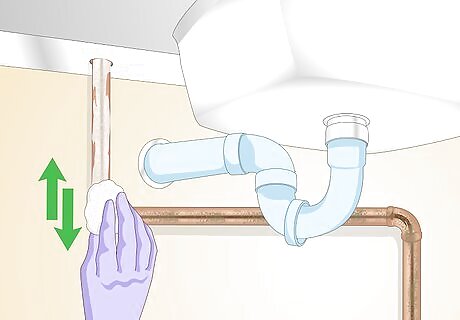
Scrub the surface of your pipe with the rag. Hold the pipe steady with your nondominant hand and wrap the cloth around the pipe with your other hand. Move the cloth back and forth over the surface of the pipe to break apart any calcium, lime, or rust deposits on it. Dip your cotton rag in the cleaning solution again if you need to rewet it. You may have to go over your pipe multiple times if it's very dirty.Warning: Don’t use the calcium, lime, and rust remover inside your pipes since it could contaminate your drinking water.
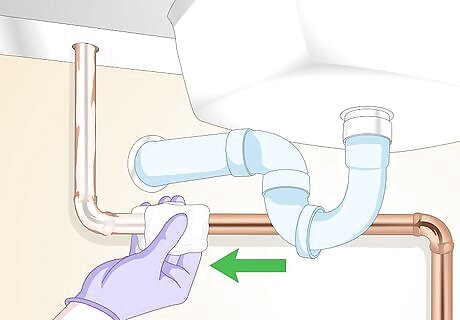
Wipe the pipe clean with a dry cloth. Use a dry corner of your cleaning cloth or a different cloth that you haven’t used. Wrap the cloth around the area of pipe you cleaned and wipe off any excess cleaner. The pipe will look shiny and new when you’re finished. If your pipes are still dirty, then apply more cleaner and scrub them until they’re clean.
Polishing Copper With a Vinegar and Salt Paste
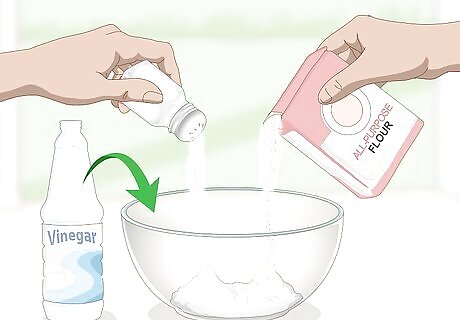
Mix flour, salt, and vinegar in a mixing bowl. Combine ¼ cup (32 g) of all-purpose white flour and ¼ cup (75 g) of table salt in a small mixing bowl. Mix the salt and flour together with a spoon so they’re thoroughly combined. Slowly add in ⁄4 cup (59 ml) of white vinegar at a time and stir it into the salt and flour. Keep adding in vinegar until the flour and salt forms a thick paste, which should take about ⁄2–⁄4 cup (120–180 ml). You can substitute lemon juice for vinegar if you want. You may use baking soda as a replacement for flour if you want.Tip: If you accidentally add too much vinegar and your paste is too runny, add more flour and salt to the mixture.
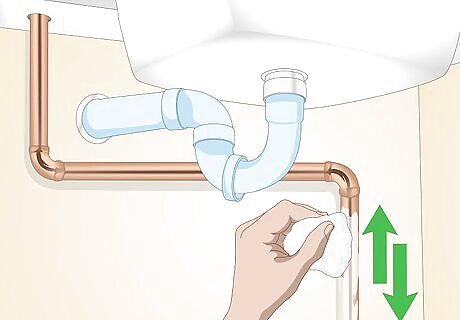
Rub the solution onto the surface of your copper pipes. Dip a clean cotton rag into the paste that you created and thoroughly rub it over the surface of the pipes. Follow the grain of the copper pipe to prevent forming any scratches. The paste will break away any built-up residue and grime. Continue working in a back and forth motion until the surface of the pipe shines. The grain of the pipes is the direction that the pipe runs. Clean from one end to the other rather than around the pipe. If you don’t have a cleaning cloth, you can also use an old, clean sock instead.
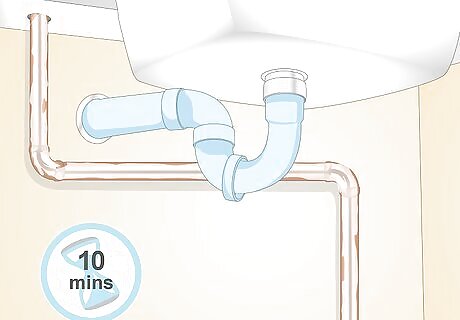
Let the solution sit on the pipes for 10 minutes. Once you’ve applied the cleaning paste, leave it on your pipes for about 10 minutes so it can break down tougher build-up. Test the areas on your pipes by wiping it with your rag to see if the buildup comes off. If it doesn’t remove the buildup, then wait for an additional 5 minutes.
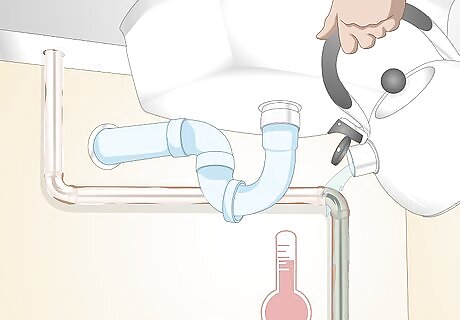
Rinse the pipes with warm water. Run the pipes under warm water from the faucet until all of the paste has been removed from them. If you can’t remove the pipes, then wet a cloth with warm water and wipe the paste off of the surfaces. Make sure you remove all of the paste from the surface of your pipe. Make sure there isn’t any paste left on your pipes since the acidity of the vinegar could cause damage to your pipes.
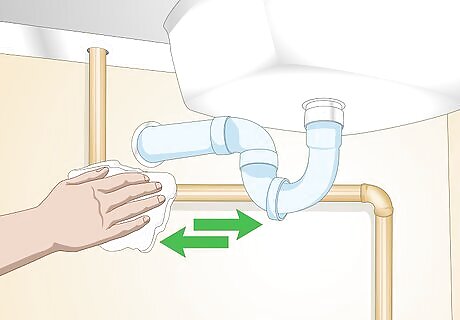
Dry the pipes with a clean cloth. Use a clean cotton cloth to wipe the water and any residual paste off of the pipe. Make sure the pipe is completely dry or else it could start developing tarnish and buildup again quickly. Once your pipes are dry, they’ll look shiny and new.
Soaking Pipes in White Vinegar
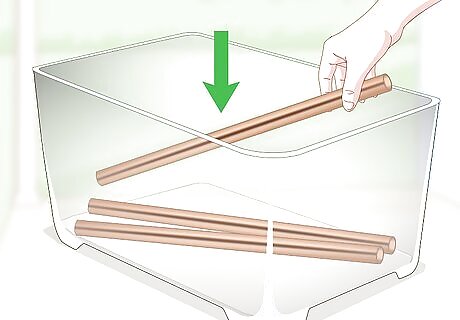
Place the copper pipes into a large plastic bin. Find a bin large enough to completely submerge your copper pipes in. Smaller parts may fit into a 5 US gal (19 L) bucket, but you may need a large plastic tub for longer pipes. Set the bin in an area where it won’t be moved or disturbed while the pipes are soaking. Soaking is a great way to clean the inside and outside of your pipes.
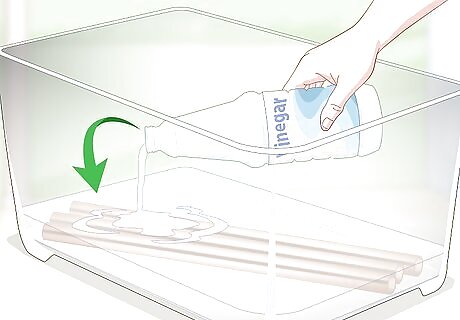
Pour distilled white vinegar into the bin. Use enough vinegar so the pipes are completely submerged. Don’t dilute the vinegar or else it won’t be as effective at cleaning your pipes. Readjust the pipes in the bin if you need to so they are covered by the vinegar. White vinegar contains 5% acetic acid, which helps remove oxidation and hard water deposits. You can also use lemon juice in place of vinegar if you want since the acidity will break down and buildup.
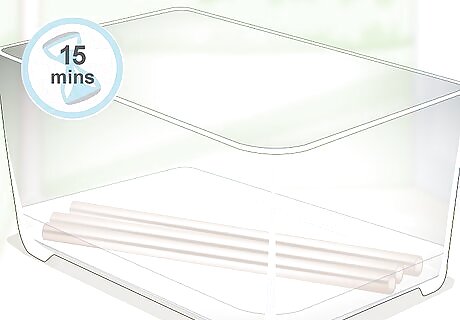
Let the pipes sit in the vinegar for 15 minutes. Leave the pipes alone in the vinegar for at least 15 minutes so it can break down the grime and buildup. As the pipes sit in the vinegar, the acetic acid will start to remove oxidation and hard water deposits inside and outside of the pipes. You can leave the pipes submerged for longer if you want to make them shinier.
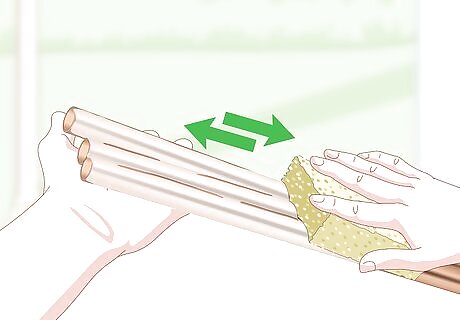
Scrub down the pipes with a sponge or cloth. Take the copper pipes out of the vinegar solution and shake off any excess liquid. Use a sponge or a cotton cloth to gently work away any remaining hard water deposits or soap scum that hasn't dissolved in the vinegar. Work with the grain of the pipes so you don’t accidentally add scratches to the surface. The pipe’s grain is the direction that the pipe runs. On a straight pipe, the grain goes from one end to the other while the grain on a curved pipe follows the curve. Don’t use a cloth or sponge that has an abrasive side since it could leave marks on the surface.
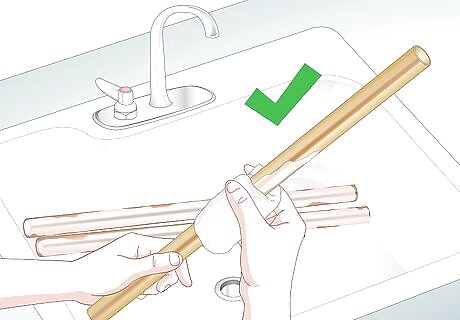
Rinse the pipes and dry them with a clean rag. Either rinse the pipes under a faucet with warm water or wipe the vinegar off with a damp rag. Then use a dry cotton cloth to dry the pipes individually until they aren’t wet anymore. If there’s still water inside of the pipes, set them upright on a towel so it can drip out.Tip: Blow inside the pipes with a hairdryer on a warm setting if you can’t dry it with a cleaning rag.









Comments
0 comment