views
- Create a page on your phone by visiting the Pages section and selecting Get Started.
- Select up to three categories for your Page. Make sure they are relevant to your business.
- Be sure to enter and save key info like your business hours, website, and other social media links.
On a Phone or Tablet
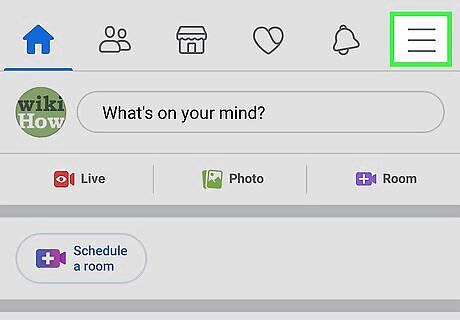
Tap the menu ☰. It's the three horizontal lines in the bottom-right corner (iPhone) or the top-right corner (Android).
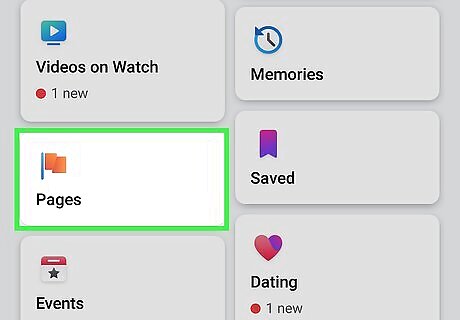
Scroll down and tap Pages. This option is near the middle of the menu. If you already have a Page connected to your account, select Your (number of) pages instead.
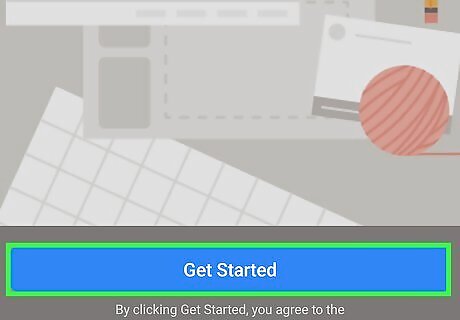
Tap the blue Get Started button. It's at the bottom of the screen.
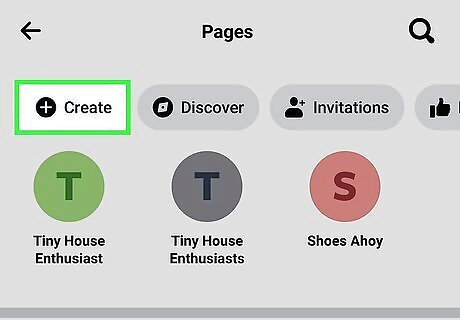
Tap + Create. It's at the top-left corner of the screen.
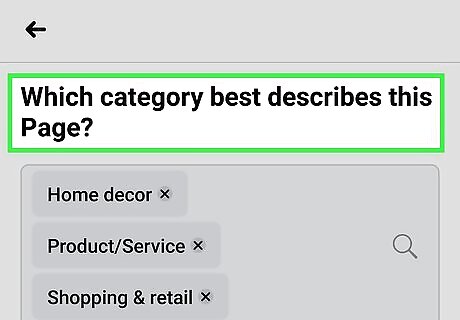
Select up to three categories and click Next. The categories you enter will help people find your page. Start typing a category, such as Blogger or Musician, and then tap one of the search results. You can also tap one or more of the "Popular Categories." There's a full category list at https://www.facebook.com/pages/category.
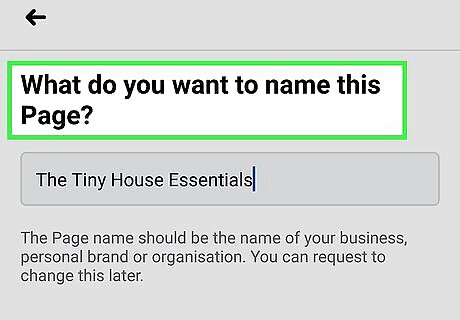
Enter a Page name and tap Next. The name of your Page should be your business or brand's official name. Choose something that you don't think you'll want to change later.
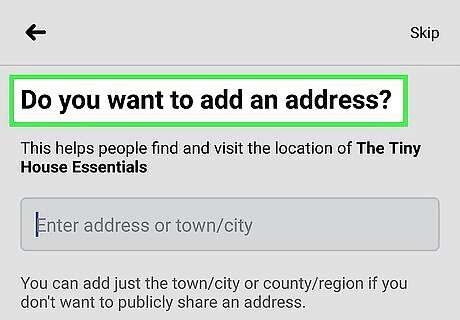
Enter your address information and tap Next. If you'd rather not enter the exact address, entering a city and state is fine. If you don't have a physical address for your business, tap the box next to "I don't want to add an address."
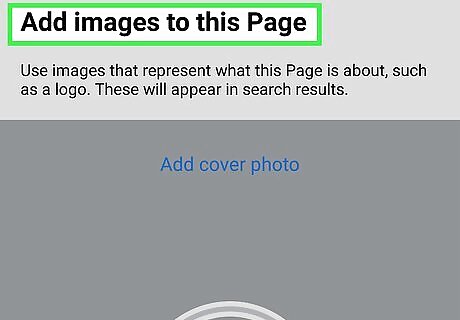
Add images to your Page. To add a profile photo, tap Add profile picture inside the circle to select an image that represents your business, such as your logo or headshot. You can also tap Add cover photo near the top of the page to select an image to appear at the top of your Page.
Tap the blue Done button. It's at the bottom of the Page.
Swipe left through the options to finish your Page setup. Tap Next at the bottom, and then swipe through the remaining screens. You'll usually see the option to invite friends to like the Page, create a welcome post, connect to other apps, and/or add a Page button to the top of your Page that lets visitors interact with you. The options vary depending on the type of business and the information you've already entered.
Fill out your Page info. This information will appear in your Page's About section: Tap Get Started at the bottom. Enter a description and tap Save. This brief description of your business will appear in your Page's "About" section. You can enter up to 255 characters. Enter a phone number and tap Save. If you don't have a phone number, tap the circle next to "My Page doesn't have a phone number" instead. Enter your website URL and tap Save. While optional, adding your website will help make your business appear more professional. It will also give customers a way of contacting you outside of Facebook. If you don't have a website, tap the circle next to "My Page doesn't have a website." Enter your business's email address and tap Save. When you connect an email address to your Page, it makes it easy for potential clients to get in touch with you via email. If you'd prefer not to add an email address, tap the circle next to "My Page doesn't have email" instead. Select your business hours and tap Save. If this doesn't apply to your business, select No Hours Available or Always Open. If you have operating hours, select Standard Hours, and then tap EDIT HOURS beneath to add the official hours.
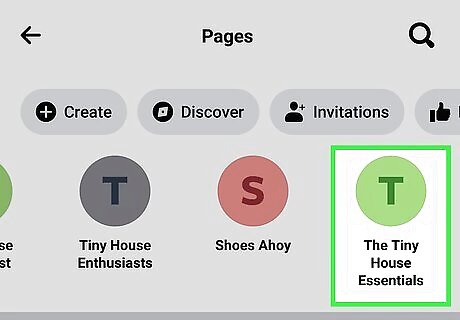
Visit your Page. Now that you've finished creating the Page, you can access it by tapping the three-line menu at the top-right or bottom-right area of Facebook and selecting the Page name at the top. To make changes or adjust your settings, tap the gear icon at the top-right.
On a Computer
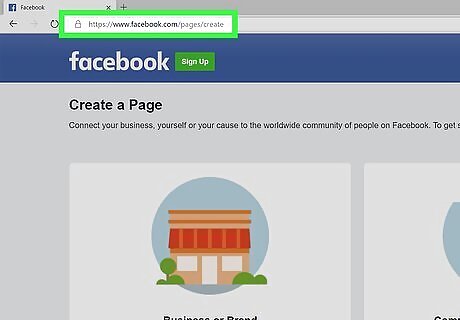
Go to https://www.facebook.com/pages/create in a web browser. This opens the "Create a Page" screen if you're already signed in. If you're not signed in, you can do so now.
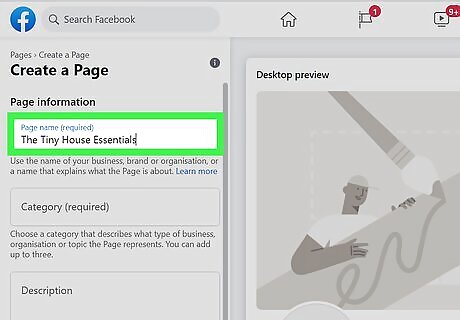
Enter a name for your Page. Your Page's name should be the official name of your brand or business. You'll type this into the "Page name" field.
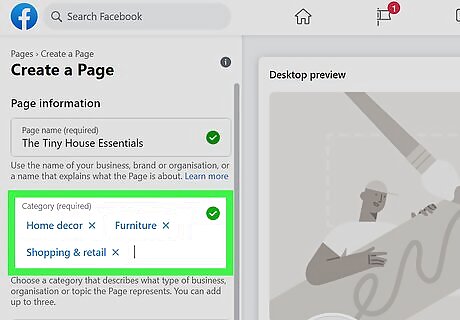
Select up to three categories. Categories can help people find your business when searching for other things. To select a category, start typing something into the "Category" field, like Sushi or Advertising. When the search results appear, click a category to add it. Visit https://www.facebook.com/pages/category to see a full list of categories.
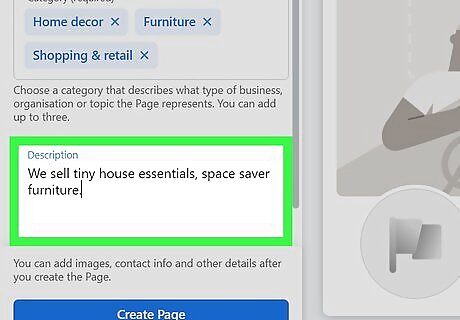
Type a description. Use the "Description" field to describe your business to viewers. You can only enter 255 characters here, so be brief. To get a five-star rating on a Facebook page for your business, you should provide value to the target audience. The target audience should be able to find you easily. When they search for something applicable to what you provide, you should be on the first page of the Google search or whatever search. Then the metadata should have something that catches their attention.
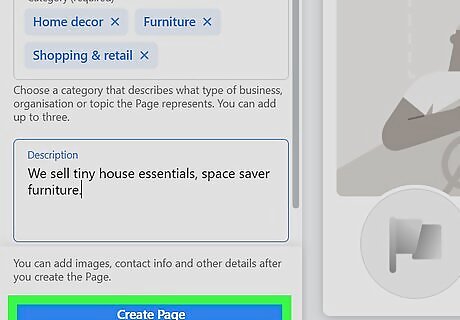
Click Create Page. It's the gray button at the bottom-left corner of the page. This saves your progress and expands more options below.
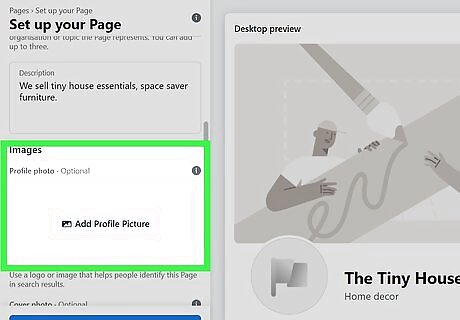
Upload images for your Page. The images you select to represent your Page should be descriptive of your business and what you stand for. Click Add Profile Photo to select your business's official logo or your official headshot. Choose something recognizable, as this image will appear next to your Page's name in search results. Click Add a Cover Photo to add a wide image to the top of the Page. This makes the Page more welcoming to visitors.
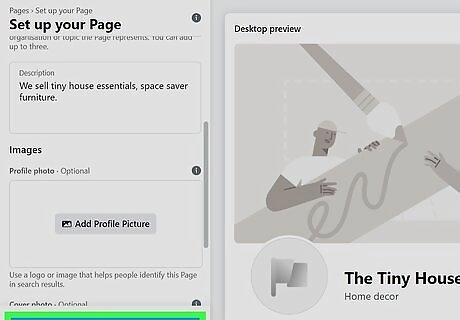
Click Save. This saves your new Page and displays a preview.
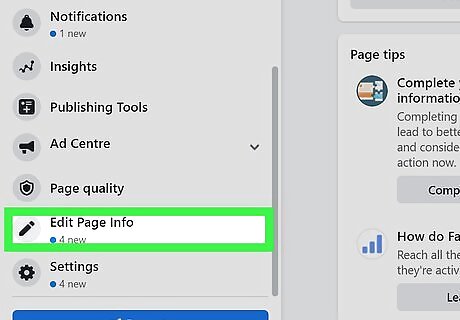
Click Edit Page Info. It's near the bottom of the left panel above "Settings."
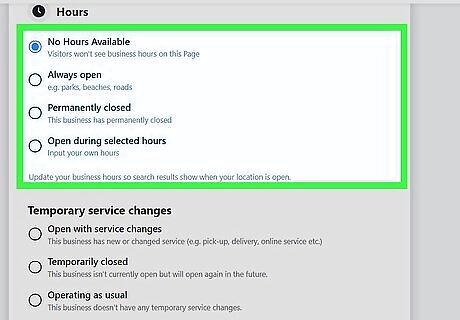
Edit your Page's additional details. Now that your Page is created, here's where you'll enter the remaining information: Contact info, including your official phone number, email address, website URL, physical address, and service area. All of this information is optional, but it's important to include some form of contact so people can get in touch with you. Business hours, if applicable. If you don't have hours, select No Hours Available or Always Open. You can enter your official privacy policy, product list, impressum (required by law for some businesses in Austria, Germany, and Switzerland), and additional information in the "More" section. All of this info will appear in your Page's About section. If you're operating a restaurant or some other type of paid service, select an applicable price range. In the "Other Accounts" section, enter other online or social media services where people can find your business.


Comments
0 comment