

Open Excel on your PC or Mac. It’s in the Start Windows Start menu on a PC (usually in the All Apps folder), and in the Applications folder on a Mac.

Open the file you want to edit. An easy way to do this is to press Control+O, select the file, then click Open.
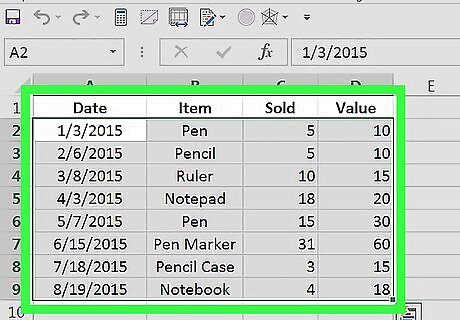
Click and drag the mouse over the data range. This highlights and selects the cells.
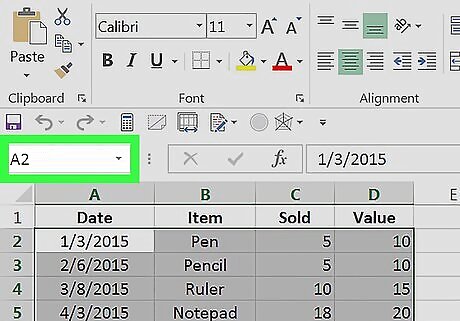
Click the “name” box. It’s directly above the first cell in on the sheet (A1, unless you have hidden cells).

Type a name for your range. The name you type into the “name” box can be used instead of the typically range format (e.g. A1:F20) in your formulas.
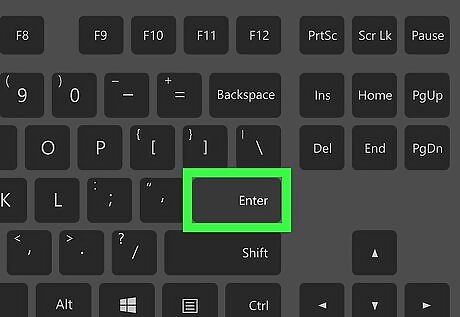
Press ↵ Enter or ⏎ Return. The named range is now saved. If your data is arranged uniformly with labels, you can select a group and press Control+⇧ Shift+F3 to name them automatically. You’ll then be able to select which cell in the range you want to use for the name.


Comments
0 comment