
Cutting Short Face Framing Bangs
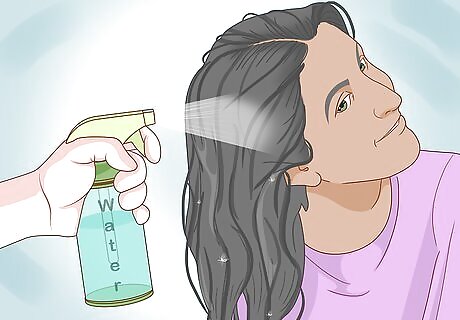
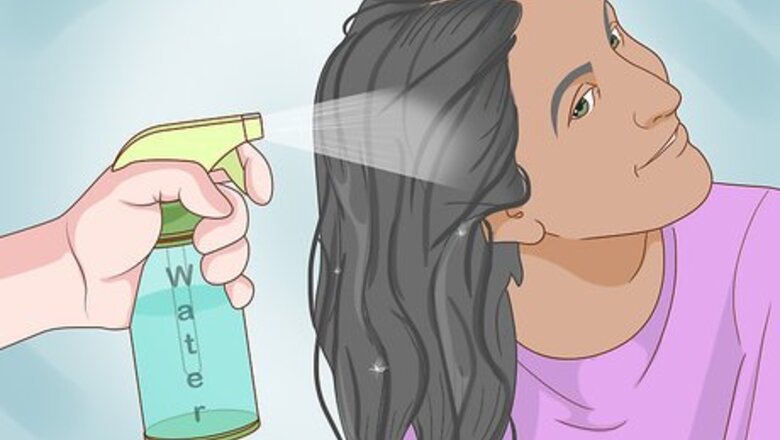
Get your hair damp. For best results, cut these layers on damp hair. A good time to cut is post-shower, right after you've towel-dried your hair. Another option is skipping the shower and misting your hair with a water-filled spray bottle. You can approach it either way. When deciding the length of your layer, you'll be going with an adjusted measurement to account for spring-back. Curly hair should be wet, not damp, before being cut. Wet your hair in the shower or under a sink tap. If you decide to use a spray bottle, make sure that you provide an even layer of water from the roots to the tips to dampen the hair.
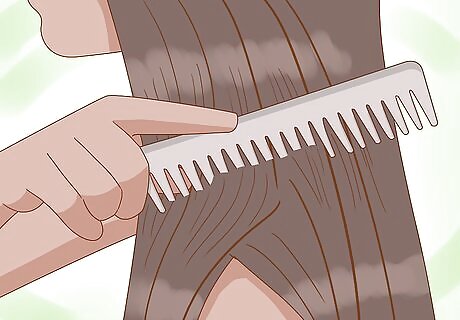
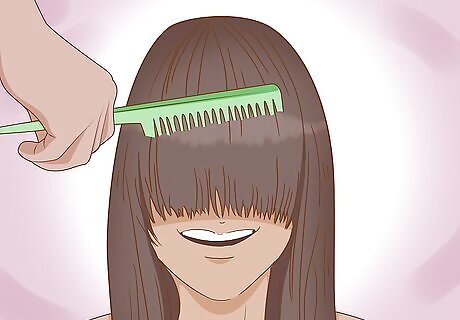
Detangle your hair with a wide-tooth comb. Before you start cutting on your hair, it's important that you detangle it thoroughly. Knots and tangles will slow you down and possibly contribute to uneven layers. Start at the ends of your hair and gently work your way up to the roots with the comb. Then, smooth your hair down with your hands.
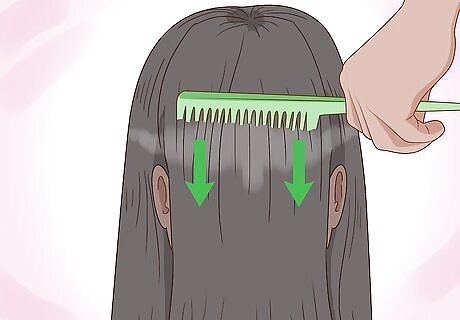
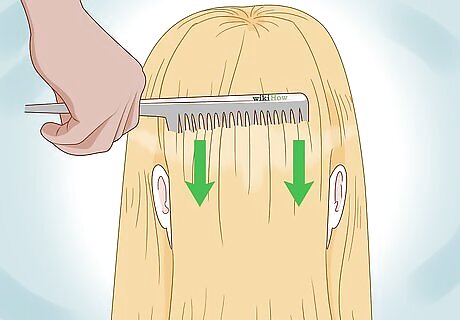
Comb the hair above your forehead straight down. Your layers should cover your top section of your head. Use the outer corner of each eyebrow as a guide. The hair that falls between those two midpoints is what you want to work on. Comb the hair straight down over your face. When sectioning your hair, make sure to go up to your apex (or highest point) of your head. You will need to blend these layers all the way around to the back.
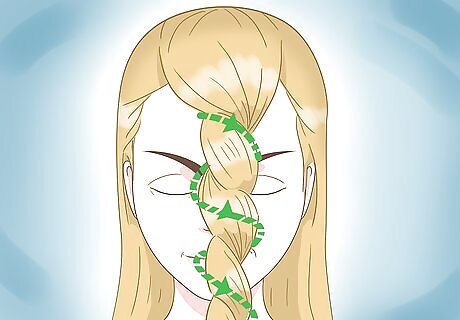
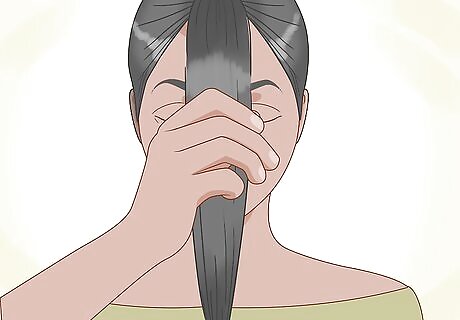
Grab that section of hair and twist it. This will separate the section from the rest of your hair. Then, clip the rest of your hair out of the way. Now you can concentrate only on the hair around the forehead, which will become the short, face-framing layers.
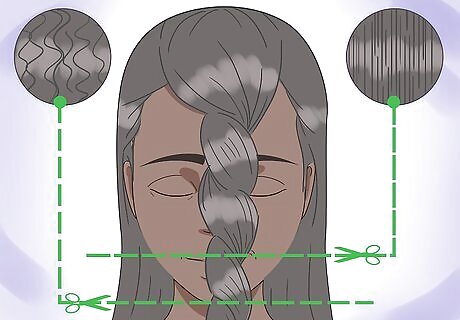
Decide where you want the layer to fall based on your hair type. If you have straight hair, aim to cut the layer at around the mouth area. Wavy and curly hair both spring up once dry, so you need to cut off less to get the same effect. For those with wavy hair, cut right below your mouth, between your mouth and chin. If you have curly hair, cut at chin-level. You can always go back and cut more if you aren't happy with the results.
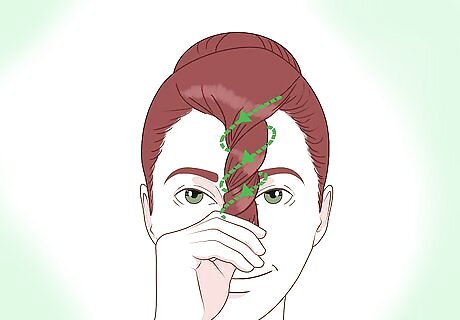
Tighten the twist and hold it up and away from your face. Holding the twist up will help you create a soft framing bang instead of a blunt edge. Twist the hair tightly and hold the very end of twist with your non-dominant hand.
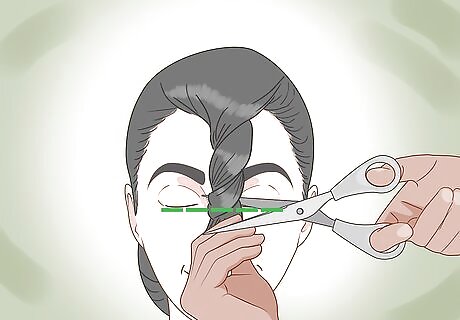
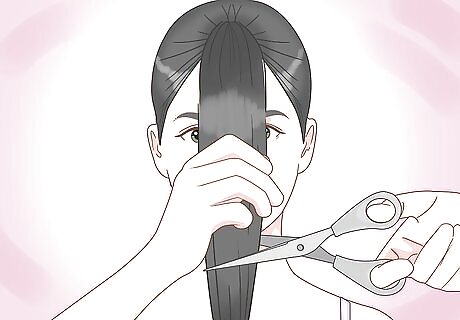
Use a sharp pair of barber's scissors to snip through the twist. Hold the scissors horizontally. Double check where you've decided to cut. Then, snip right through the twist in a straight line. The twisted hair will ensure you end up with soft ends rather than bluntly cut ends.
Release the twist and shake out your hair. The hair you removed will fall away. Comb through the newly-cut section of hair. Then, grab a round brush and comb through them again.
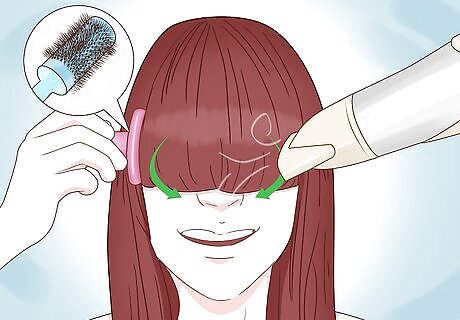
Style your new layers with a blow dryer and round brush. Using the round brush, brush the hair inward toward your face. Blast your hair with the blow dryer as you roll the length of the hair through the brush. Then aim your blow dryer downward to finish drying the new layers so they fall smoothly around your face. Style the rest of your hair as usual.
Cutting Face Framing Layers for Long Hair

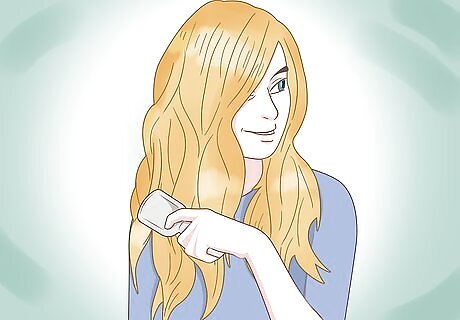
Brush your dry hair thoroughly. Start with dry hair and use a paddle brush to work through any knots. You want to start with smooth, detangled hair. This type of style will provide more layers in the front of your face than in the back of your head. Keep this in mind before proceeding with the haircut.
Lean over slightly and brush your hair forward. Direct all of your hair forward to your forehead. Gather all of your hair near the forehead, almost at your hairline. Hold it there with your non-dominant hand Once you've gathered all your hair, you can stand back up again.
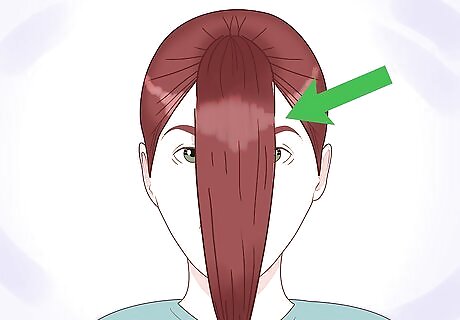
Secure the hair near your front hairline with a hair tie. You are basically forming a ponytail at your forehead. Hold the hair securely with your non-dominant hand and use your dominant hand to twist the hair tie into place. Try to keep your hair as smooth as possible.
Hold the ponytail right in the middle with your non-dominant hand. Grab on to your ponytail about midway down, so that the ends are exposed. Twist it gently.
Choose where you want your shortest layer to fall. Let the ponytail fall down your back to help you decide how short you want the shortest layer to be. Hold the spot with two fingers. Be cautious with your length. It is better to cut off less in the beginning than to cut off too much accidentally. You can always cut off more later.
Cut the end of the ponytail using several straight snips. Lift the ponytail straight up while still grasping the hair with two fingers. Use a series of short, horizontal snips to cut in a straight line along your fingers
Remove the hair tie and brush out your hair normally. Brush your hair into your usual part. The freshly cut hair will fall around your face softly. Style your hair as usual and enjoy your swingy, face framing layers! If your layers feel too bulky, try holding each strand straight out and make vertical cuts into each strand. This can help reduce some of the bulk. If the layers are too choppy or blunt, you may need to blend them more. You can always visit a professional salon to help fix any mistakes you may have made.


Comments
0 comment