views
Preparing the Table
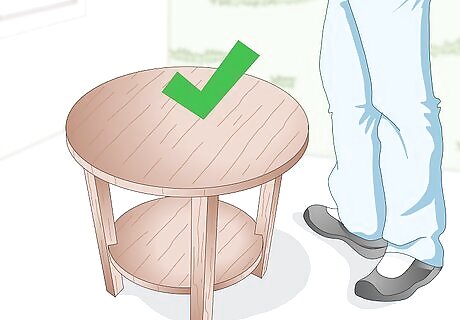
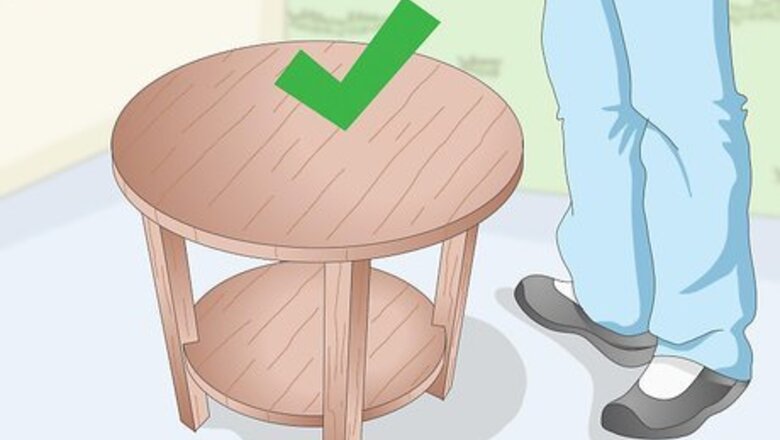
Choose a wooden table that you not mind ruining. Old, stained, beaten, and scuffed up tables are great for this project. A small table, such as a coffee table, a side table, or an accent table, would be much easier to work with than a larger table, such as a desk. Metal tables are not recommended because they are more likely to chip later on.
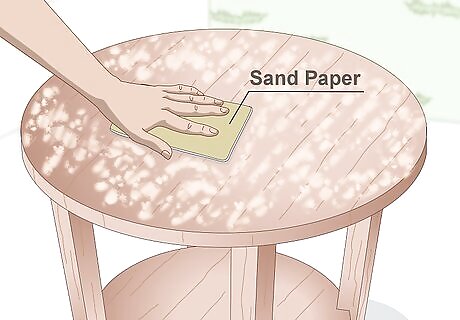
Sand the table, if needed. If the table is raw wood and not the slightest bit shiny, you can skip this step. If the table is shiny, it has a topcoat, which can cause the decoupage to come off. If you think that your table has a topcoat, sand the table down with medium-grit sandpaper. You only need to sand the parts you will be painting and decoupaging. Start with maybe 80 grit sandpaper, then work your way up to 120, then 240 to smooth it out at the end.
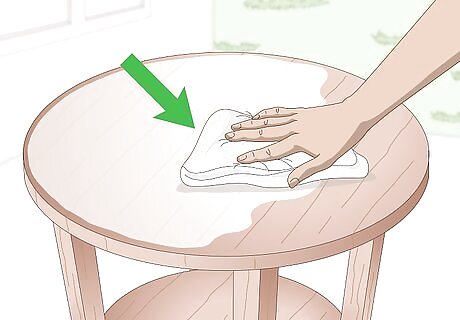
Wipe the table down with a damp cloth. Dip a soft cloth in warm water, and squeeze out the excess. Wipe it across the surface(s) that you sanded. This will remove and dust or grit. This would be a good idea, even if you did not sand the table.
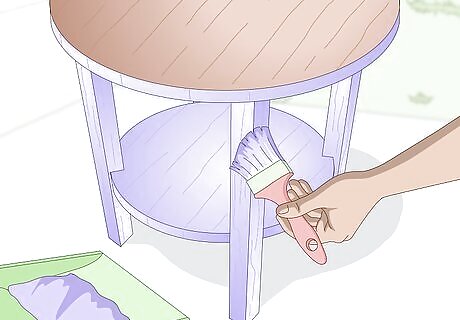
Paint the table, if desired. Start by painting the sides and legs of the table. If you plan on covering the entire tabletop with paper, leave the tabletop bare. If you plan on just adding simple cut-outs to the tabletop, you can choose to paint it or leave it bare. Let the paint dry, apply another coat of paint, then let it dry completely. Acrylic paint and spray paint will work well for this.
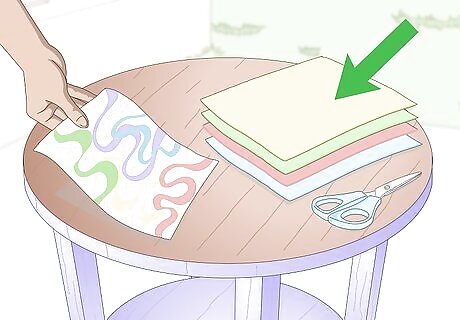
Gather and prepare your paper. The possibilities are endless here. You can cover the entire table with a large sheet of colorful wrapping paper or fabric. You can also cut smaller shapes out of scrapbooking paper, and decoupage it over a bare, painted, or paper-covered tabletop. Choose something with a nice patter, especially if you are using wrapping paper; avoid designs that make it obvious that it's wrapping paper, such as "Happy Birthday," balloons, or Christmas trees. If you plan on covering the entire tabletop, cut the material down so that it is 1 inch (2.54-centimeters) bigger on all four sides. If you plan on pasting smaller shapes onto the table, cut smaller images out of scrapbooking paper. You can also use printed images, fabric, cards, magazines, etc.
Decoupaging the Table
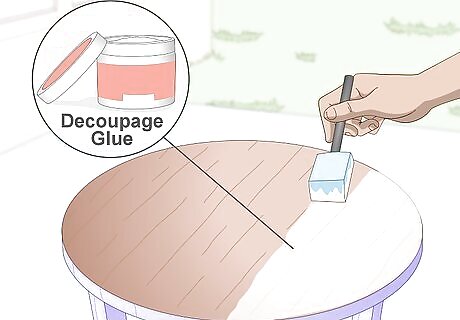
Apply decoupage glue to the table with a sponge brush. Apply it only to where you will be putting the paper. This could be the entire tabletop or just patches (if you are using smaller images). Be generous with the decoupage glue. You want it to be nice and thick.
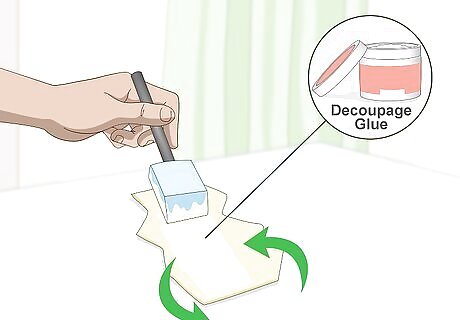
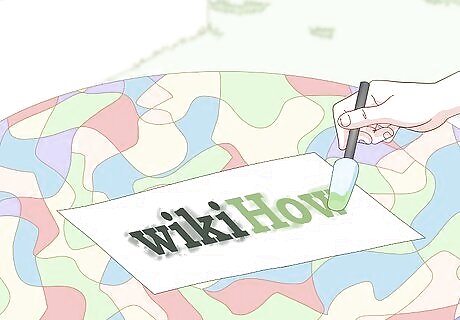
Apply more decoupage glue to the back of the paper. Flip the paper over so that the back is facing you. Coat the back of the paper with decoupage glue using a foam brush.
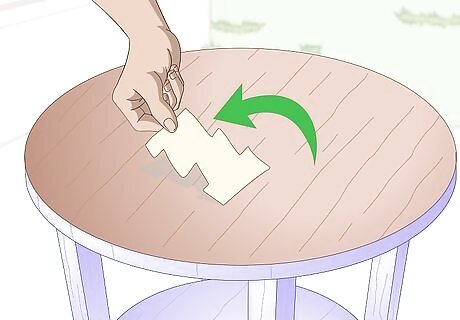
Place the paper on top of the table. Don't press it down just yet. Make sure that it is places exactly where you want it to be. If the placement is off, carefully nudge it back into place.
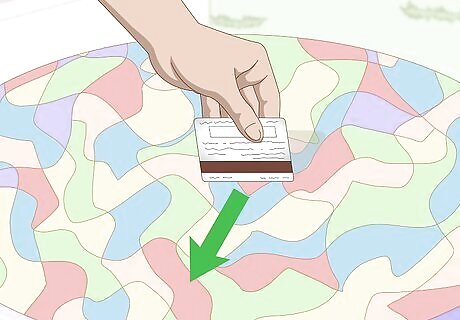
Smooth the paper down. Work your way from the middle of the table to the outer edges. You can smooth the paper down with a credit card, a ruler, or even a clean, foam roller. Some stores also sell special smoothing tools just for decoupage. If you see air bubbles, pop them with a pin or needle, then smooth them down. If your paper has overhanging edges, do not press them onto the sides of the table. Leave them hanging loose.
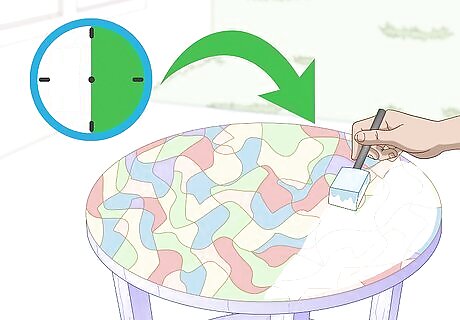
Let the paper dry before applying another layer of glue. Let the paper dry for 30 minutes first. Next, apply a coat of decoupage glue using a foam brush. Apply the glue starting from the center of the paper and work your way outward towards the edges.
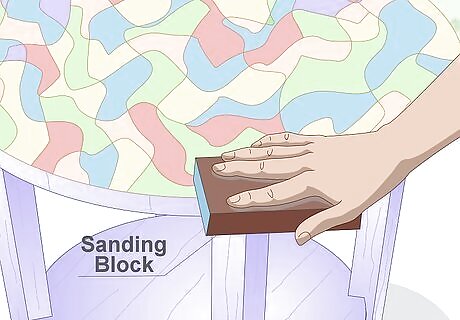
Sand the edges of the table with a fine-grit sanding block, if needed. You only need to do this if you covered the entire tabletop with paper. Run the block back and forth across the top edge of the table. This will saw off the excess paper. Discard any paper that falls off. Wipe off any dust.
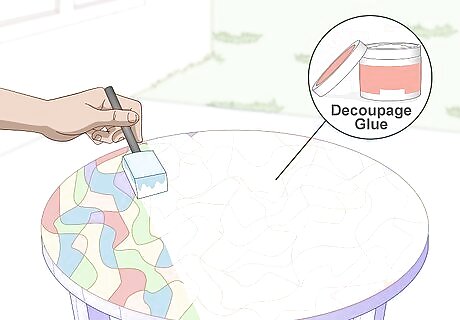
Apply a second coat of decoupage glue. Use the same technique as before: apply the glue with a foam sponge, working your way from center-out. Let the glue dry completely before moving on.
Adding Layers and Other Designs (Optional)
Consider adding additional designs. You do not have to do all of the ideas suggested in this part. Simply choose one or two that appeal the most to you, and run wild with them!
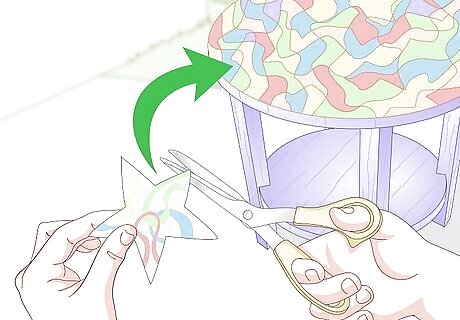
Add cut-out shapes onto your tabletop. Choose shapes that work with your tabletop's color and/or design. Cut them out along the outline with a sharp pair of scissors. Apply decoupage to the back, then place them onto the table. Smooth them down from center-out with a credit card. You can do this step too, even if you already added cut-out shapes onto your bare or painted table. Consider layering the shapes to create unique images.
Stencil designs onto the tabletop. Lay down a stencil onto you table. Apply acrylic paint over the stencil with a round, foam brush (pouncer). Dab the brush up and down over the stencil. Do not drag the brush across the stencil, or you will risk getting paint under it. Pull the stencil away when you are done, before the paint dries. Use colors that contrast with your design to make them stand out, such as white, black, silver, or gold.
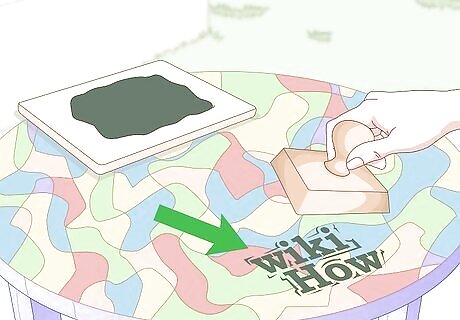
Stamp designs onto the tabletop. This method will work similar to stenciling and is great for a rustic design. Pour out some acrylic paint onto a plate, lid, or other pallet. Dip the stamp into the paint, then press it lightly against the table. Lift it away to reveal your stamped design. Repeat this step as often as you'd like. Use a color that contrasts with your design. White, black, silver, or gold are great, neutral colors that will help the stamp stand out.

Consider adding free-hand designs with a thin brush. If you have elegant handwriting, you could write passages from your favorite books, songs, or poems onto the table using a thin brush; cursive or calligraphy would work well here. If you are very artistic, you can even paint your own sketches onto to the table instead; birds and flowers make great motif. Keep the designs and colors simple. Black is a great choice.
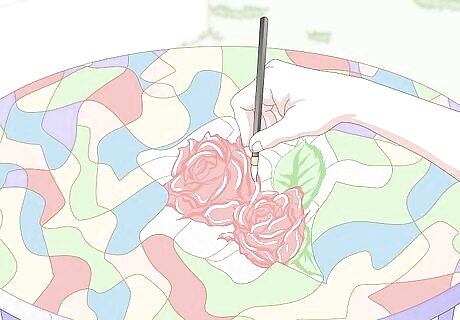
Add highlights or accents to existing images. This works great with cut-out images. Use gold or silver ink (or a thin brush and acrylic paint) to highlight certain features on your cut-outs. For example, if you used roses, you can add highlights to the tips of some of the petals. Keep it simple however; less is more! Glittery paint may also work, depending on your design.
Finishing and Sealing the Table
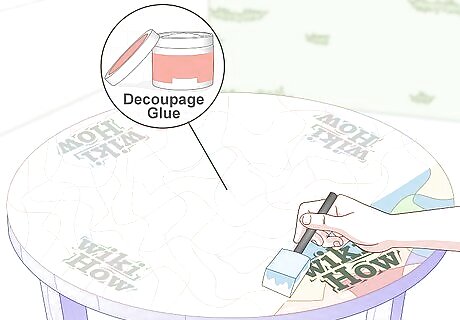
Paint another coat of decoupage glue, if needed. You only need to do this if you layered on more paper, paint, or designs. Let everything dry first, then apply the decoupage glue with a foam brush. Work your way from center-out, then let it dry completely.
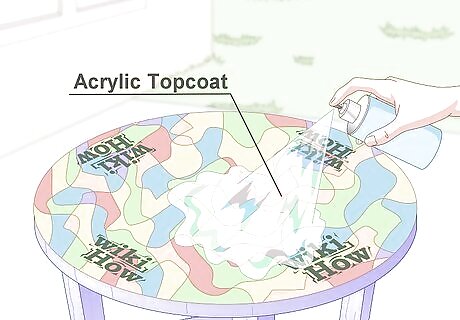
Apply a spray-on topcoat. Choose a waterproof, acrylic topcoat. Spray it onto the table. If you need to apply a second coat, wait until the first one dries. You can also use a polyurethane topcoat, but be aware that it may yellow over time. Topcoats come in many different finishes, such as glossy, satin, and matte. Choose one that works the best for you. You can also use a brush-on topcoat if you prefer.
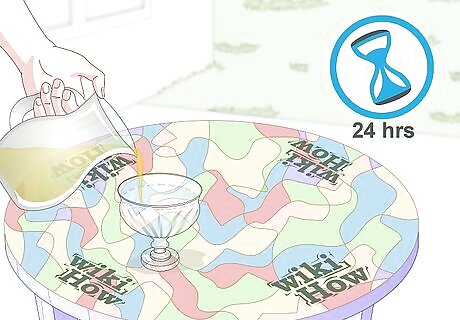
Let the topcoat cure before using the table. Just because something feels dries does not mean that it is ready to be used. Read the can of your topcoat, and see what the complete drying and curing times are. In most cases, this will be about 24 hours. If you use the table too soon, the topcoat may get tacky.






Comments
0 comment