views
Drawing a Lion Cub Face
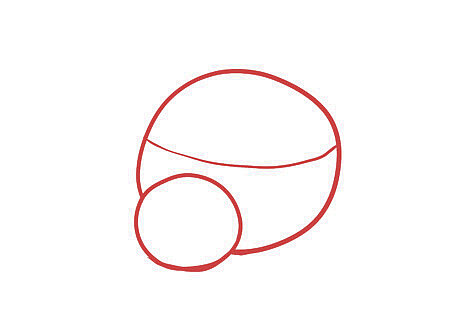
Draw two circles. Start with a large circle, and add another smaller circle near the bottom of the first circle, overlapping and sticking out a bit. The large circle will become the cub's head, and the smaller circle will become the cub's muzzle. Don't worry about making it perfect now. A good artist can see the basic shapes in things. You can always perfect it later. Add an additional curved horizontal line across the center of the large circle. This will be a guide for when you are drawing in the eyes.
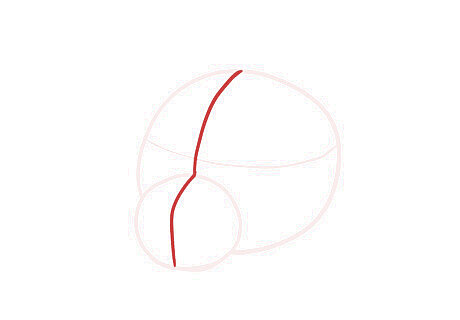
Add additional guide lines. Draw a vertical curved line down the center of both circles. These lines will help you space the eyes and position the nose and mouth.
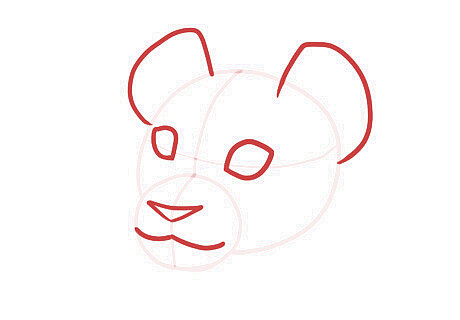
Mark out the ears, eyes, nose, and mouth. Using your already established guidelines, place some facial features onto your lion cub. The ears should be large c-shaped attachments to the top of the head. Make the eyes slightly almond-shaped. These should be placed along the horizontal guideline. The nose should be a wide triangle. It should be much wider than it is tall, and should be about as long as the distance between the eyes. Draw a slightly curved horizontal line on each side of the guide line on the smaller circle to form the mouth.
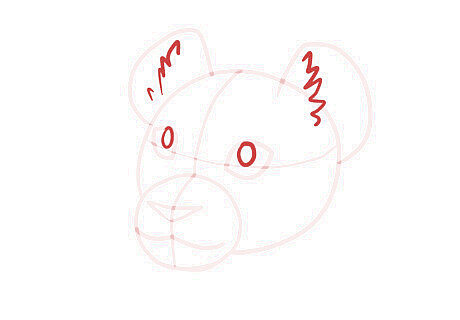
Add extra detail. Draw in some pupils, ear fuzz, and any other details you feel are missing. You may also choose to refine your sketch further before attempting line art, but it isn't strictly necessary.
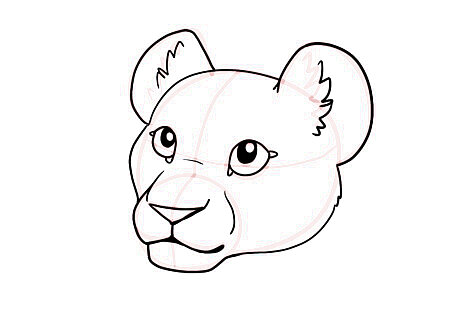
Draw the line art. Use a pen or a new layer to trace over your sketch. The sketch is only meant to guide you, so don't feel like to need to stick to the sketch too strictly. You may, for instance, choose to widen the cheeks, refine the head shape, and add even more detail.
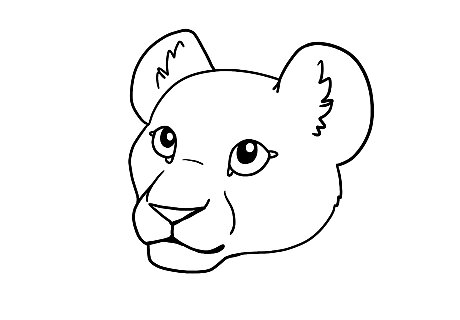
Erase the guide lines. You now have a finished line art! You can leave it blank if you want, but coloring it will make it look even better.
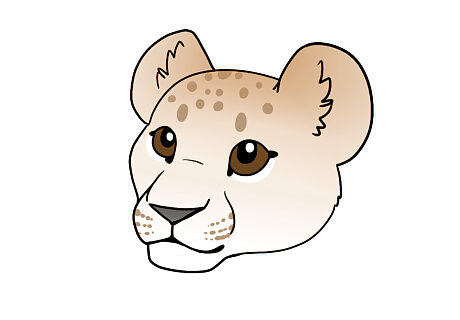
Color your cub in. Add some color to make the drawing really pop. Use a light tan color as a base for the fur, and fade to a darker tan at the top of the head. Leave the chin white, and leave a small white ring under each eye. Color the nose a dark gray or dark pink. Color the eyes dark brown. Don't forget to leave a little white circle on each pupil to represent highlights! Finish your cub off with some small brown spots on the forehead and the muzzle.
Drawing a Sitting Lion Cub
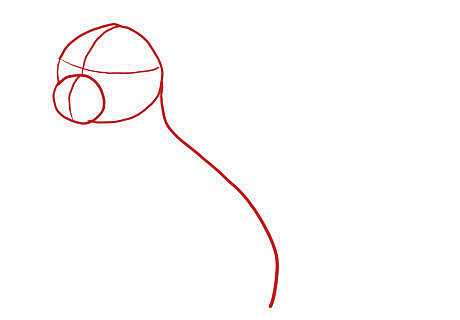
Draw two circles. There should be a bigger circle and a smaller circle to serve as the head and muzzle of the cub. Draw horizontal and vertical lines intersecting the circles. At the back of the larger circle, attach a long wavy line. It should be slightly s-shaped. This will guide you when you are drawing the cub's body.
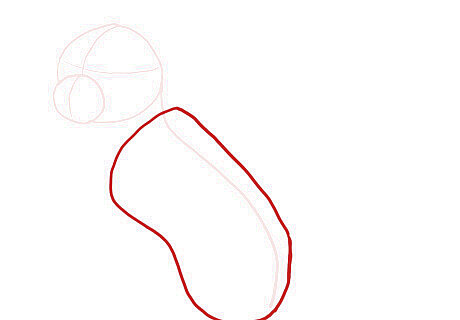
Draw the body. Using the long line from the previous step as a guide, draw a bent tube shape for the cub's body. Make sure you don't draw too close to the head, because you still need space for the neck as well.
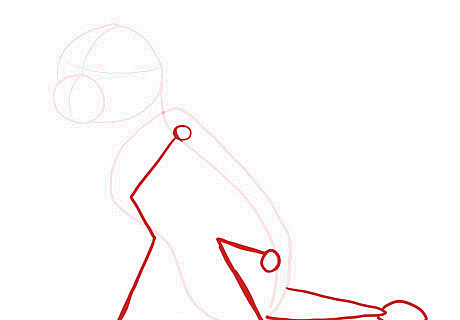
Add guide lines for the legs and tail. To attach each leg, start with a small circle near the top of the cub's back. From that circle, draw a z-shaped line that points forward, then backwards, then forward again. The tail should be a long, flat triangle with an oval at the end.
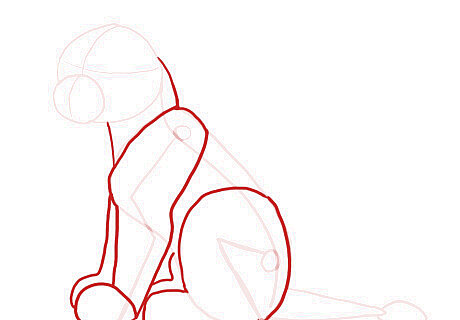
Define the legs and neck. Following the guide lines from previous steps, give your cub some chubby legs and a neck. Draw some ovals to show where the paws are as well. If you draw the lion cub sitting down, keep in mind that the back legs will look much thicker and rounder than the front legs. To draw the legs that are further back from the viewer, simply draw the same patterns as the closer legs, slightly sticking out from behind the closer legs. Define the neck with lines that connect the head to the body. Remember, these lines should look like they continue into the belly and the back, and the entire neck itself should be a consistent thickness.
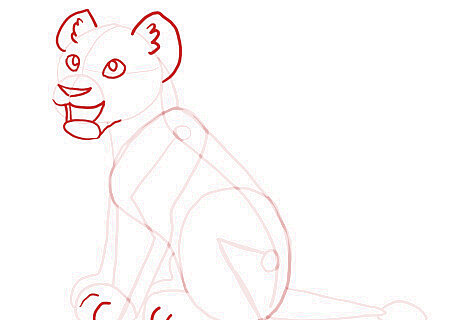
Add additional details. Give your lion cub a face, draw the ears in, and draw lines to separate the toes. To give your lion cub an open mouth, position an oval directly below the front part of the head. Use four lines to attach the oval to the head, two for the outside of the jaw, and two for the inside of the mouth. Draw curved lines on each foot represent the toes.
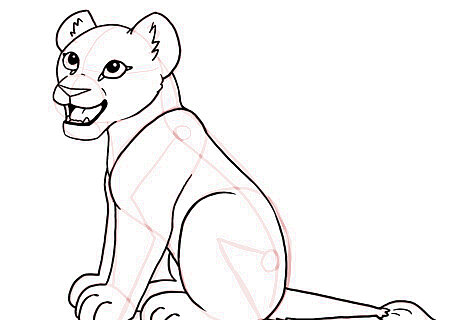
Draw the line art. Remember, the guide lines you already placed are simply guides, so don't feel like you need to stick to them too strictly. Add in any small details that you think will make your drawing look better. When drawing the lines for the mouth, use slightly thicker lines to draw the cub's bottom lip. You only need to add a few triangles into the lower jaw to represent teeth. You can draw more teeth if you want, but it may make your cub look scarier.
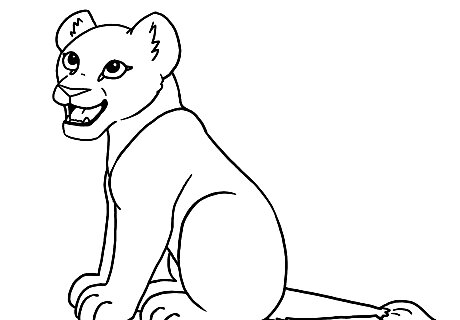
Erase the guide lines. Carefully erase any lines that you don't need any more. This will leave you with a clean looking line art, which you can then color in!
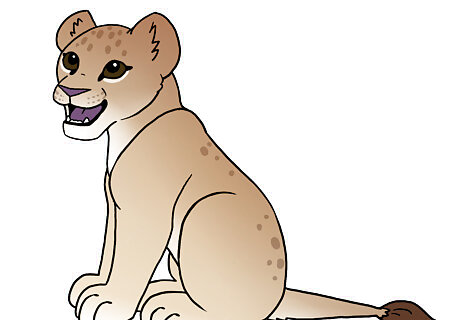
Color your cub. Start with a light tan color for the bulk of the head and body. Fade to a darker tan along the back and the top of the head, and fade to a white or cream color along the bottom of the jaw and belly. Don't forget to put little white rings under the cub's eyes. Make the eyes a dark brown with white highlights on each pupil. Use a dark pink for the nose and tongue. Finish the cub off with some little brown spots on the head and along the spine.



Comments
0 comment