views
Preparing for Dyeing
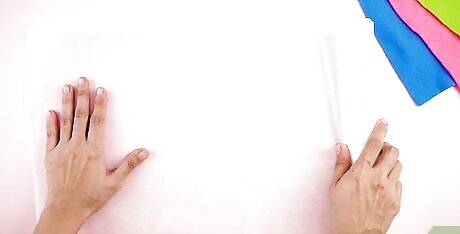
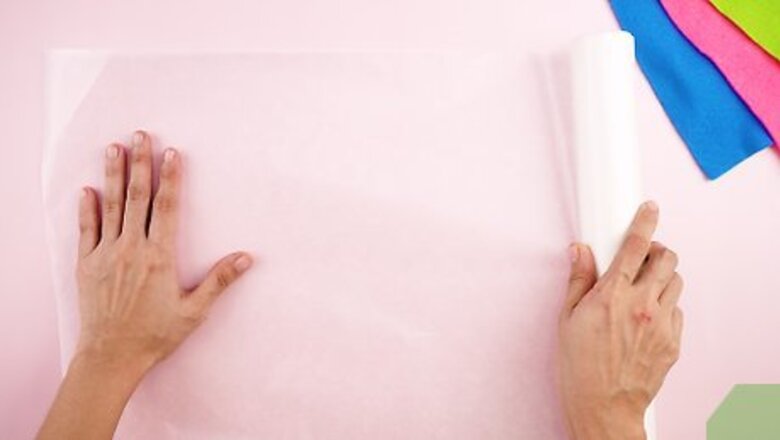
Cover a flat work surface with wax paper or plastic to prevent staining. Unroll the plastic sheeting or wax paper and spread it out flat over your work surface. Run your hand over it to smooth out any wrinkles. Then, place a few pieces of masking tape around the edges to hold the paper or plastic in place. Choose a work surface that can accommodate a large bowl or bucket and has plenty of space to spare so you can lay the felt pieces out flat to dry. Don’t use newspapers for this. The wet felt will make the paper soggy and absorb the newspaper ink.Tip: If you're worried about staining the floor or carpet, consider covering the ground around your workspace with plastic sheeting or garbage bags.
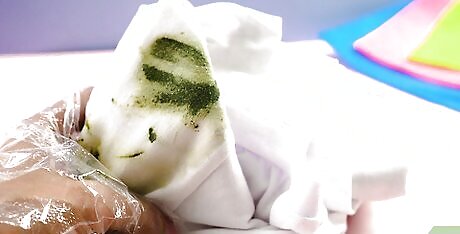
Put on an artist’s smock and a pair of disposable plastic gloves. This project can get messy, so be sure to protect your clothing or wear old clothes that you don’t mind staining. Acrylic paint can cause mild irritation if it gets on your skin, so don a pair of plastic gloves to protect your hands while you work. If you’re working in a small, enclosed space, consider cracking a window for ventilation. Acrylic paint isn’t toxic but you might not like the smell of it. If you do get acrylic paint on your skin, wash it off quickly with mild soap and warm water.
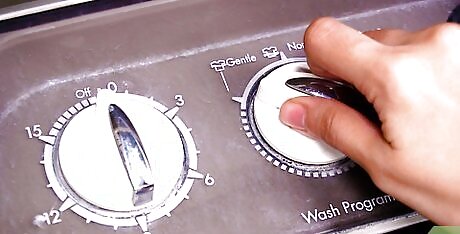
Machine-wash pieces of plain white felt using a gentle cycle. Load your washing machine with a small amount of regular laundry detergent and place the felt inside. Do not add liquid fabric softener or put any other fabric items in with the felt. Run a gentle cycle with warm water to remove sizing and loosen up fibers for the dye. Fabric softener may cause the felt to repel paint, so it’s important to omit it. Use plain white felt for the best results. If you use any other color, your results won’t match the color of your dye bath. If you want to experiment, try using a pastel color instead of white. For example, dye pastel blue felt in a purple dye bath. The blue undertones on the felt may give your purple a deeper, richer look.
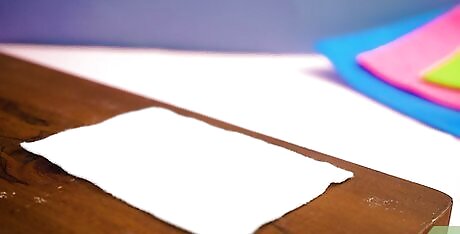
Lay the felt out flat to air-dry before dyeing it. Once the wash cycle completes, lay the felt flat and let it air-dry. Do not put the felt in a dryer. If you want to speed up the drying time, blast the felt pieces with cool air from your blow dryer. The heat from your dryer could distort or shrink your felt.
Creating the Dye Bath

Grab a plastic bucket or large bowl that can hold enough water for the dye bath. The best size will depend on how large your pieces of felt are If you’re dyeing big pieces, go with a large plastic bucket. For small pieces of craft felt, a large plastic or glass bowl works fine. Acrylic paint can be scrubbed off hard surfaces with soap and water, but it’s probably best to grab a dedicated bowl or container that you won't be using in your kitchen later.

Fill the bucket or bowl with enough water to submerge your felt. Hold your bucket or bowl under the tap and add room-temperature water. You need to be able to fully submerge your felt pieces in the dye bath but don’t fill your container to the brim with water. If you use too much water, the dye bath could overflow when you dunk the felt into it.
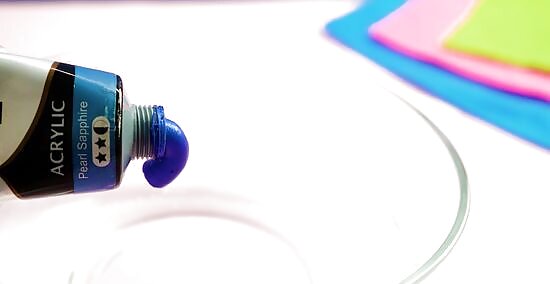
Squirt a small amount of paint into the water and stir thoroughly. There’s no set amount of acrylic paint to use for this; in general, the more paint you add to the water, the darker the dye bath and your results will be. Start by adding a small, quick squirt of paint to the water. Stir the water vigorously with a wooden stick until the paint dissolves. If you want the color to be more vibrant, add another small squirt of paint to the bath and stir again until it dissolves. Create custom colors by using multiple paint colors in the dye bath. For example, you can easily create a unique shade of chartreuse by mixing green and yellow paint together in the dye bath until you achieve the desired shade. If you're experimenting with color, try mixing the colors together on a palette first. Once you create your desired shade, add the mixed paint to the water.
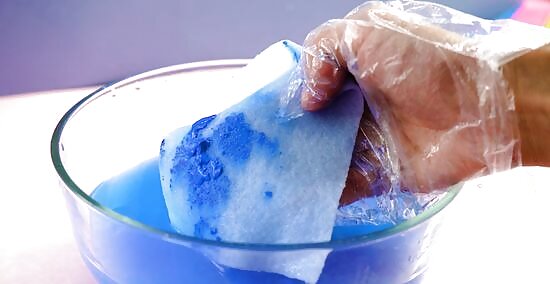
Submerge a scrap piece of felt in the dye bath to absorb undissolved paint. Some of the acrylic paint may not dissolve completely in the water, which is pretty normal. To get rid of any paint lumps, dunk a scrap piece of felt into the dye bath and swirl it around a few times to absorb them into the fabric. Then, remove and discard the felt. If you don’t do this, the first piece of felt you try to dye in the bath will end up splotchy and uneven. Doing this also gives you a chance to see how your color looks on the felt and adjust the dye bath, if needed, to get your desired results.
Submerging Felt in the Dye Bath
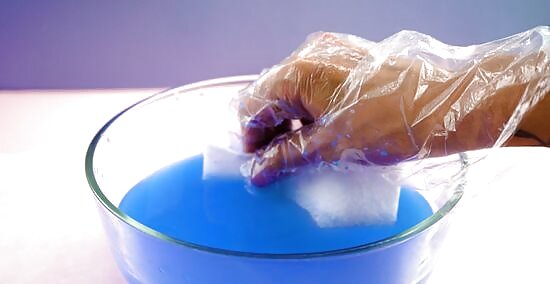
Dunk the piece of white felt into the dye bath for 2-3 seconds. Use your gloved fingers to lower the felt into the water and push the fabric down to fully submerge it in the dye bath. Make sure the felt is unfurled in the dye bath so the color is absorbed evenly. You only need to submerge craft felt in the dye bath for a few seconds to get great results.Tip: If you’re using heavy-duty felt made of real wool, you may need to let the fabric soak in the dye bath for a few hours. Check on the felt periodically and remove it from the dye bath once you achieve the desired color.
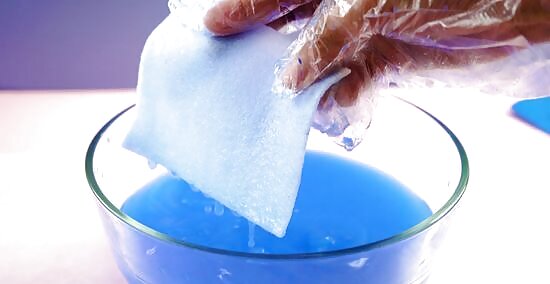
Pull the felt out of the water and hold it over the dye bath to drip. After a few seconds pass, pull the felt out and hold it by 1 of the edges over the container. That way, excess dye bath can drip into the bowl. Grab the other end of the felt, rotate it, and let the excess drip from that end, as well, to ensure even results.
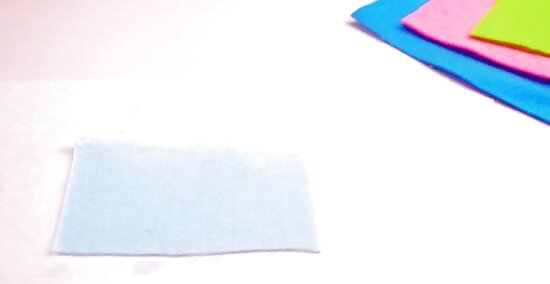
Lay your dyed felt out flat on the wax paper and let it air-dry overnight. When the felt is no longer dripping, transfer it to your flat, covered space to air-dry. Lay it out flat and make sure there are no wrinkles. Give the felt 8-12 hours to dry completely before using it in your craft project. If you’re dyeing multiple pieces of felt, be sure to leave space in between them to air-dry. Don’t let the wet pieces of felt touch or overlap.
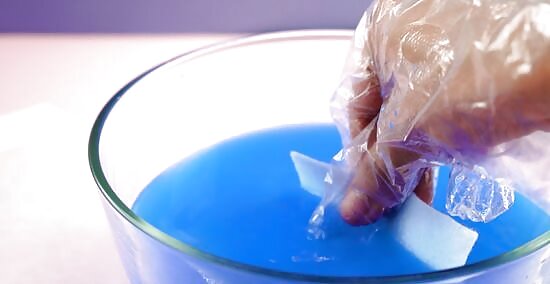
Repeat the process if the color isn't dark enough. Once the felt dries completely, you may find that the color isn't quite as dark as you originally thought. You can repeat this process as many times as needed until you achieve the color you want!


Comments
0 comment