views
Enabling the Toolbar in Google Chrome
Open Google Chrome. Do this by double-clicking its desktop shortcut icon.
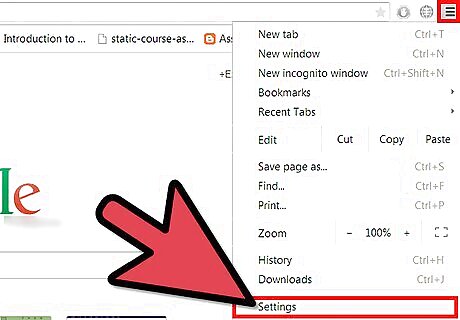
Head to the “Option” menu. This should be the horizontally stacked lines in the upper-right corner.
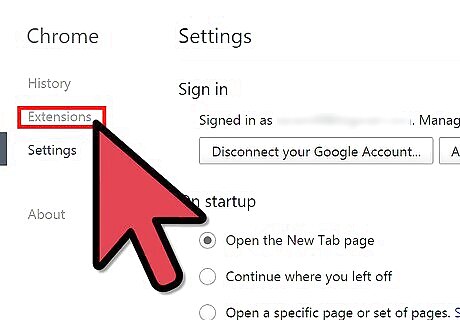
Choose “Tools” then head to “Extensions.” This menu will let you choose which extensions and toolbars to run.
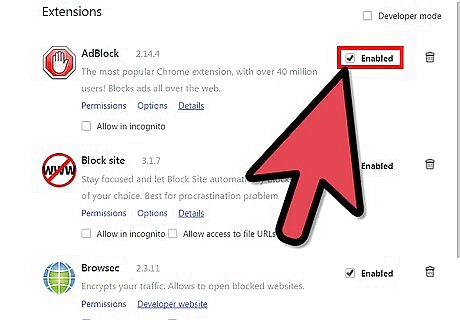
Enable the toolbar. Choose a toolbar from the list, and click the “Enable” box.
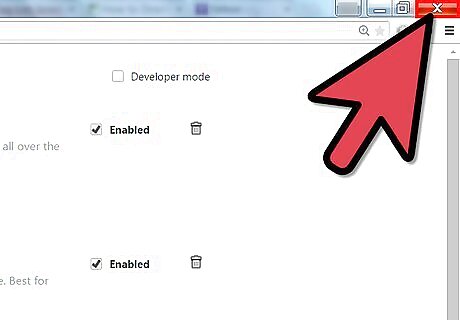
Restart Google Chrome. Hit the red X button at the top-right corner of the browser to close Chrome, then double-click again its shortcut icon on the desktop.
Enabling the Toolbar in FireFox
Launch Firefox. Do this by double-clicking its desktop shortcut icon.
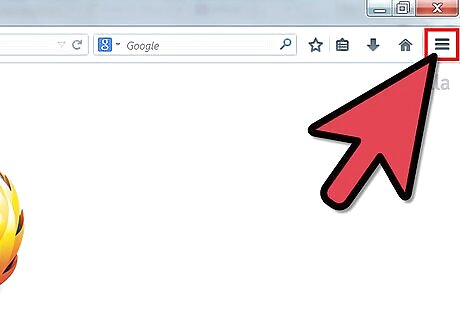
Head to the “Menu” button. This should be at the upper-right corner of the browser, which look like stacked lines.
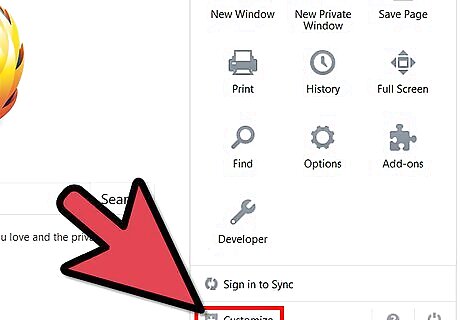
Choose “Customize” under the extended menu. It should then display a variety of tools that you can add to the toolbar to fully customize it.
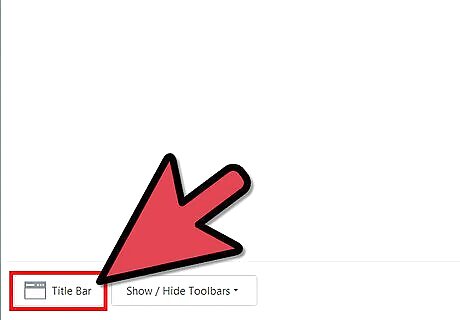
Select “Title Bar.” FireFox’s term for the toolbar is Title Bar. Click on this option in the Customize menu to start customizing your toolbar.
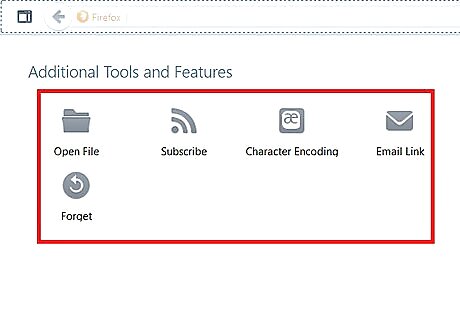
Customize the toolbar. Simply drag and drop tools in the left panel into the toolbar.
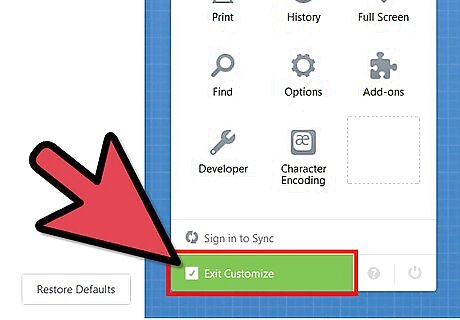
Hit the Green “Exit Customize” button. This should save your new toolbar.
Enabling the Toolbar in Internet Explorer
Launch Internet Explorer (IE). Do this by double-clicking its desktop shortcut icon.
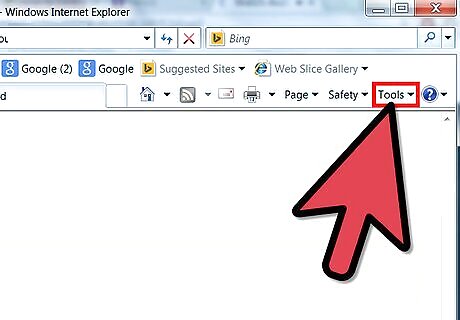
Click on “Tools.” This button should be located at the top of the window.
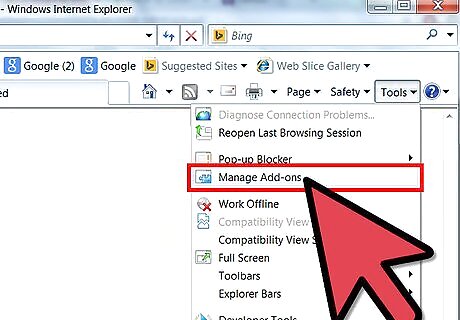
Click “Manage Add-ons.” This should open a menu that will let you choose which toolbars and Add-ons you want to enable.
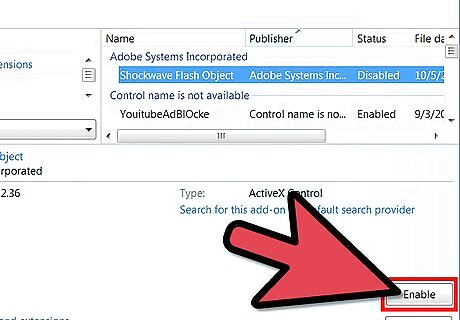
Enable a toolbar. Select a toolbar you want to enable then click the “Enable” button at the lower-right corner of the window.
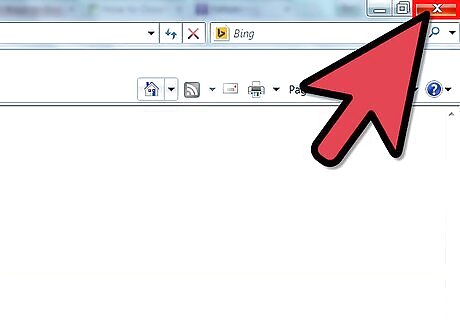
Restart IE. Hit the red X button at the top-right corner of the browser to close IE, then double-click again its shortcut icon on the desktop.


Comments
0 comment