views
First Stitch Tutorial
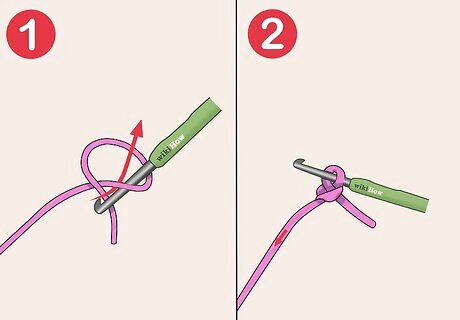
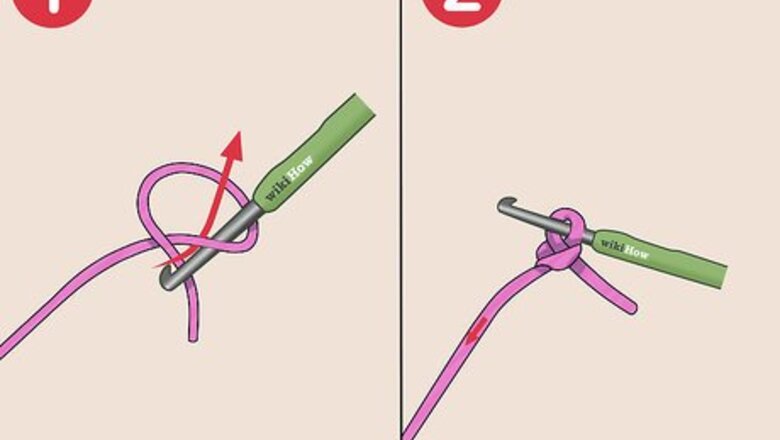
Make a slipknot. Before you can start the foundation single crochet row, you need to make a slipknot. Begin by wrapping yarn around your finger twice then pull one loop through the other to make a loop with a knot on the end. Slide the slipknot onto your hook and tug the yarn to secure it.
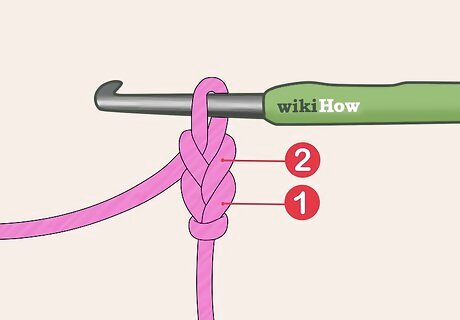
Chain two. Next, chain two stitches. To do this, loop the yarn over the hook in front of your slipknot. Pull the new yarn through the slipknot to make one chain. Then, yarn over and pull it through again to make the second chain.
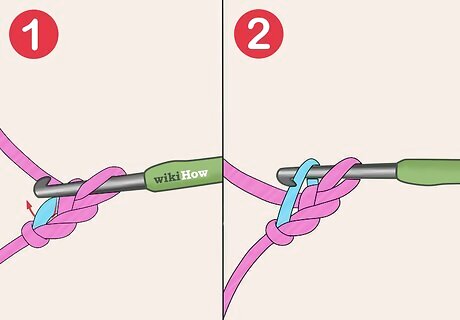
Insert hook into the first chain and yarn over. Identify the first chain made and insert the hook into this chain. Loop yarn over hook and pull it through the chain. At this point, you will have two loops on your hook.
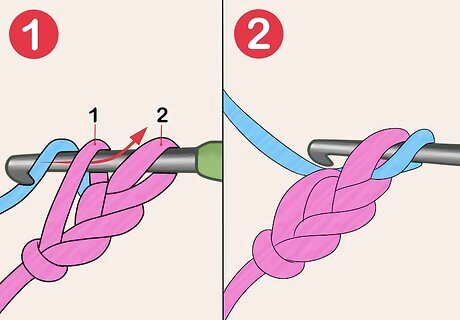
Loop yarn over and pull through. Next, loop yarn over hook and pull it through the first loop on the hook. This will make a chain of one and you should still have two loops on your hook.
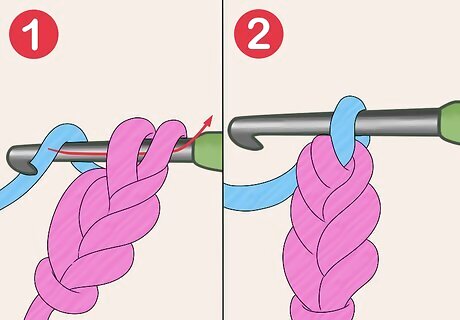
Loop yarn over and pull through both loops. To complete the stitch, yarn over your hook again and pull yarn through both loops on the hook. You will have one loop on the hook and you are now ready to continue the row.
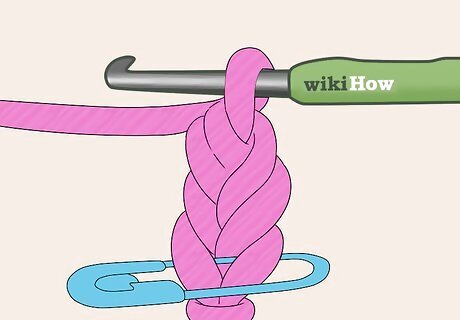
Mark your first stitch with a stitch marker. It can be helpful to mark the first stitch in the row with a stitch marker. You may want to do this the first few times that you use the foundation single crochet stitch. Place the stitch marker through the first single crochet stitch.
Foundation Row Tutorial
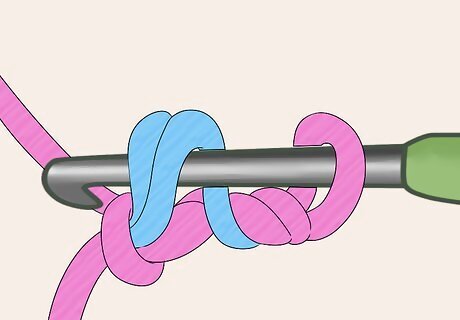
Insert your hook into the stitch just made. To continue the row, you will follow a shorter sequence than what you used to create the first row. Start by inserting your hook into the stitch just made. If you placed a stitch marker here, it should be easy to locate.
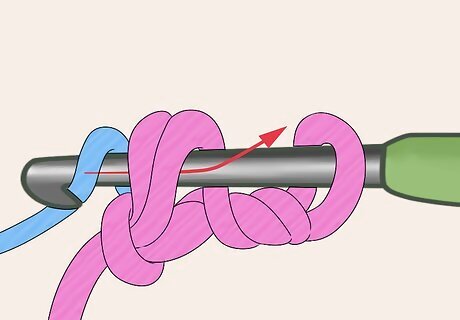
Loop yarn over and pull through the stitch. Next, loop yarn over hook and pull it through the stitch. You now have two loops on your hook.
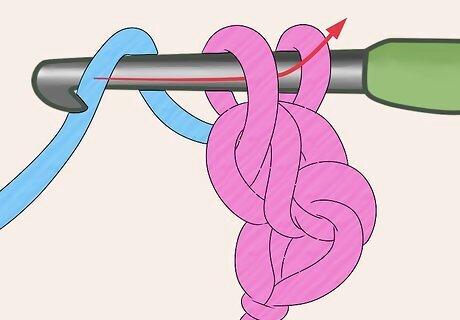
Yarn over again and pull through one loop. Loop yarn over hook again and pull it through the first loop on your hook to make a chain. You will have two loops on your hook at this point.
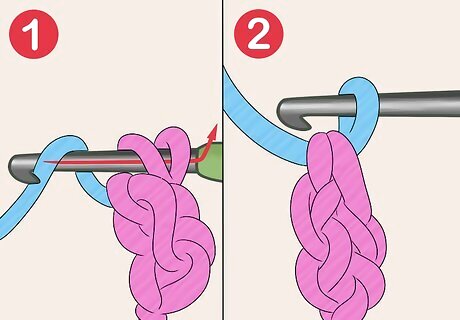
Do one more yarn over and pull through both loops. To complete the stitch, loop yarn over hook again and pull it through both loops on your hook. This will leave you with one loop on your hook again and you will be ready to start the sequence over.
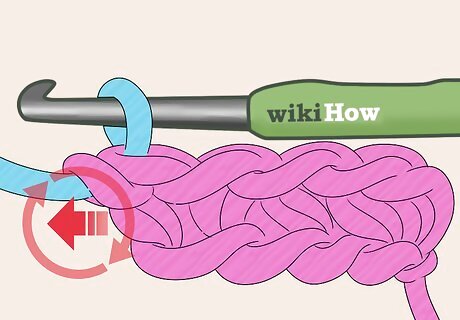
Repeat the sequence to the end of the row. Continue the sequence for this stitch until you have the desired number of stitches in your row. You can then continue your project.
Advantages of the FSC Stitch
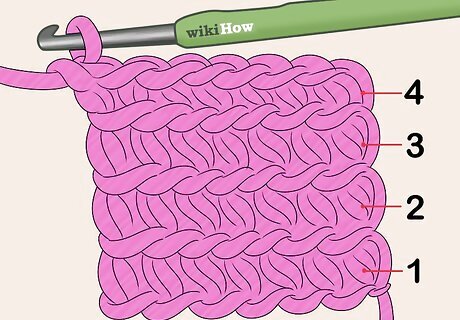
Checking the gauge of your yarn You cannot get an accurate gauge of your yarn by crocheting a chain. However, the FSC stitch is a good way to quickly check the gauge of your yarn. Make a 4” row of FSC stitches and count them to determine the gauge of your yarn and hook. This could be a huge time saver if you are trying to determine your gauge for a project.
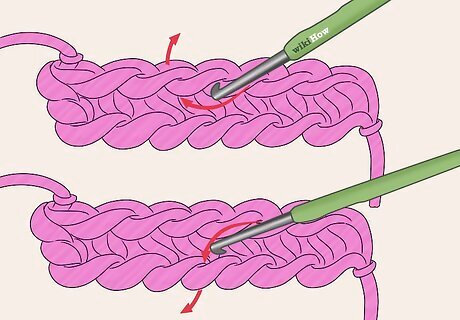
Crocheting into the top and bottom of the row Another great advantage of the FSC stitch is that the top and bottom rows look the same. This means that you can work into the top and bottom rows and get the same results. Therefore, the FSC stitch is a good option if you want to work on both sides of your foundation row. It is ideal for crocheting ovals like the sole of a slipper or baby bootie.
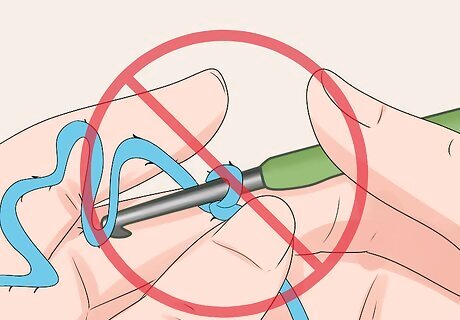
Not needing to redo the first row It is common to miscount the links in your chain when crocheting a large piece, and it can be a time consuming error. You may end up having to start over if you don’t notice the error until working the first row of your project. By using the FSC stitch, you can count the stitches easily as you go and you will be less likely to make a mistake with the number of stitches.
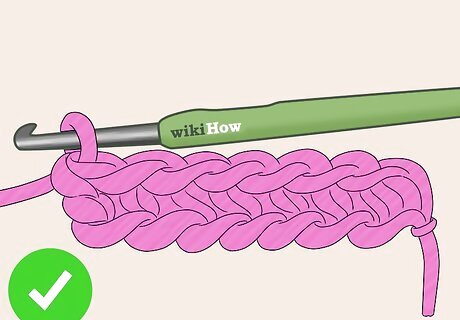
Achieving a neater look The FSC stitch produces a neater looking first row than by making a chain and crocheting into it. If you have noticed that your projects tend to look a little sloppy when you start them with a chain, try switching to the FSC stitch for your next project. This will give better results once you master the stitch.






Comments
0 comment