
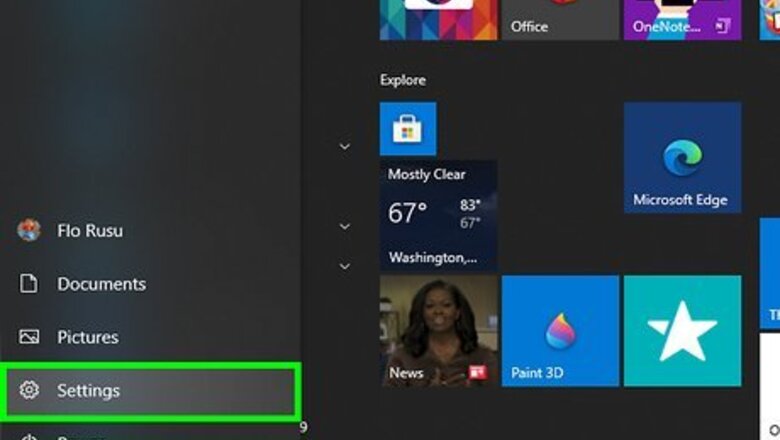
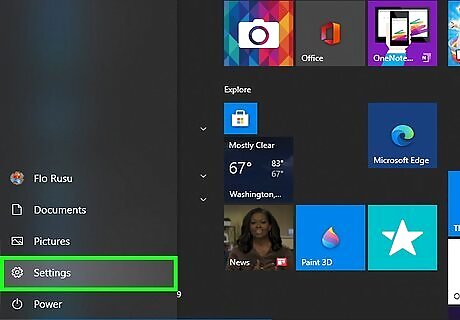
Open the Settings app. Click the Start Windows Start button and select the Settings Windows Settings gear. Alternatively, you can search your PC for "storage" and select "Storage settings".

Click the System category.
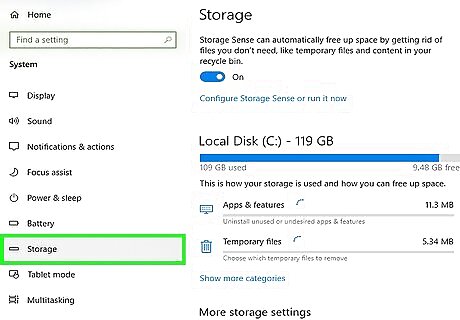
Click the Storage subcategory. It's in the left pane.
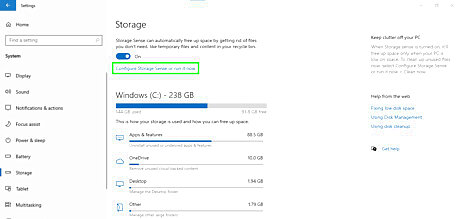
Select "Configure Storage Sense or run it now".
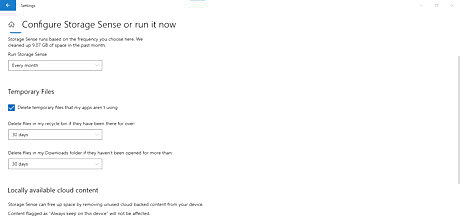
Configure Storage Sense. You will see many options that you can specify for Storage Sense. First, make sure that Storage Sense is turned on Windows Switch On. Then, select how often you want it to run by using the drop-down menu. The other settings are described below: Check the "Delete temporary files that my apps aren't using" checkbox Windows Checked to tell Storage Sense to remove various files that are no longer needed by the system. Change the "Delete files in my recycle bin if they have been there for over:" drop-down menu if you'd like to specify a different period. However, the default setting is probably okay. Change the "Delete files in my Downloads folder if they haven't been opened for more than:" drop down menu to your liking. This is disabled by default but enabling it will clean up even more space. Change the OneDrive settings to your what you prefer. This will allow you to keep most of your files in the cloud while not wasting space on your computer for them.
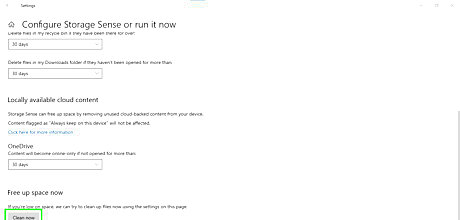
Click Clean now. This will run Storage Sense and will delete all files that meet the criteria that you selected.


Comments
0 comment