
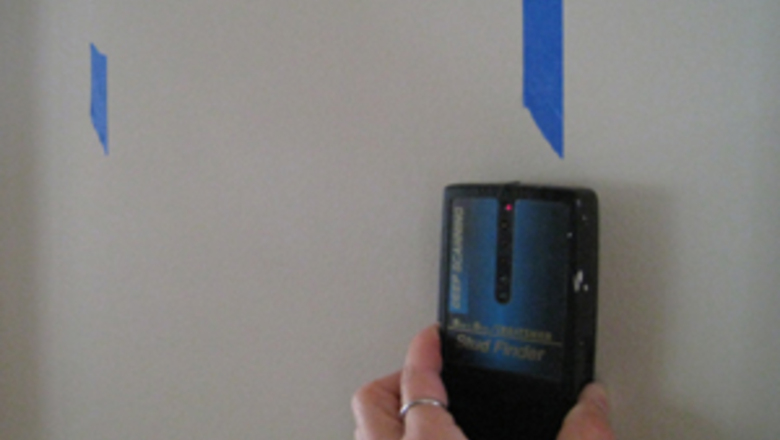
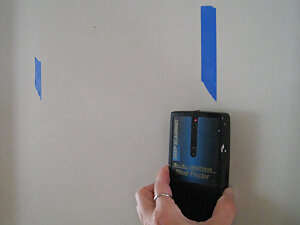
Locate all the studs that fall within the desired area. Use a stud finder to find and mark each stud location.locate studs
Determine that there are no pipes or electric lines in the desired niche location.
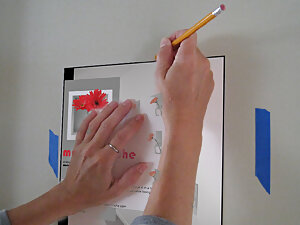
Place the template (cut from front of box) in the desired position. Then trace around the template to create lay out lines, making certain that the lay out lines are level and do not overlap your studs. trace template

Cut each opening carefully using your utility knife or drywall saw.cut hole
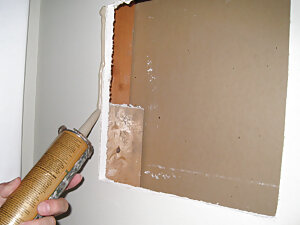
Sand the front surface around opening until it is flat. Apply construction adhesive around the opening and place niche inside, using drywall screws to hold niche in place. apply adhesive
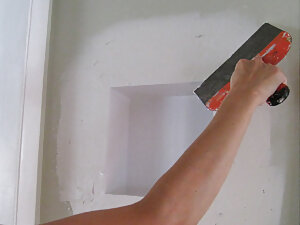
Finish using traditional drywall methods—drywall tape and mud. There is a molded bead around the front of the box to guide your drywall knife and help create a smooth edge.apply drywall mud

Sand when dry and re-apply mud until the surrounding area is flat and smooth. Then finish the wall and niche with primer and paint.
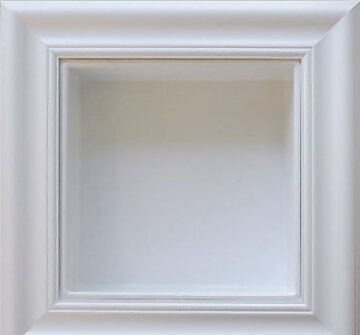
Apply molding, if desired. Instead of finishing out the drywall, use pre-assembled molding to trim and cover the flanges. To finish, prime and paint the molding and niche.finished with molding Alternatively, you can mitre your own frame and assemble it before (or while) mounting it on the wall.


Comments
0 comment