views
Pinning Your Dress to Your Bra

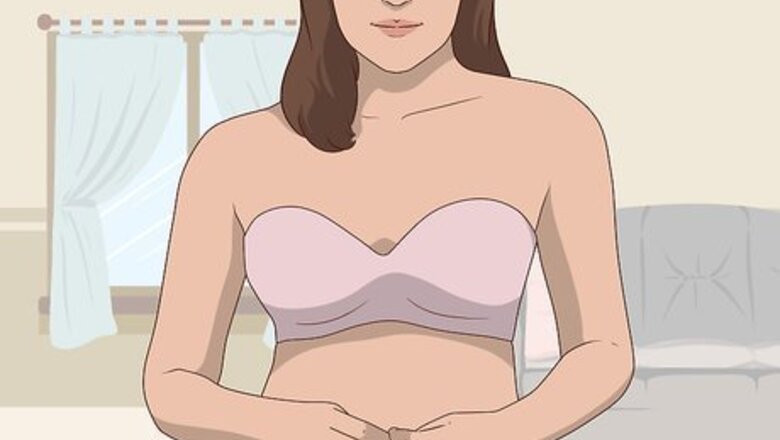
Find a strapless bra. This method requires you to wear a strapless bra. If you don’t have one already, you will need to buy one. Make sure it will not show through the dress! If you are wearing a white dress wear a nude colored bra instead of a white one.
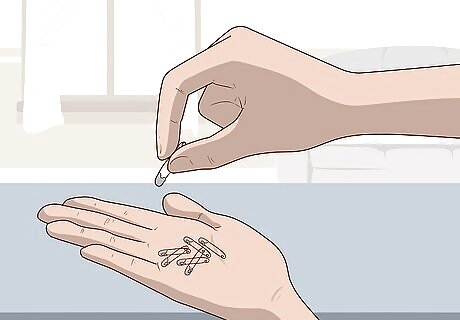
Have plenty of safety pins on hand. These are what you will use to pin your dress to the bra.
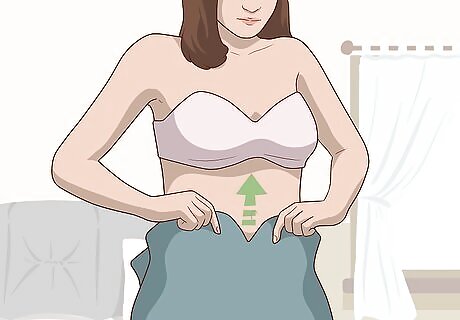
Put your bra and dress on. Before you can begin pinning them together, you need to have them on. It will be very helpful if you have someone help you with the pinning!
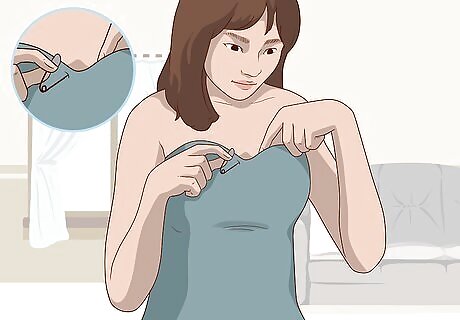
Pin the bra and dress together. From the inside (e.g. insert the pin from the inside of the bra to the outside of the dress. This will hide the larger part of the safety pin. If your dress has a lining, you can try pinning the dress only through the lining so that the pin doesn't show on the outside at all. Make sure, though, that the lining is strong enough to support the dress! If the lining is very thin, and the dress fabric quite heavy, it may tear the lining. Alternatively, if there is no lining or you want the extra support, pin through the entire dress, but make the space between where the pin exits the fabric and then re-enters the fabric as small as possible so that it will not be too visible.
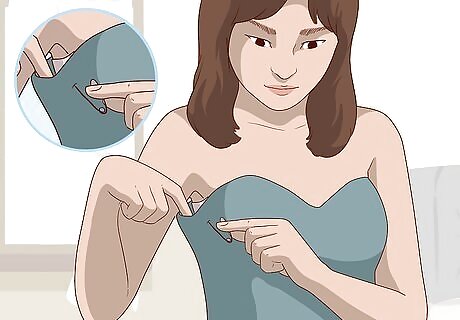
Pin all around the dress. You don’t have to pin every inch of the dress, but have enough so that the dress is well adhered to the bra. You don’t want the dress to fall down in some areas and remain in place where it is pinned.
Using Fashion Tape
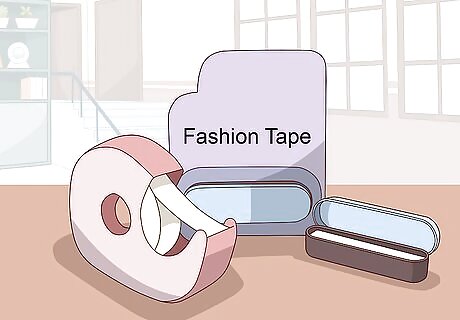
Choose a fashion tape. There are many types of fashion tapes available on the market. Before purchasing one, read reviews about different brands, and read the label carefully to make sure it will be suitable for the fabric of your dress. Look for tapes that are bit wider, as they will have more surface area, meaning they will stay stuck longer. Make sure you get double-sided wardrobe tape, not just double-sided tape. You need heavy tape that will adhere to your skin. You can find this tape on Amazon. It is reported that some celebrities actually use toupee tape for their red carpet events, instead of fashion tape.
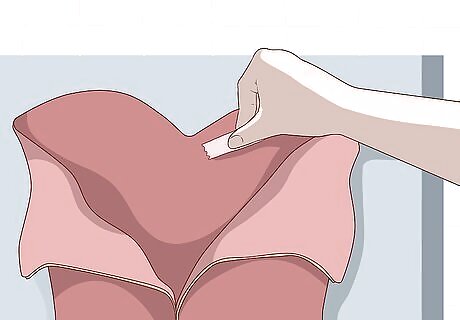
Tape the dress. The tape will be sticky on both sides, and will typically have a sticker you have to remove from both sides in order to keep it sticking to everything before you’re ready to use it. Carefully apply the tape all the way around the top of the dress, as close the top edge as you can. Apply another layer below the first for extra protection, if you wish. Make sure you apply firm pressure to the tape before moving on to the next step. Line the tape on maybe four or five different sections along the top of the dress, to make sure it won't go anywhere.
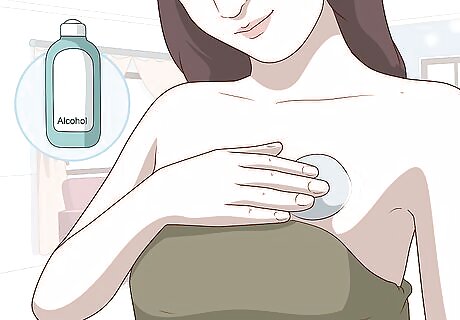
Use alcohol on your skin to remove any oils. Tape cannot stick to a surface that is oily. If you have oily skin, or have just put lotion on, use a cotton pad with rubbing alcohol on it. Gently swipe the pad across the part of the skin where you wish to attach the tape.
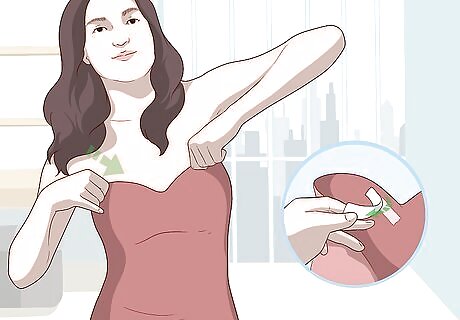
Attach tape to skin. Once you are ready to go, put any undergarments you wish to wear on, and then the dress. Peel the backing of the fashion tape off, and then attach it to the skin This will require you to apply firm, direct pressure to the area of skin you are attaching the dress to. It may be helpful to have someone help you do this part.
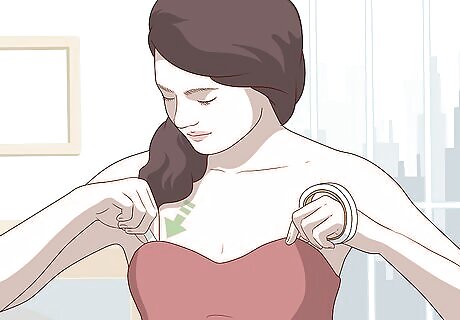
Attach extra tape as needed. At this point, you should be good to go; however, if you notice spots that feel a bit insecure, you can carefully attach more tape.
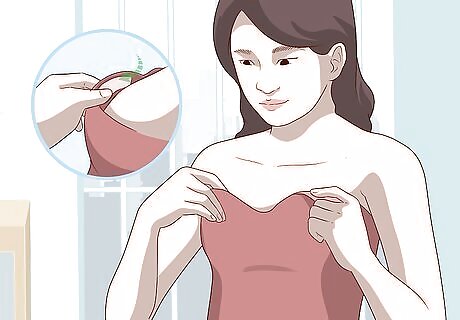
Remove the tape from the skin. Before removing the dress, pull the tape slowly and gently away from your skin. If there is extra residue left on your skin, you can use oil (e.g., baby oil, olive oil. vegetable oil, etc.) to gently remove it with a cotton ball.
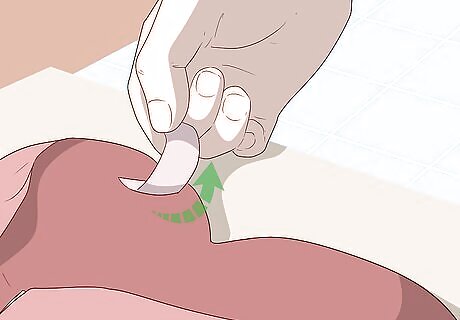
Remove the tape from the dress. Pull the tape away from the fabric before washing according to the label's instructions. If there is any residue left on the fabric, you can either pull it away with your fingers, or you can try rubbing it away with a warm, wet wash cloth. Be gentle if you use a wash cloth! If you scrub too hard, you might ruin the fabric. If the fabric is very delicate to begin with, you may consider taking it to a professional cleaner, who can clean the delicate fabric properly.
Sewing a Waist Stay into Your Dress
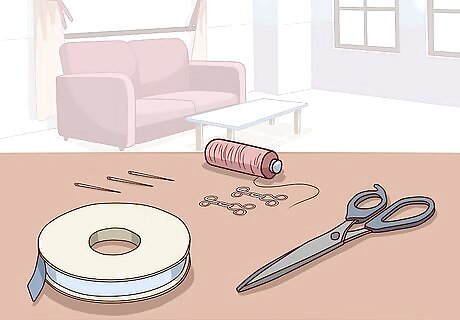
Get together everything you need to fix your dress. For this method, you will need one to two yards of fabric covered boning, fabric scissors, thread, a sewing needle and fabric pins, enough Grosgrain ribbon to fit around your waist with at least an extra 10 inches (25.5 cm) to spare, and two hook and eye clasps.
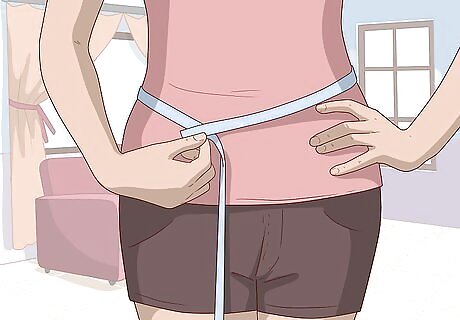
Measure the ribbon to fit your waist. Fit the ribbon around your waist, with 2 to 3 extra inches (at least 7 cm). This is what will make your waist stay.
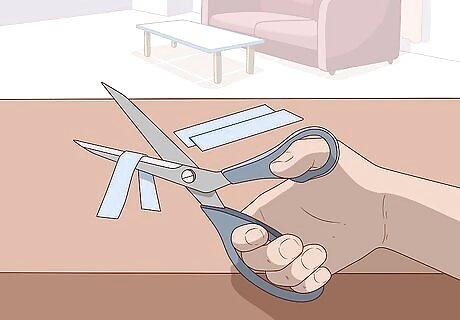
Cut the remaining ribbon into four equal parts. These ribbon patches will be used to sew the boning into place.
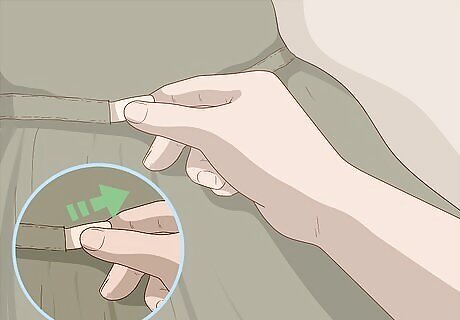
Remove the boning in your dress. Many strapless dresses come with boning already in them; however, this boning is usually of poor quality and very flimsy. Take your fabric scissors and carefully cut a small hole into the lining so that you can pull the boning out. Do this carefully! You don’t want to damage the dress lining too much. Skip this step if your dress does not have boning already.
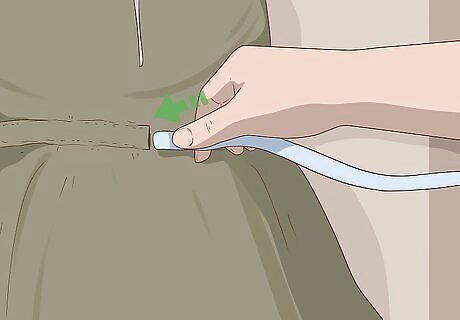
Insert the new boning into the space where the old boning was. Don’t worry if you didn’t have boning in your dress before. You can simply sew the boning to the lining of the dress. You will need to use at least four pieces of boning. Two pieces will go in the front and two pieces will go in the back. Be sure to space the boning evenly! If you are sewing the boning directly onto the dress (and not using the old boning spaces), make sure you leave at least 1/4 inch of space (3 cm) at the top and at least 1 inch (2.5 cm) before the bottom of the waist. Do not sew the bottom of the boning, but leave it free (and not sewn into the dress). When sewing boning to the dress lining, make sure you do a line of stitches on the top of the boning to keep it from poking you. Be cautious when sewing, you don't want your needle to go all the way through the liner to the outer fabric!
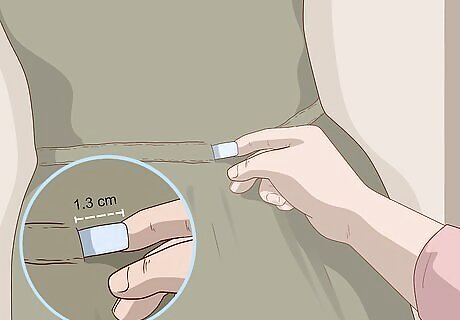
Leave 1/2 an inch (1.3 cm) of the bottom portion of boning free from the dress. You will need this “extra boning” in order to sew it to the stay (made from the Grosgrain ribbon).
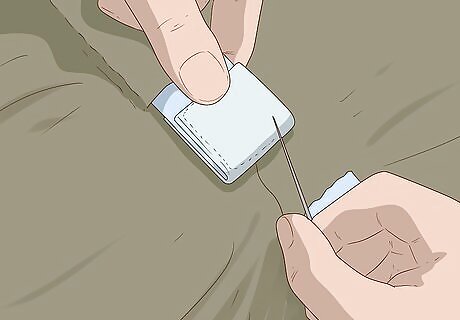
Sew the bottom of the boning to your stay. You can do this by using the small patches you cut out earlier and placing the boning between the stay and the patch. Sew backstitches from the top layer (the stay) through the fabric of the boning and then through the patch. Grosgrain ribbon has a smooth side and a ribbed side, make sure the smooth side is facing out so that it does not create lines in your dress.
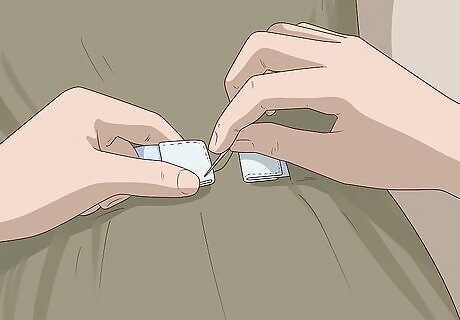
Continue this process with the three remaining pieces of boning. Before you move on to sewing the next piece of boning, try the dress on and pin the stay to make sure you will sew the boning to the right part of the stay.
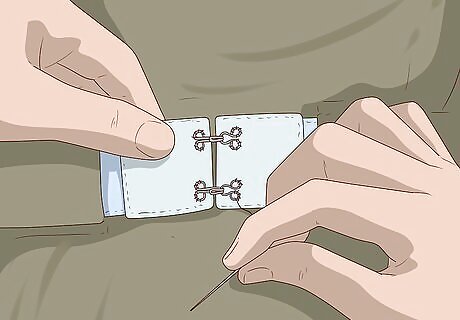
Sew your hook and eye clasps to each end of the stay. Once you have completed the boning, you will need a way to keep your waist stay closed. To do this, sew one half of the clasp to one end of the ribbon and the other side to the other end. Repeat this with the second clasp. This will allow you to clasp the waist stay together, similar to how you would do with a clasp bra.
Getting the Dress Fitted

Find a seamstress. You can find one in the phone book or by searching online for “seamstress” plus the name of your town or city. Be aware that some seamstresses are very busy, and alterations can take some time. If you need the dress very soon, you may have to try another method if the seamstress cannot finish it in time.
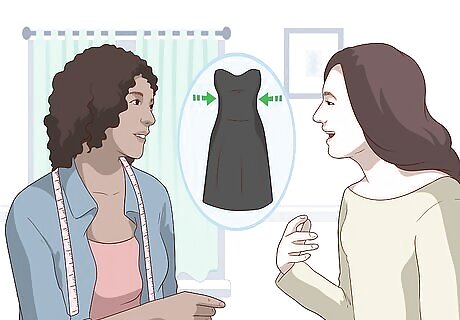
Explain to your seamstress what you would like. Although he/she may tailor the entire dress to fit better, you should make it explicit that the dress falls down, so you want it tailored to fit your bust better.
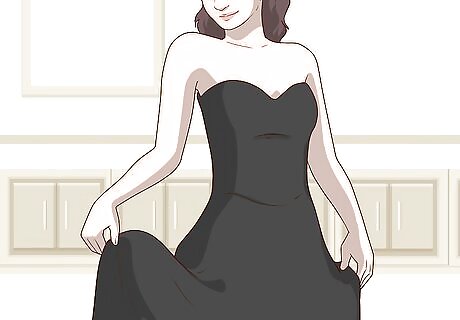
Schedule a second fitting. It is important to make sure you try the dress on at the seamstress’ shop before taking it home. This way, you can make sure it fits just right.
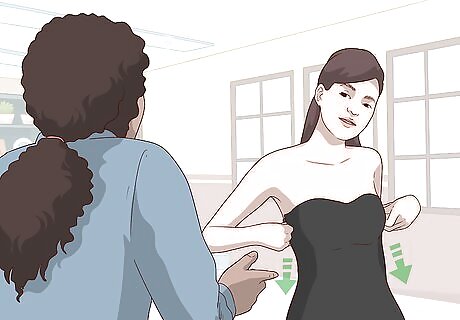
Speak up. If you try the dress on, and it still feels a bit loose, say this! A seamstress uses a measuring tape to see how the dress should fit, but a misplaced pin could throw measurements off. If you don’t feel right in the dress, then kindly explain that. Be sure to be courteous. Do your best to be gracious to the person who makes your clothes fit.




Comments
0 comment