
Cutting and Hemming the Fabric

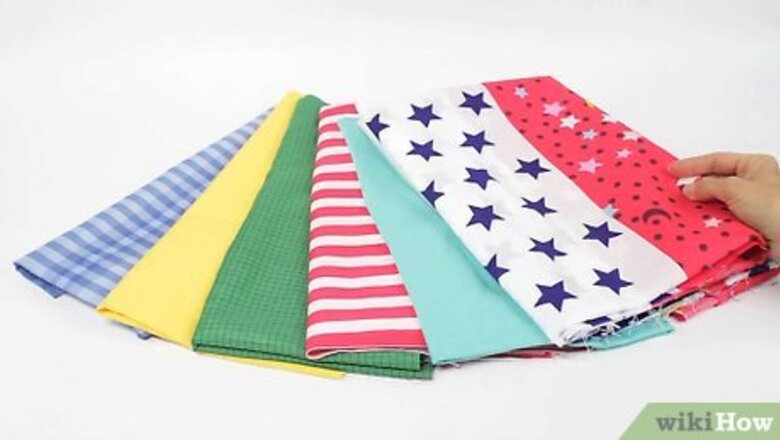
Purchase 2 yd (1.8 m) of cotton or flannel fabric. Choose any color of a print or solid cotton or flannel fabric to use for a crib sheet. Cotton works well for any season, while flannel is ideal for colder weather. Try making sheets in a color that complements your crib or nursery, such as aqua and white if your nursery will feature these colors. If you are giving the crib sheet as a gift, opt for a pastel-colored print or solid fabric, such as pale yellow, mint green, lavender, light pink, and baby blue.Keep in mind that crib sheets require frequent washing since they get soiled easily! Use a sturdy, but soft, woven fabric that washes well, such as 100% cotton or a flannel-cotton blend.
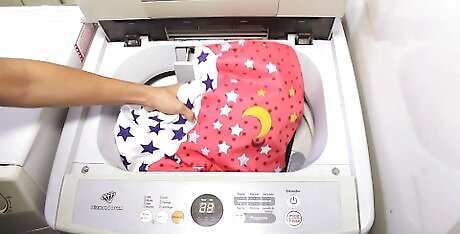
Pre-wash the fabric to ensure that it will not shrink. Pre-washing will help to ensure that the fabric will not shrink after you sew it, which could make the sheet unusable. Wash the fabric on a normal wash cycle alone or with like colors and fabrics. Then, dry the fabric in a dryer. If desired, you may also iron the fabric to remove any wrinkles before you sew. However, this is not necessary. Use a laundry detergent that has been formulated specifically for babies. Avoid detergents that contain harsh chemicals, dyes, and perfumes.
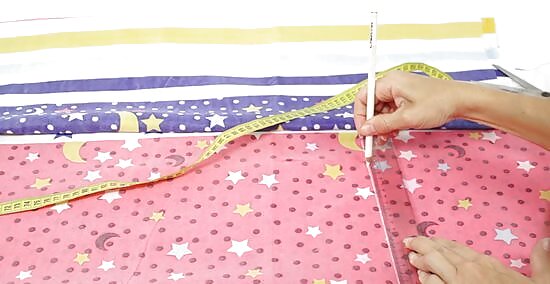
Cut a piece a fabric so that it is 44 by 68 in (110 by 170 cm). Use your measuring tape to find these dimensions. Mark the back side of the fabric with a piece of chalk and cut along the lines. Use a pair of very sharp scissors and cut the fabric evenly. Avoid creating jagged edges because this will interfere with hemming the fabric.
Fold the edge of the fabric over by 0.25 in (0.64 cm) and iron the fold. With the print or right (front) side of the sheet fabric facing down, fold over 1 of the raw edges of the fabric by 0.25 in (0.64 cm). Then, iron along the folded edge to crease it. Repeat this for the other 3 edges of the fabric. If you don’t want to iron the edges, place pins to secure the folds until you are ready to sew.
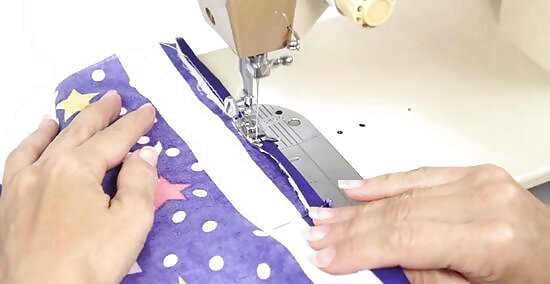
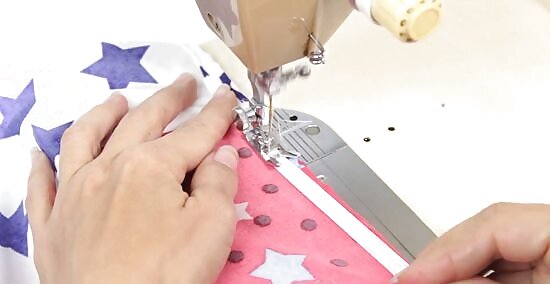
Sew a straight stitch along the folded edges to secure them. Set your sewing machine to the straight stitch setting. Place the folded fabric under the presser foot, lower it, and apply gentle pressure to the pedal to begin sewing. Sew all the way down the first folded edge, then rotate the fabric 90 degrees and sew along the next edge. Keep going until you have sewn all 4 edges. The straight stitch is setting number 1 on most sewing machines, but consult your instruction manual to be sure. If you used pins, remove them as you sew. Make sure that you do not sew over the pins. Remove a pin before you sew over each area of the fabric.
Creating the Sheet Pockets
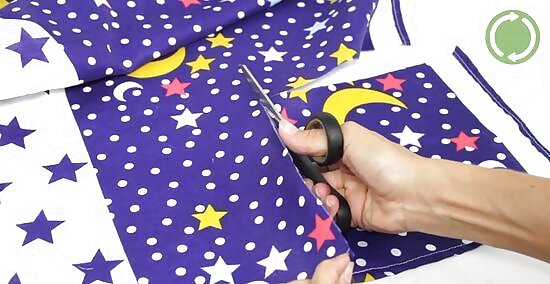
Cut an 8 by 8 in (20 by 20 cm) square out of every corner. Lay out your fabric so that it is completely unfolded. Then, use the measuring tape and a piece of chalk to draw a 8 by 8 in (20 by 20 cm) square in each corner of the fabric. To ensure that each corner is uniform, make a square pattern with a piece of construction paper. Then, use this as your guide to trace and cut out each of the corners.
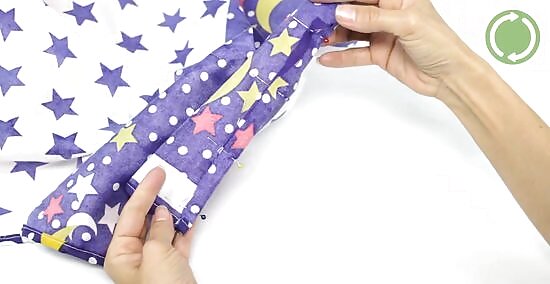
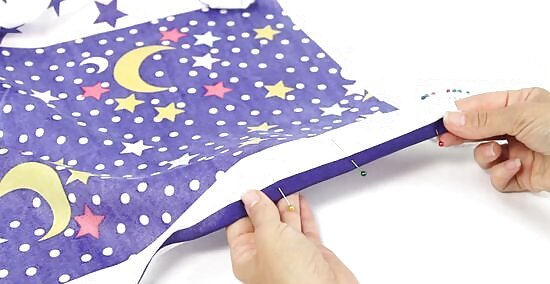
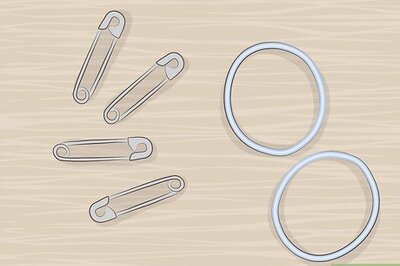
Pin the raw edges of the corner with the right sides facing each other. Line up the edges so that they are even. Then, insert a pin every 2 in (5.1 cm) to secure the edges together. Insert the pins so they are perpendicular to the raw edge to make it easier to remove them as you sew. Repeat for the other 3 corners.

Sew a straight stitch 0.5 in (1.3 cm) from the raw edges. Place 1 end of the first pinned corner under the presser foot. Lower the presser foot to hold the fabric in place. Then, gently depress the pedal to sew a straight stitch about 0.5 in (1.3 cm) from the raw edges of the fabric. Backstitch by about 1 in (2.5 cm) at the end of the pinned edge and cut the excess thread. Repeat for the other 3 corners. Make sure to remove the pins as you sew. Do not sew over them or you may damage your machine!Iron the crib sheet after sewing it for an extra-crisp sheet!
Attaching the Elastic
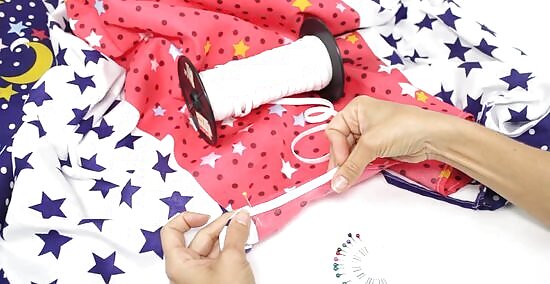
Grasp the end of a 0.25 in (0.64 cm) wide 2.5 yd (2.3 m) piece of elastic. Hold or pin the end of the elastic against the inside of the crib sheet about 0.25 in (0.64 cm) from the edge. Position the elastic so that it is right along the inner edge of the sheet, but still somewhat hidden. Make sure that the crib sheet is turned inside out before you sew. The seams on the corners should be visible as you sew. Do not pin the elastic all the way around the inside of the sheet because this will interfere with stretching the elastic as you sew. Only place 1 pin at the beginning of the elastic.
Sew a zigzag stitch to secure the elastic to the inside of the sheet. Set your sewing machine to the zigzag stitch. Then, place the elastic and the edge of the crib sheet under the presser foot. Hold the end of the elastic just ahead of the presser foot. Press down on the pedal to start sewing and tug the elastic gently to stretch it as you sew. Sew all the way around the inside of the crib sheet to secure the elastic. Do not pull the elastic taut as you sew! Stretch it just enough to gather the crib sheet fabric. Keep sewing until the end of the elastic overlaps the beginning by about 1 in (2.5 cm).

Backstitch to secure the ends of the elastic. When the beginning and end of the elastic are overlapping, reverse the direction of your sewing machine. Press down on the reverse lever on the right side of your sewing machine while still applying gentle pressure to the pedal. Sew back by about 1 in (2.5 cm) and then release the lever to sew forward again. Sew back to your starting position and then take your foot off the pedal to stop the machine. Cut any remaining loose threads around the edges of the sheet to finish your crib sheet.Give a crib sheet as a gift instead of a baby blanket! Crib sheets are useful and they are often expensive, so a crib sheet is a great homemade gift option.


Comments
0 comment