
Cutting and Positioning the Strips
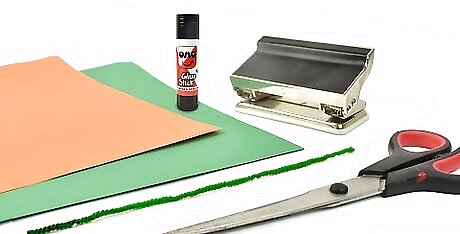
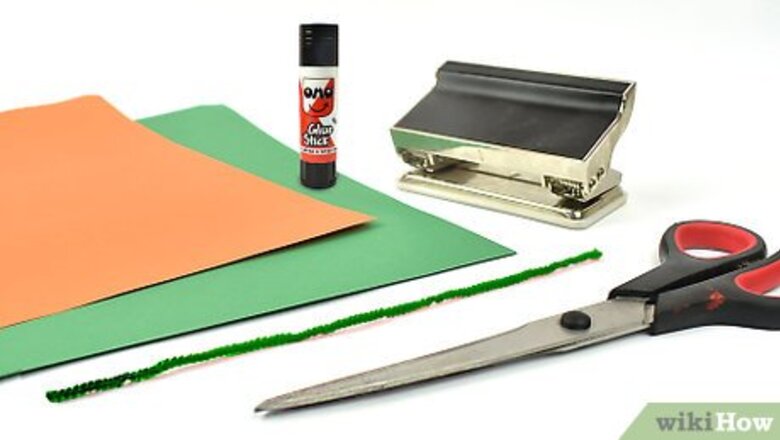
Get construction paper, scissors, glue, a hole punch, and a green pipe cleaner. It can be helpful to set out all of your supplies before you begin making your pumpkin so that you have everything ready. You can find all of these craft tools and supplies at craft stores or department stores. You may even already have most of these tools at home! You’ll need 1 sheet of 9 in × 12 in (23 cm × 30 cm) orange construction paper and 1 small rectangle of 2 in × 2.5 in (5.1 cm × 6.4 cm) green paper. Alternatively, if you don’t have construction paper you can use 2 sheets of A4 paper as a substitute for 1 piece of orange construction paper. You can use either construction paper or A4 paper for the small green rectangle. If you don’t want to make a traditional, orange pumpkin, you can experiment with paper of other colors and patterns! Use scrapbooking paper or a different type of craft paper to try out different textures, colors, and designs. A glue stick is the best option for this project. The green pipe cleaner is for making the pumpkin’s tendrils.
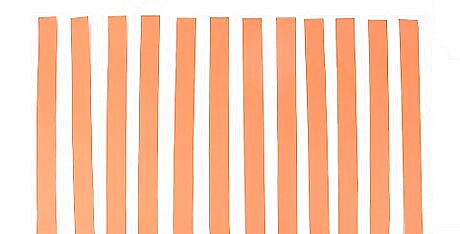
Cut the orange construction paper into 12 strips. Get the piece of orange construction paper and fold it down the long edge into 12 strips that are 1 in (2.5 cm) wide. Use a ruler and a pencil to make measurement markings on the paper if that’s easier. Then use the craft scissors to cut out each individual strip. If you’re using 2 sheets of orange A4 paper instead, cut out 8 strips that are 1 in (2.5 cm) wide from the first sheet. Then cut out 4 strips that are 1 in (2.5 cm) wide from the second sheet of paper so that you have 12 strips overall.
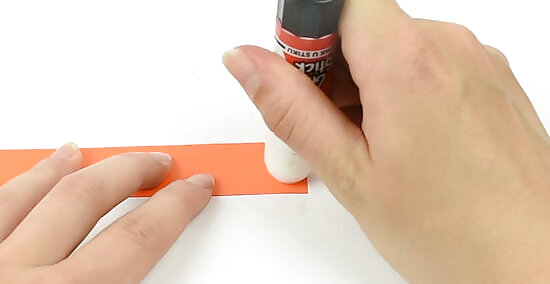
Glue together 2 sets of strips to make 2 individual pairs. Take 2 orange strips of paper and use the glue stick to glue the short ends together, so that it forms a strip that is double in length. Then repeat this process with another 2 strips to make a second pair. These strips are the foundation for your paper pumpkin.
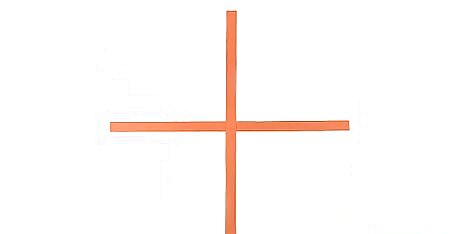
Glue the pairs of strips together in a cross formation. Position 1 pair of strips horizontally on your work surface. Then place the second pair of strips vertically down the center of the first pair. Aim for the strips to be perpendicular and to look like a cross. Glue the pairs together in the center so that they hold. It can be helpful to think of this as a clock face. The strips are pointing towards 12, 3, 6, and 9 o’clock.
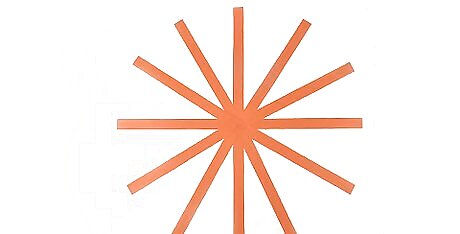
Glue the remaining strips in the 1, 2, 4, 5, 7, 8, 10, and 11 o’clock positions. It’s time to add all of the remaining strips to your paper pumpkin! Start with the 1 o’clock strip and position it at the 1 o’clock point on the pumpkin "clock" that you glued together. Add glue to the end of the strip that is by the center of the “clock” and stick it down firmly to the other strips. Then move on to adding all of the other strips to make a clock-like formation. It can be helpful to imagine that there needs to be a strip on every hour of the “clock”. Glue every subsequent strip over the previous one at the center of the “clock”.
Creating a Round Shape
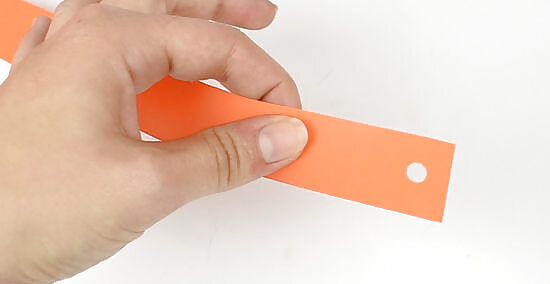
Use the hole punch to make a hole in each strip. Lift 1 strip and place the end into the hole punch. Aim for the hole to be approximately ⁄2 in (1.3 cm) away from the end of the strip. Press the hole punch down firmly to cut a hole and work your way around all of the strips so that each one has 1 hole at the end.
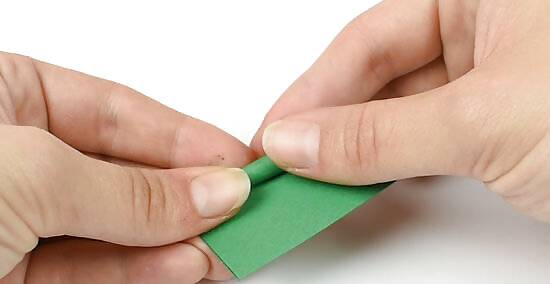
Roll the green paper into a cylinder with a smaller end. Take the small, 2 in × 2.5 in (5.1 cm × 6.4 cm) piece of green paper and roll it into a tight cylinder. Make sure that one end is slightly smaller in diameter than the other end and check that the smaller end can fit through the holes that you made in the orange strips. If the thinner end of the cylinder cannot fit through the holes, roll it more tightly. This is the pumpkin stem.
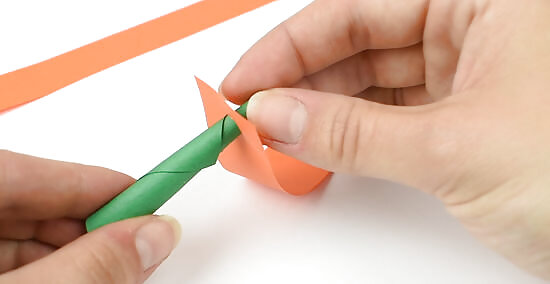
Push the stem through a hole in 1 of the orange strips. Take an orange strip and bend it gently towards the center of the “clock” without making a crease. Take the thinner end of the stem and push it through the hole so that the thinner part of the stem is pointing towards the center of the clock. The stem should fit snugly in the hole and not move. Add some glue to the stem and the orange strip if the stem won’t stay in place.
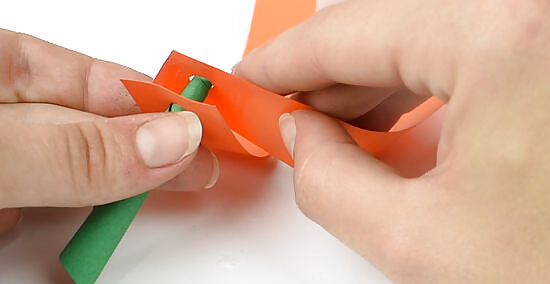
Place glue on the next strip and thread it onto the stem below the first strip. Take the next strip in the “clock” formation and gently fold it towards the center. Then add a thin layer of glue to the top of the strip, at the end where the hole is. Thread the strip onto the stem so that it rests below the first strip and use your fingers to push the strips together so that they stay stuck in place. If the strips don’t hold together, add more glue.
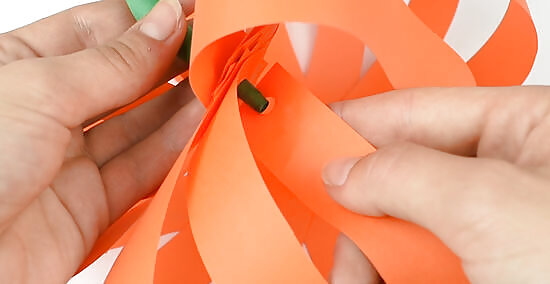
Work through this process to add all of the strips to the stem. Begin by adding glue to the next adjacent strip and then threading it onto the stem, just below the previous strip. Work your way around the “clock” until you have used all of the strips. When you’re done, the “clock” should be a round, pumpkin-like shape!
Adding the Tendrils and Embellishments
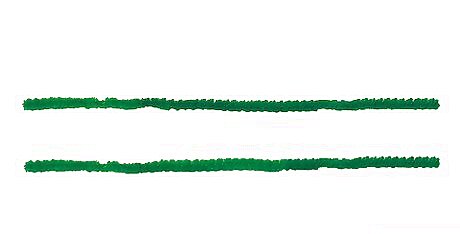
Cut the green pipe cleaner in half. Rest the green pipe cleaner in front of you and estimate where the halfway point is. Then get the craft scissors and cut through the center of the pipe cleaner. It may take a bit of pressure to get the scissors to cut through the pipe cleaner! If you want to get an accurate measurement, measure the pipe cleaner first to find the halfway point.
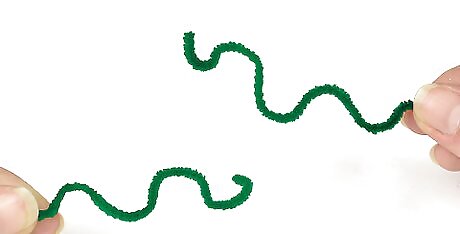
Create 3 loose bends in each pipe cleaner half. Take a pipe cleaner half and use your hands to make a few gentle bends. Aim for the pipe cleaner to have a wavy or a slightly curly look, just like real pumpkin tendrils! Then make similar bends in the other half of the pipe cleaner so that you have 2 finished tendrils.
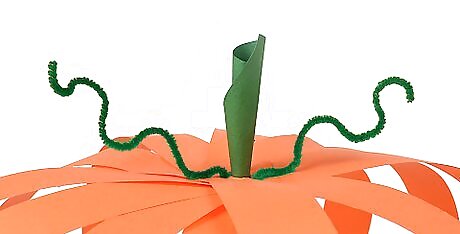
Insert the tendrils into the hole at the base of the pumpkin stem. Get the paper pumpkin and carefully push the end of 1 pipe cleaner half into the space where the stem and the paper strips meet. Then repeat this for the second tendril. Be very careful to not accidentally rip the paper. If it’s too difficult to fit the tendrils in by the stem or if you’re worried about the paper ripping, simply glue each tendril to the base of the stem. It will look just the same.
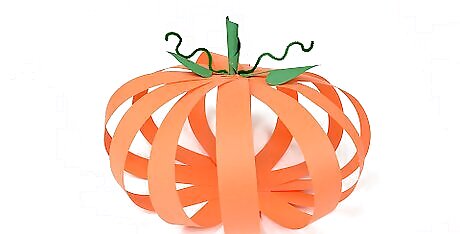
Add embellishments to your pumpkin to make it more decorative. There are plenty of ways to get more creative with your paper pumpkin! Try adding a small, novelty spider or spider web to the orange strips. You may need to use a hot glue gun for this. Alternatively, you could add leaves to your pumpkin by drawing 2 leaves on green paper, cutting them out, and then gluing them to the stem.
Try cutting out pumpkin shapes for simpler decorations. Then, glue them all onto a string to make a cute, easy banner. You'll need pieces of paper (construction paper is best) and some scissors.The pumpkin will be symmetrical since you won't have to cut each feature out individually. Fold the paper in half and draw out half of a pumpkin shape. Draw one of the eyes, half of the nose, and half of the mouth right along the fold. Cut along the lines you just drew, then unfold the paper.


Comments
0 comment