views
Removing the Engine or Battery
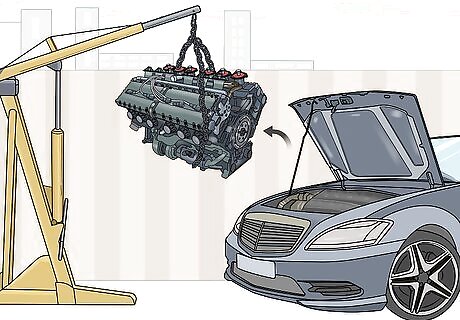
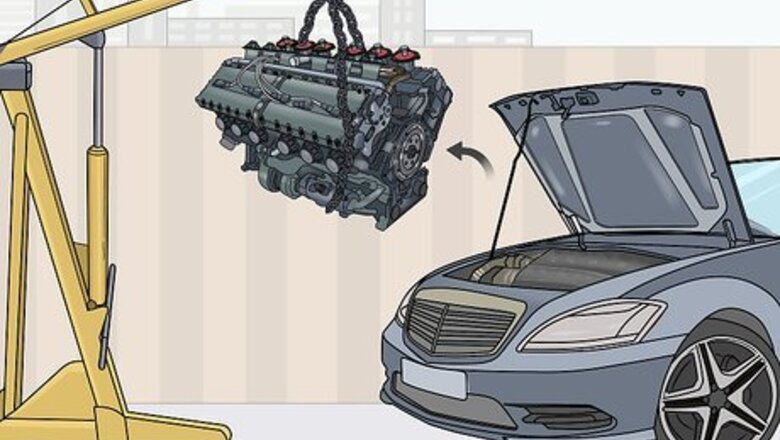
Remove the engine if you know how to assemble an engine bay. It is easier to paint an engine if you can easily maneuver around it and have space to work, but you should only be taking the engine out if you’re a gearhead that knows how to put it back together. You can still paint the engine without removing it, but it’s ideal if you can get it out.Warning: Do not try to remove the engine if you are not experienced with working on vehicles. If you don’t remove and reinstall the engine properly, you may permanently damage it or risk starting a fire when you drive your vehicle. While the process for removing an engine changes from vehicle to vehicle, it typically involves removing the oil lines, alternator, radiator hoses, radiator, compressor, and battery. Then, you slide the hoses and cooling lines out of the engine before disconnecting the intake and power steering.
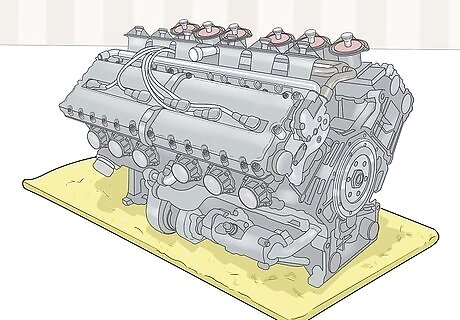
Set the engine on a stool under a drop cloth if you removed it. Set up a work stool or table under a drop cloth next to your vehicle. Carefully lift the engine up and out of the engine bay. If your engine is heavy, enlist help to do this. Set the engine down on top of the table or stool. Keep it oriented the same way it was arranged in your vehicle. Set the engine up outside if you can. The paint and primer you’re going to use are fairly toxic, so it’s best if you have tons of ventilation. Most people do not paint the bottom of the engine since nobody ever sees it, so you don’t need to move the engine around once you set it down.
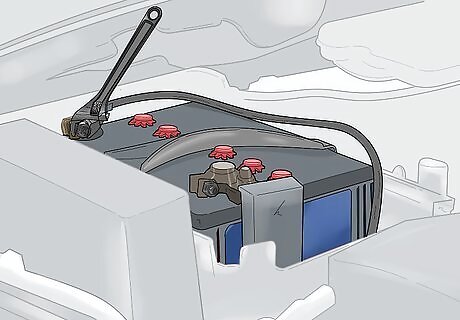
Take the battery out by the negative terminal first if you don't remove the engine. You may shock yourself or short a wire if you don’t disconnect the battery. With your car off, use a socket wrench to unscrew the bolt holding the negative terminal in place. Do this on the battery and engine to take the cable out. Repeat this process on the positive terminal. Then, use a screwdriver to unscrew the base of the battery to unlock it from the housing unit and lift it out. If you remove the positive cable first, you will shock yourself and possibly destroy your battery.
Cleaning the Engine
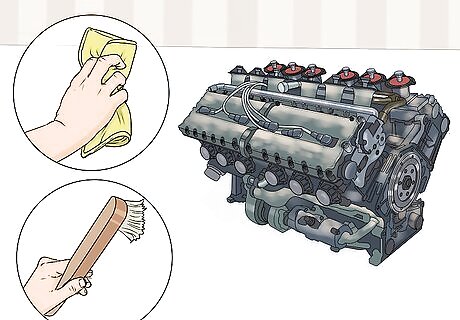
Wipe off any surface grime and built-up oil with a cloth and brush. Wipe off the surface with a thick, clean cloth to remove any chunks of oil or grease. Grab a stiff-bristled brush and scrub the surfaces of the engine. Wipe around every exposed section of the engine to pull up surface dirt. Really get in there and wipe the engine thoroughly 4-5 times to remove any surface dirt. The cleaner the engine is, the better your paint job will look.
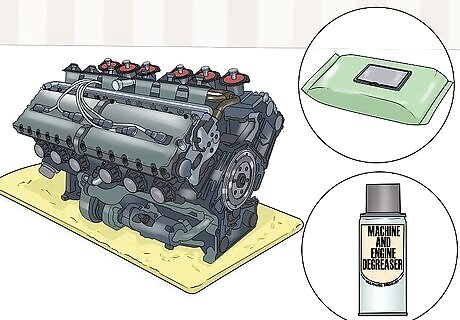
Use cleaning wipes and degreaser to deep-clean the engine. Mist the surface of the engine with a degreaser. Then, use cleaning or baby wipes to carefully work the degreaser into the metal. Scrub around every knob, bolt, nut, and valve. You don’t need to soak the engine or anything, but you do need to carefully scrub the entire surface of the engine to remove the oil and built-up grease. Gunk is the most popular brand when it comes to engine degreasers, but Sea Foam and Permatex are popular options as well. You can use basically any degreaser, though. You can use soapy water instead of a degreasing product if your engine isn’t particularly greasy or you want a less abrasive option. If you aren’t removing the engine, cover the area surrounding the engine with trash bags to keep them from getting soaked. Slide the trash bags down as far as you can to protect the surrounding components from drips. Use a pipe cleaner to scrub under any wires, pipes, or sensitive components.Note: This part of the process should take at least 1 hour. It’s really important that you scrub every visible surface thoroughly. You’ll likely go through dozens of cleaning wipes while doing this.
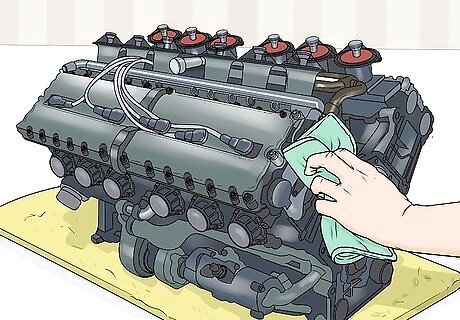
Remove the degreaser and residue using a clean, dry rag. Grab a clean rag and give the engine a through wiping to remove the residue from your degreaser. Carefully work the rag around every component to lift up any remaining dirt and oil. This may take a while, but your paint job won’t look particularly good if you don’t wipe away the degreaser particles. Wait at least 1 hour to give the engine time to air dry if it’s still pretty wet. You can degrease the engine with mineral spirits if you want a more natural option.
Masking the Components, Nuts, and Ports
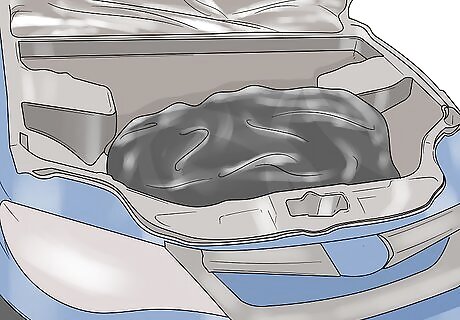
Cover the engine bay with foil and tape if you aren’t removing the engine. Put a plastic bag over any components that are sticking out of the engine. Use painter’s tape to cover the nuts, bolts, and lining of your engine bay. Wrap aluminum foil around the pipes, wires, and thinner pieces that run around your engine. Use plastic drop cloths or trash bags to cover larger sections of the engine bay when you’re done.Tip: This is the hardest part of the process if you aren’t removing the engine. You must take 1-2 hours to completely cover everything surrounding the engine. If you don’t, you may end up with paint all over your engine bay where it doesn’t belong.
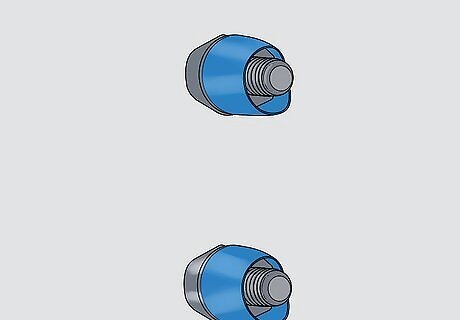
Tape off the openings, nuts, and ports on your engine. This process is different for every engine, but a good rule of thumb is to cover every opening, nut, and port. Use strips of painter’s tape to cover up any openings on the engine. Wrap every nut and bolt to keep the paint from joining the threads permanently. If you didn’t remove the engine, wrap the junction where every valve and pipe attaches to your engine. If your pistons are exposed, wrap them thoroughly with painter’s tape and a cut out piece of plastic to block the paint completely. If you do not know what these parts look like, you can refer to your user’s manual or pull a diagram up online.
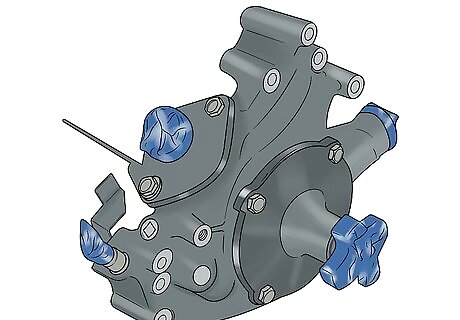
Cover the valves and bolts on your water pump and block the spark plugs. This is particularly important because getting paint in the water pump or spark plug can make your engine fail. The water pump is typically buried under a cover on your timing belt. Cover every opening and bolt on the water pump 2-3 times with painter’s tape. Pull the cables out of the spark plugs and fill each hole with balled-up painter’s tape before covering them entirely. Tape off the seam where the water pump connects to your engine as well. The spark plugs are usually located on the top of the engine.
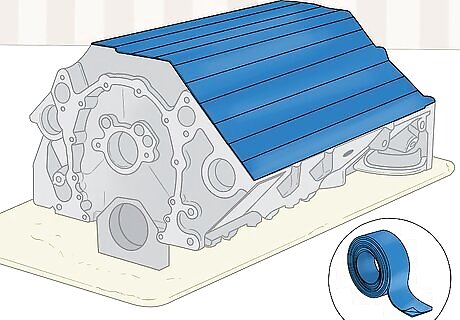
Wrap the opening for the transmission or cover the junction thoroughly. If you disassembled the engine, put a plastic bag over the opening for the transmission and wrap the seam in painter’s tape. If you didn’t take the engine out, cover the gap where the engine connects to the transmission in 2-3 layers of painter’s tape. This is another opening that absolutely cannot get paint inside at risk of an engine failure.
Priming and Painting the Engine
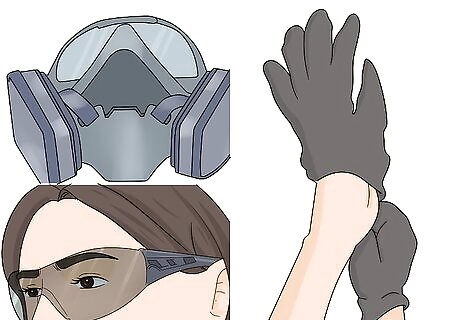
Put on a respirator, protective eyewear, and gloves. The primer and paint you’re going to use is noxious, and you may irritate your lungs and eyes if you aren’t properly protected. Put on a respirator, cover your hair with a cap or head cover, and wear long sleeve clothing. Wear protective goggles to keep the fumes out of your eyes. Put on nitrile gloves to keep the paint and primer off of your hands. Either open the door in your garage and turn some fans on, or do this outside.
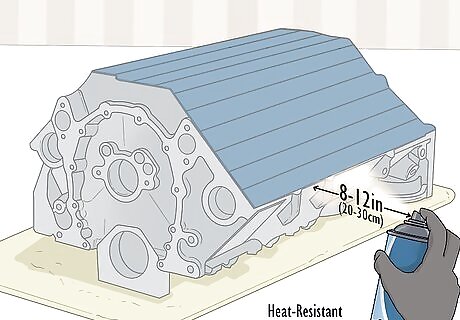
Prime the engine carefully with a heat-resistant vehicle primer. Purchase your primer at an auto shop online. You must use a heat-resistant vehicle primer to keep the heat from your engine melting the paint over time. Spray the entire surface of the engine using smooth back and forth strokes if you removed it. If you didn’t, spray the surfaces that are exposed on the top and side of your engine block.Warning: If you didn’t remove the engine, be extremely careful about over-spraying and coating the components surrounding the engine. Do not try to stick the nozzle in between components to reach under the surface of the engine bay. Hold the nozzle 8–12 inches (20–30 cm) away from the surface that you’re painting. If you’re too close, the primer will drip. If you’re too far, the primer won’t come out evenly. You do not need to prime the engine if you’re using a VHT automotive paint.
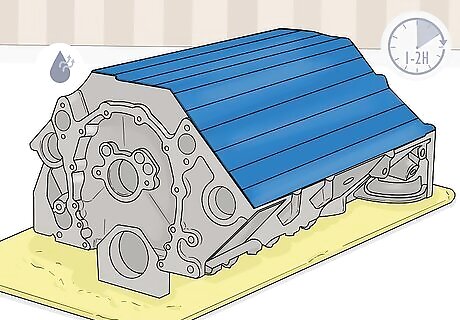
Wait 1-2 hours to give the primer time to dry. Once you’ve applied your first layer of primer, wait a few hours to give it time to dry. The primer must cure to the surface of the engine directly, but you won’t know if any grease or residue cuts through the primer until it dries.
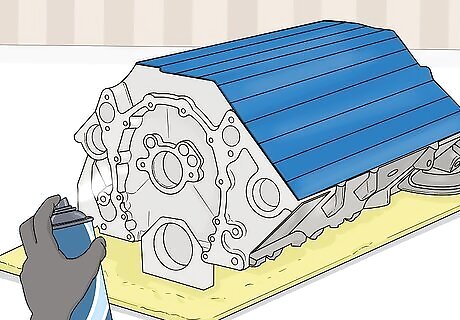
Use additional coats of primer if the dried layer looks uneven. Once the primer is dry, inspect the surface to see if it still looks even and uniform. If there are bubbles or pockets where some grease cut through the primer, apply another coat of the primer to the entire engine block. Repeat this process until the entire surface is evenly primed and covered.
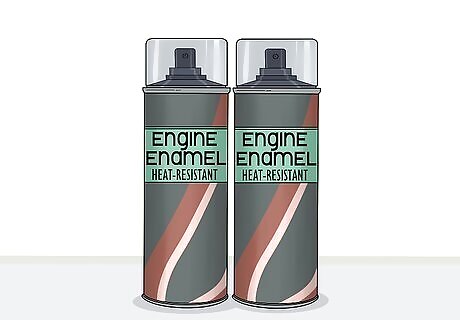
Pick up a heat-resistant engine enamel to paint the engine. If you cleaned and primed the engine properly, the painting is the easiest part. Unfortunately, you cannot use a standard paint to coat the engine. Stop by the auto supply store or go online and buy 2 cans of engine enamel in a color that will work with the color scheme of your vehicle. If you don’t use an engine enamel, the paint will peel off over time as the heat melts the pigment.
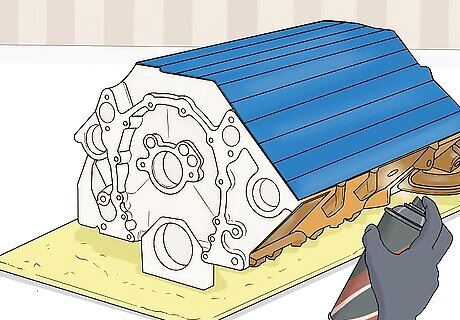
Coat the engine in a layer of engine enamel to paint it. Hold the nozzle up to the engine and cover the entire surface in a layer of engine enamel. Work back and forth from one end of the block to the other to coat the surface of your engine. If you removed the engine, work your way around the engine to paint the sides as well. The color should be uniform and even without any drips. If you did a good job covering up the ports and bolts, this part should be fairly straightforward and easy.
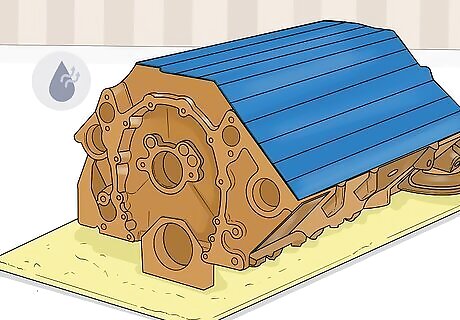
Wait 24 hours before applying any additional coats as needed. Give the engine enamel time to dry by letting it rest for a day. When it’s dry, inspect the surface and feel the engine. If the paint is even and there aren’t any gaps in the texture, you can stop here. If you want to even out the color, apply another layer of paint and wait an additional 24 hours before inspecting the surface again. You can repeat this process 2-3 times to achieve a deeper color or more uniform texture.
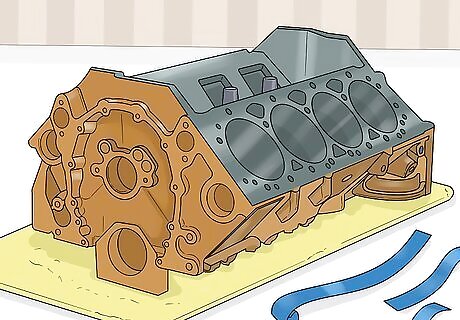
Remove all of the tape, plastic, and covers. Once the engine is dry, begin peeling off all of the painter’s tape that you applied before. Be thorough and make sure that you scrape off every piece of tape. Use a razor blade to peel up any pieces that have fused to the surface of the engine. Remove all of the plastic bags and trash bags you used to cover up and protect the other compartments of the engine bay as needed. Be extremely thorough here. If you leave any plastic or tape in the engine bay, it could ignite at some point when you’re driving your car.
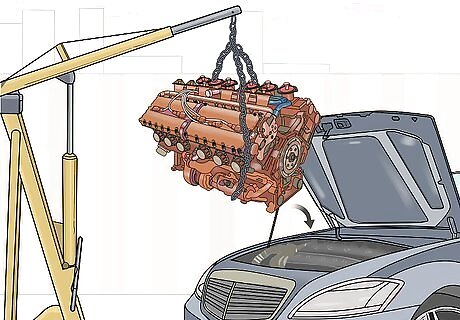
Reassemble the engine based on how much you originally removed. If you took the engine out, set it back inside of the engine bay. Reconnect the transmission, valves, alternator, radiator hoses, radiator, compressor, and battery. if you only disconnected the battery cables, reconnect them by attaching the positive terminal first with your socket wrench and screwdriver. Double-check your connections and valves to make sure that each connection is tight and secure.





Comments
0 comment