
views
Preparing to Polish Your Car

Park your car in a shaded area. The first step to polishing your car is to wash it, and you should always wash a vehicle in a shady area. Direct sunlight could cause the soap you use to dry onto the paint, which will dull the finish. Find a place that keeps the entire vehicle out of direct sunlight and park it there. Make sure you park the vehicle on a solid surface. Dirt or grass are not recommended, as you may get mud on the car after you wash it. An overcast day is a great time to wash and polish your car, as long as it doesn’t rain.
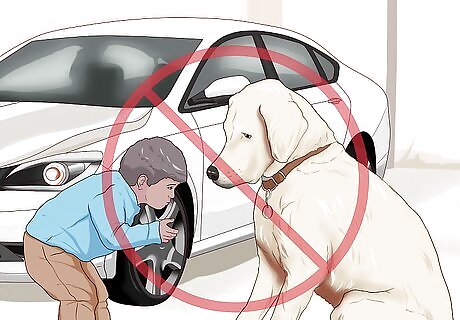
Cover or move things you don’t want to get messy. Polishing the car can be a messy process. When you turn the polisher on, it may spray rubbing compound as it starts to spin. Make sure your pets are inside and there’s nothing around the vehicle that you can’t get sprayed with some loose polish. The polish will wash away easily, but you may not want to clean some things. Keep children and pets away during the polishing process.
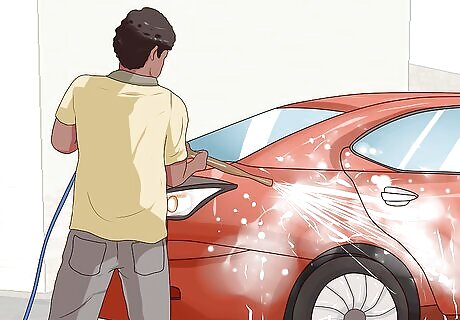
Rinse the entire vehicle with a hose. Spray water all over the entire vehicle to prepare it for you to hand wash it. If possible, use the water to remove any large bits of debris or dirt that are stuck on the paint of the car. Start from the top and work your way down to the bottom of the vehicle as you rinse it. Make sure to rinse the wheels and bottom portion of the car thoroughly, as it’s where dirt and mud are most likely to stick to the paint.
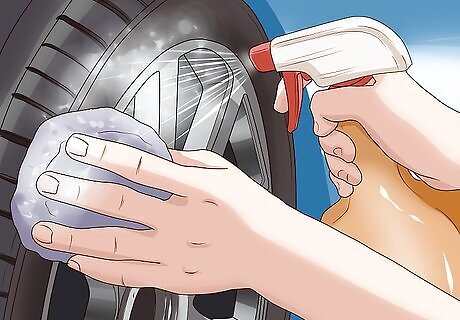
Clean your wheels and tires first if you intend to. If you intend to wash your wheels and tires on the same day that you polish the paint, make sure to clean them first. Use a different sponge and bucket to clean your wheels than you use on the car’s paint. You may get harsh wheel detergents on the paint of the vehicle when cleaning your wheels, so doing so first will allow you to clean the detergents from the paint. Rinsing the wheels may also splatter dirt or mud onto the paint you can then wash off.
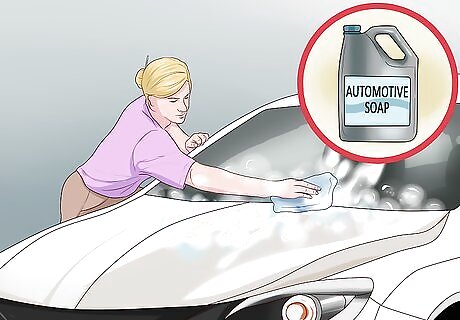
Wash the car with automotive soap. Fill a bucket with water and a small amount of automotive soap. Choose a soap that does not have wax or polish in it. Dunk a clean sponge into the bucket and begin washing your car from the top and work your way down. Rinse the sponge in the bucket or with your hose as necessary. Make sure to clean the paint on your car thoroughly before you polish it. Any debris or dirt on the paint could result in damaging swirls or scratches when you begin the polishing process.
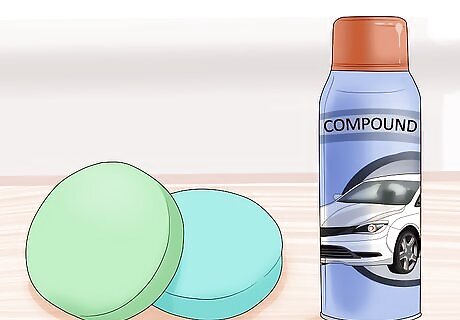
Choose the appropriate pad and compound for your car. Dark colored vehicles are more prone to swirling the paint when you polish your car, so use a softer pad and compound if your vehicle’s paint is dark. You can use more aggressive pads and compounds on lighter color cars with little issue. You can purchase pads and compounds at your local auto parts store. The two often come in kits.
Polishing the Car
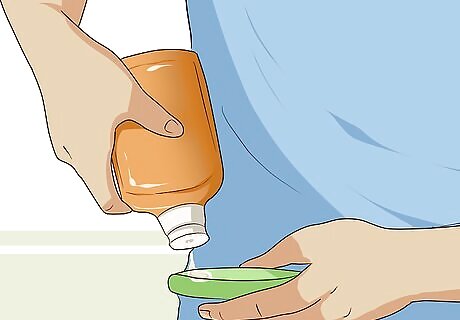
Use a damp pad and a polishing wheel on the compound. Take the pad for your polishing wheel and get it wet using clean water. Wring it out so it remains damp, but not soaking wet. The pad must stay damp through the polishing process to avoid damaging your car’s paint. A dry pad will burn the clear coat on your car. Keep a bucket of clean water or a hose nearby throughout the polishing process.
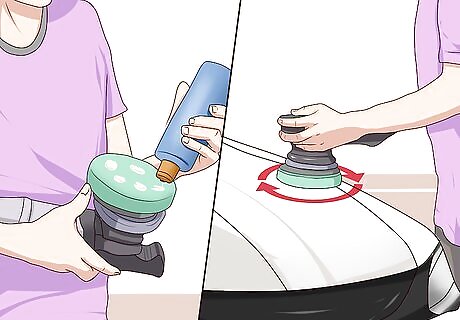
Apply rubbing compound one body panel at a time. Put a moderate amount of polishing compound on the pad, then turn on the polishing wheel and press it into the paint of the vehicle. You may also apply the compound directly onto the body of the car, then bring the polisher to it. Read the instructions on the specific polishing compound you purchased, as some may have specific steps you’ll need to take for the best result. Once you finish one body panel, then move on to the next one.
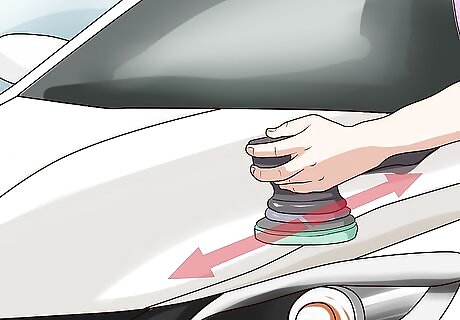
Move the wheel back and forth with steady pressure. It is extremely important that you keep the polishing wheel parallel to whatever body panel you are currently polishing. Maintain an even amount of pressure over the wheel as you move it back and forth along the panel you are working on. Applying steady, constant pressure will reduce chances of damaging your paint. The polishing wheel will be spinning, so you need only move it back and forth.
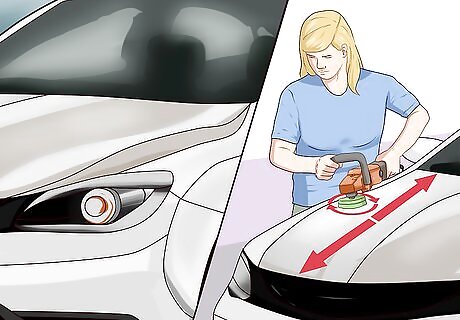
Move on when the bright finish of the paint is visible. As you polish the paint on the vehicle, the polishing compound will swirl and smear, then slowly disappear, leaving only the brilliant shine of the paint behind. Once you can see the shiny paint, you can move on to the next area and continue polishing. Unlike waxing the vehicle, you do no not need to wait for the polish to dry. Don’t continue to polish shiny paint, as you may dull the finish.
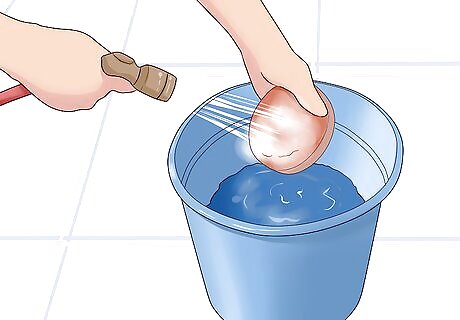
Rinse the pad as necessary. As you polish the vehicle, the polishing compound will begin to build up on the pad. Stop polishing occasionally to rinse the compound off of the pad, then wring the pad out again so it remains damp and fairly clean. Once too much polish compound on the pad it will compromise its polishing ability. Remember to keep the pad damp throughout the process.
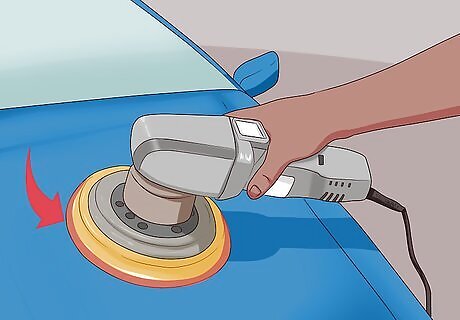
Be careful around intricate trim pieces. The edge of the pad on the polishing wheel moves the fastest and usually comes into contact with the least of the rubbing compound, so it poses the biggest risk of burning the clear coat on your paint. As a result, be extremely careful as you buff around trim components that may come into contact with the edges of the pad. Take your time and avoid pressing the edge of the pad into any part of the car’s paint. Be patient and rub polishing compound out of grooves the polishing wheel can’t reach.
Ensuring the Paint is Protected
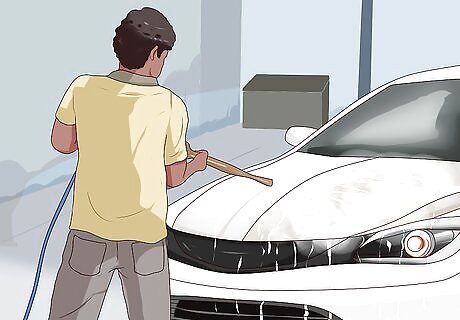
Wash and rinse the car again. Once you have polished every panel on the body of the car, clean the polishing pad thoroughly and set it and the polishing wheel aside. Spray the entire vehicle down with a hose and wash the entire car again. Be sure to wash away any polishing compound that remains on the vehicle. Rinse the car thoroughly after you’re done washing it.

Allow the car to dry. The paint on your car will need to be dry before you can wax it. You may dry the vehicle using microfiber towels if you’d like to expedite the process. If you have hard water, allowing the water to air dry could leave small spots on the paint, so you may want to use towels to keep water spots from forming. If you dry the car with towels, start from the top and work your way down. Ensure the paint is completely dry before moving on to waxing.
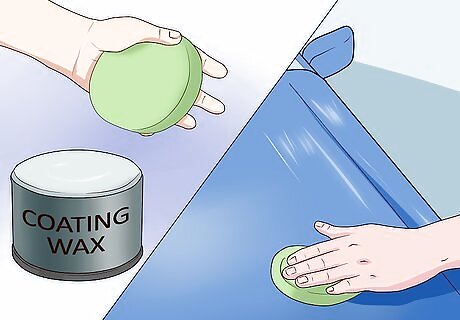
Apply a coat of wax to the car’s paint. Use a good quality automotive wax to protect the newly polished paint and ensure it has a bright, shiny finish. Put some wax on the pad that comes with it and apply it to your car in a circular motion. Wax the entire vehicle, as the polishing process can leave the paint unprotected from the sun. Apply the wax one body panel at a time as well. Make sure the vehicle is not in direct sunlight while waxing.
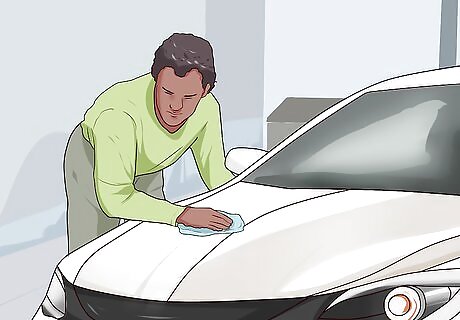
Polish the wax off with a microfiber towel. Once the wax has dried, buff it off of the paint using microfiber towels. You can tell the wax has dried sufficiently by touching it with a bare finger. If the wax wipes off easily beneath your finger, it is dry and can be buffed off the vehicle. Once you have buffed off all of the wax, the paint will have a brilliant shine and finish.


Comments
0 comment