views
Removing the Stereo Covering
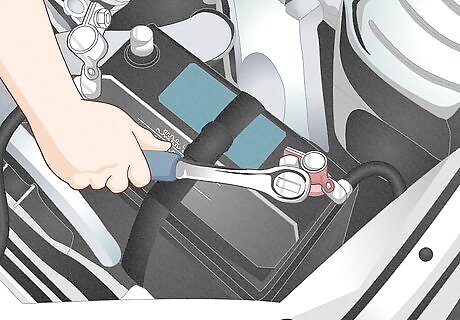
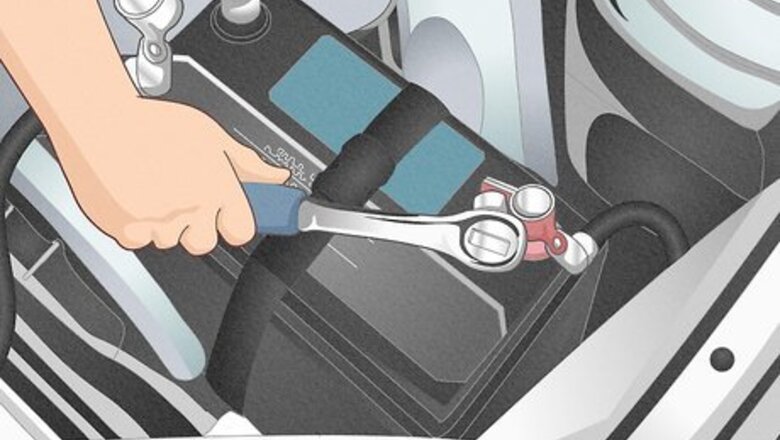
Disconnect the car battery to avoid a shock or short. Disconnecting the battery is an important safety precaution. Pop the hood and find the battery. Unscrew the nut on the negative terminal first and pull the wire off. Store it safely on one side of the hood. Then unscrew the positive terminal and move it to the other side of the hood. Make sure the positive terminal doesn’t touch any metal parts of the car or it'll produce a spark. Car batteries commonly have a red clip on the positive terminal and a black clip on the negative terminal. If the clips aren’t color-coded, look for the + or – symbols. Never let the positive and negative wires touch.
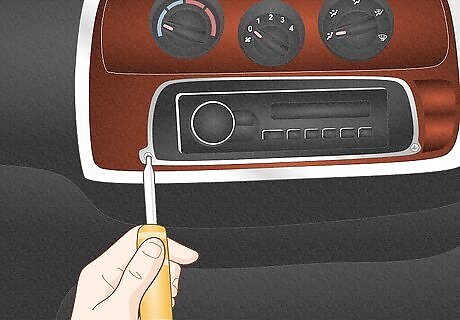
Remove any screws or bolts around the trim. The trim is the plastic border around the stereo. On some cars, the stereo trim is just clipped on, but others might have screws or bolts holding it on. Check around the border of the trim for anything attaching it to the dashboard. Unscrew the bolts or screws to free the trim. If there are bolts or screws, they might be near the bottom of the stereo trim so they’re hidden from view. Keep track of any screw or bolts you remove so you can reattach the trim later on.
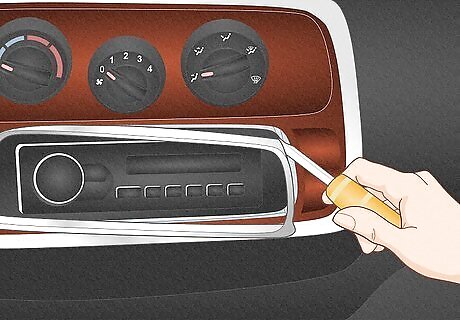
Pop off the stereo trim with a flathead screwdriver. Whether the trim was attached with screws or not, you can remove it the same way. Insert a flathead screwdriver under the trim and gently work around it to loosen it. Pull the trim off when it pops free. If the trim is stuck, you may have missed a screw or bolt. Double check and remove anything holding the trim down. Be careful when you’re removing the trim. If you crack it, it might be expensive to replace.
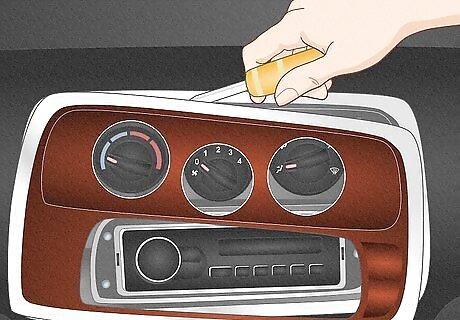
Pry the dashboard covering off if you have a newer car. Newer cars and SUVs make it a bit more difficult to remove the stereo and might cover it with a whole dashboard panel instead of just a simple trim. Luckily, this is easy to remove as well. Find the edge of the panel and insert a plastic prybar into the space. Work the prybar around the panel until it pops off, then pull it off to reveal the stereo. On some SUVs, the panel continue down to cover the cup holders. This doesn't change the removal process. Just keep working around the panel with the prybar until it comes off. Do not use a screwdriver or metal tool to remove the dashboard panel. This can crack the plastic and you'll need an expensive replacement. You can get a plastic prybar from an auto parts store.
Pulling Out the Stereo
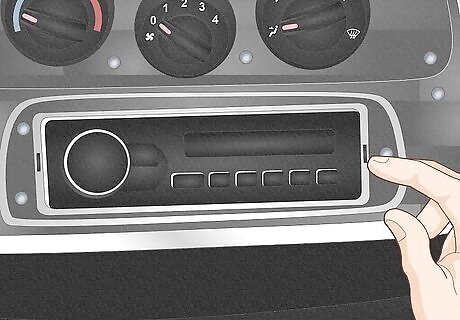
Locate the slots on either side of the stereo. Car stereos are held in by 2 clips, 1 on each side. You can access them by inserting thin tools into the slots on both sides of the stereo. Check alongside the stereo and look for 2 thin slits to find the spot you have to insert the tool. If the slots sit further back, you might need a flashlight to see them. Some pickup trucks and SUVs have 2 holes on each side instead of a thin slot. In this case, you’ll need a 2-pronged tool or wire to access the stereo clips. Always confirm the process to remove the radio in your car owner's manual.
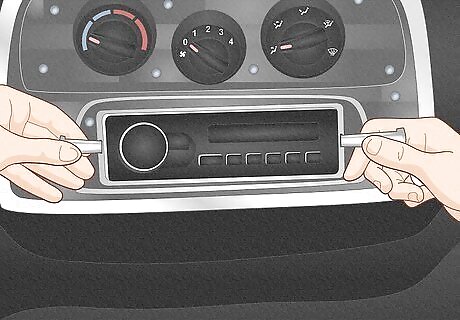
Insert radio keys into the slots on either side of the stereo. Radio keys are small flat tools that undo the clips holding the stereo in. They may come with your car, or you can get a set from an auto parts store. Slide a key into each slot on either side of the stereo. You need both keys in at the same time to release the stereo. If you don’t have radio keys, you can use any flat piece of metal that fits into the radio slots. Some choices include thin knives, files, or hangers. Radio keys are sometimes called DIN tools, if you’re looking in an auto parts store.
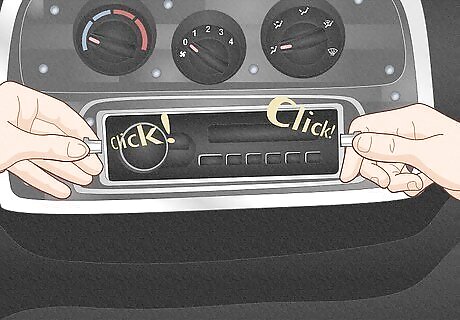
Press the keys until they click. Continue inserting the radio keys into the slots until you hear a click. This means that you’ve released the clips holding the radio in. If you don’t hear a click but the keys stop moving, then they’re probably inserted enough. You should be able to pull the stereo out. Keep the keys inserted while you take the radio out. If you remove them, the clips will clamp back down.
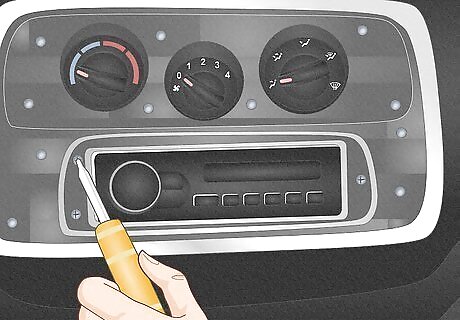
Remove the screws and bolts around the stereo if it doesn't use clips. Newer cars bolt the stereo in instead of using clips. If you don't see any spaces to insert the keys around the radio, then check in the corners for screws or bolts. If you find these, use a Philips head screwdriver or socket wrench to remove them to free the stereo. Keep track of the screws and bolts you remove so you can put the radio back in.
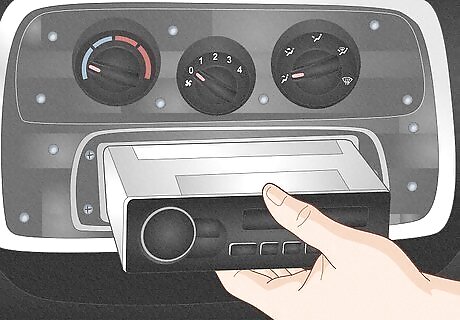
Slide the stereo body out of the socket. Grab the stereo by its outer edge and pull it straight back. Continue sliding it until it comes out of the radio socket. Be careful not to drop it once it’s free. You might have to jiggle the radio a bit to work it out of position. Don’t keep pulling once the radio comes out because it’s still plugged in.
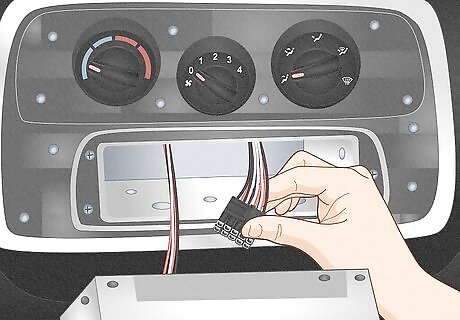
Unplug the stereo to complete the removal. There are usually at least 2 plugs in the back of the stereo. The antenna connects to the right side. This plug pops out normally, so just pull it out. On the left side, the electrical wires attach with a clamp. Squeeze the clamp to release it, then pull those wires out. The stereo is now completely free. There might be other wires attached to the back of the stereo as well. Pull these out as needed to get the stereo out.







Comments
0 comment