views
Changing a Turn-Signal Cover on an Older Vehicle
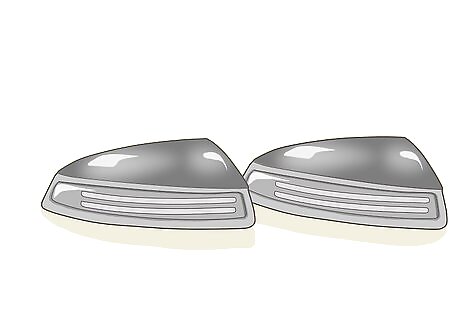
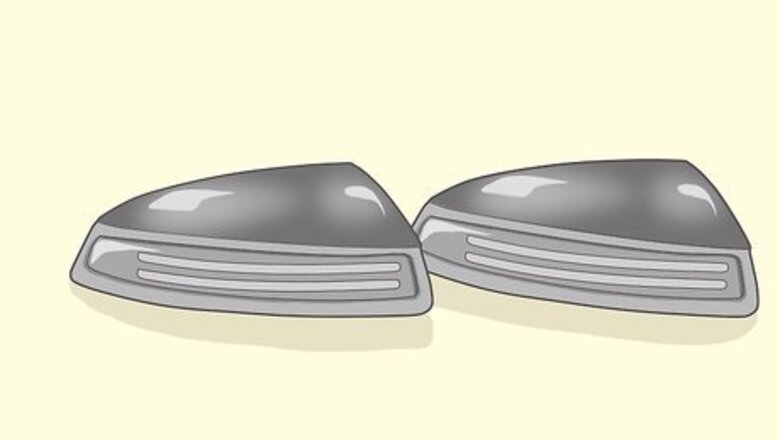
Replace a turn-signal cover that is mounted in a bumper, grill or leading edge of a fender using it as a clearance light. This type is found mostly in older vehicles and will be relatively easy to replace with only a screwdriver. Locate the turn-signal cover and the screws that are holding it in place. Use either a Phillips, slotted or, in some cases, a specialized screwdriver -- sometimes called a star -- to remove the screws holding the lens cover in place. Gently pull out on the lens cover. If it is a two-piece unit -- lens cover and light bulb holder -- then replace the lens cover and screw it back into place. If it is a combination lens and light bulb holder, pull out the unit exposing the light bulb holder and wiring.
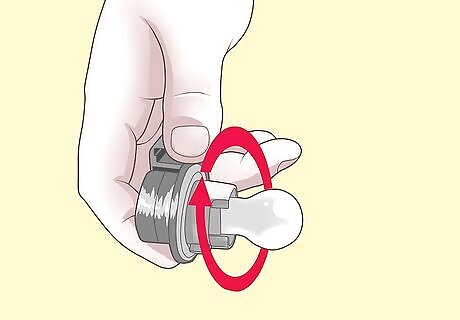
Grip behind the bulb much like you would if you were changing any light bulb. Turn counter-clockwise and pull the bulb holder from the lens case. Reverse the procedure, reinserting the light bulb holder into the new turn-signal cover and screw it back into place on the vehicle.
Change a Turn Signal Cover on the Front of a Newer Vehicle
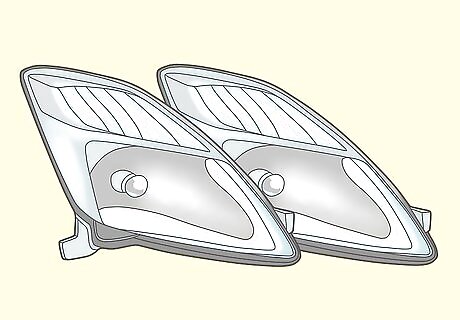
Removal of the turn signal, headlight and the clearance light may be required, because they will most likely be integrated into one unit. You need a screwdriver and, depending on your vehicle, a standard (imperial) or metric deep-socket set. The socket set must have a ratchet wrench, extensions and an open wrench set. Raise the hood and identify the connections or tie-down locations on the turn-signal, headlight and clearance light. Disconnect all of the screwed down locations and nuts from the bolted sections.
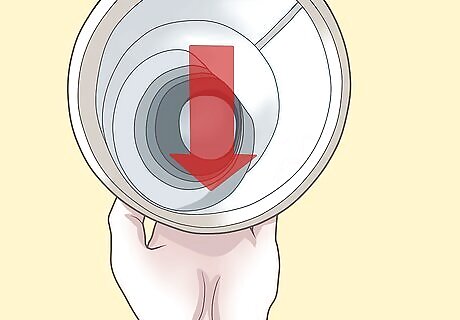
Pull out the unit to get the back side of the unit. This will give you access to the bulb holders for the turn signal, headlight and clearance light. You need to disconnect the turn signal cover from the individual bulb holders. There will most likely be three at the back of the broken lens, similar to changing any burned out bulb.
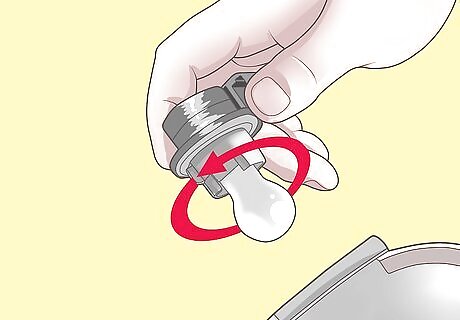
Reverse the process inserting the bulbs into the new unit. Reconnect the turn signal, headlight and clearance light.
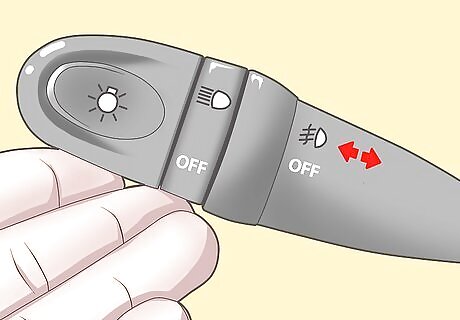
Verify once everything is reconnected that the turn signal is working correctly. For some vehicles, the turn-signal unit needs to be grounded to the metal body in order to work.
Replacement of a Broken Taillight/Turn-Signal Cover in the Rear of the Car
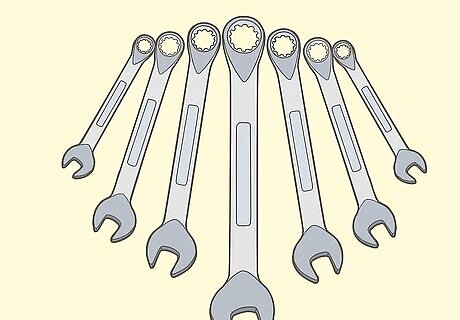
Use a screwdriver and, possibly, a set of open-end wrenches or sockets. You may need a ratchet wrench as well, depending on the vehicle requirements. Access will be from the inside of the trunk or cargo area on an SUV or typical car. You need to pull away or unscrew the cover from around the back of the broken taillight/turn-signal cover to gain access. This exposes the bulb connections at the back of the taillight. Grip firmly at the back of the bulb and push it in. Twist counter-clockwise to remove it from the broken taillight/turn-signal cover. You will either need to unscrew the broken taillight/turn-signal cover from the outside or unbolt (or unscrew) it from the inside of the cargo area or trunk, depending on how the taillight/turn-signal cover is held in place.
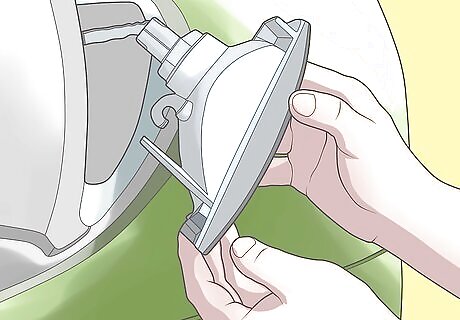
Pull the lens away from the body of the vehicle.
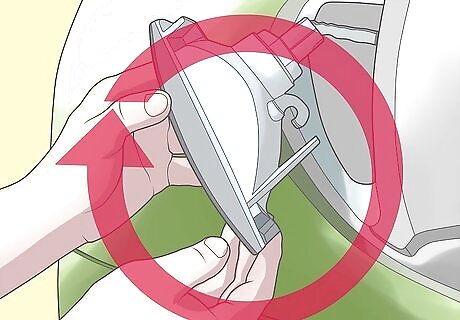
Reverse the procedure. Check to see if the taillight/turn-signal cover is working once it is reinstalled.
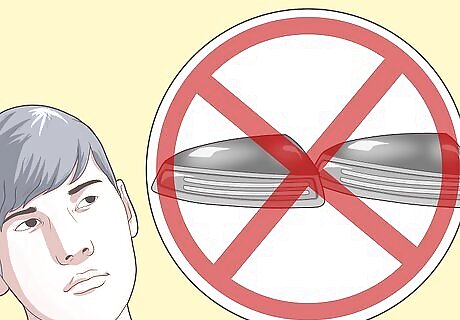
Understand that the procedure for replacing a broken taillight/turn-signal cover will be a little different for a small truck or pickup, depending on the age. Those made prior to 1960 could have a separate taillight and turn-signal cover. However, the tools are the same. You will find a screw holding the taillight in place on the back of the bed on some small trucks. Unscrew and remove the taillight/turn-signal cover from the bed. You will have exposed wires in the bulb holder once you have pulled the taillight/turn-signal cover from the bed. There may be more than one bulb holder. Disconnect the bulb holder by gripping it firmly at the back and pushing in. Twist counter-clockwise and remove the bulbs from the broken taillight/turn-signal cover. Reverse the process and install the new taillight/turn-signal cover and check to see that it is working properly.
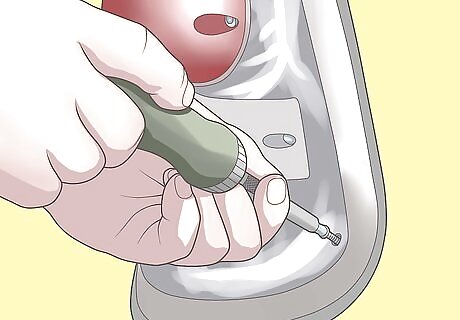
Unscrew the cover from inside the bed, exposing the back of the taillight/turn-signal cover to unbolt the broken taillight for removal on some newer trucks. Other than that, it is the same procedure as above. Reverse the process as noted above and install the new taillight/turn-signal cover and check to see that it is working properly.





Comments
0 comment