
- Install new baseboards by measuring the linear footage of the room. Multiply the length x width by 2. Multiply the total number by 0.1% for overage.
- Cut the baseboard to size using a miter or power saw at a 45-degree angle. Then, place the baseboard against the wall and nail it into a wall stud.
- Spackle any visible nail holes, sanding it down with 120-grit sandpaper to ensure a smooth finish. Caulk gaps and finish the baseboards with wood stain or primer.
Removing Old Baseboard Trim
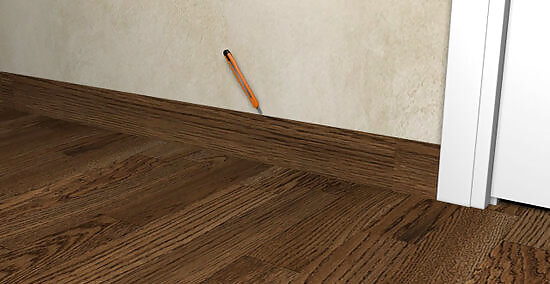
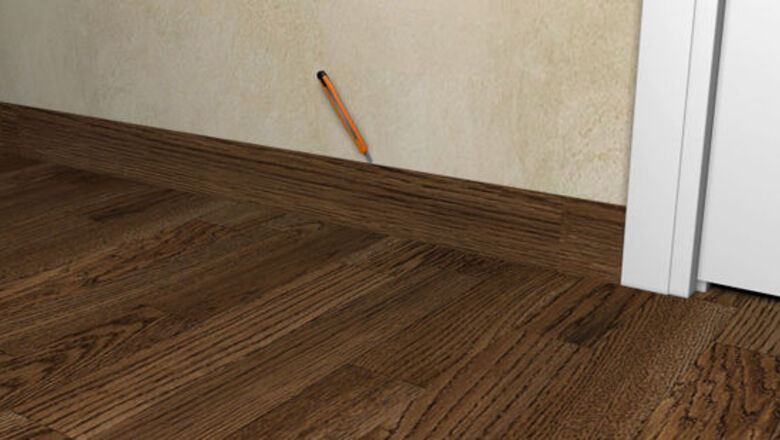
Use a utility knife to score a line along the top edge of the baseboard trim. The joint may have been caulked or painted over several times. Separating the layers from the baseboard trim will help you avoid chipping the surrounding paint or drywall.
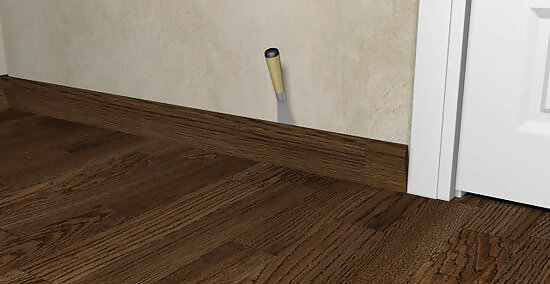
Use a pry bar to loosen the trim from the wall. Start at an outside corner where it’s easier to loosen a joint. Gently slip the pry bar between the wall and the baseboard and gently pull the trim away. If the pry bar doesn’t fit, use another object, like a flat-head screwdriver or a stack of wood shims, and shimmy it between the trim to create more space.
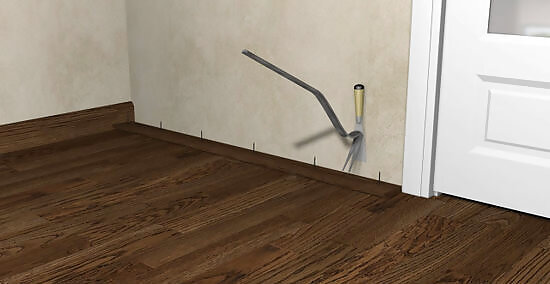
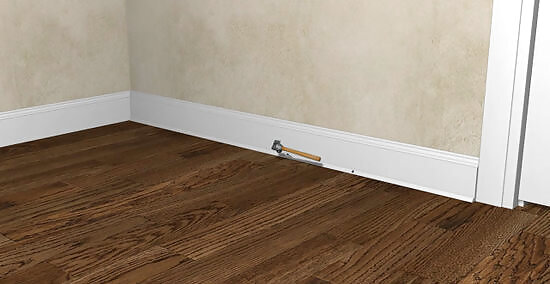
Pull the trim and remove any debris. As you pull the trim away, the old nails should come with it. Use the back head of a hammer to pull up any nails and discard them. Remove any glue or caulking that may obstruct the new baseboard installation using a 150-grit sandpaper or the scraper end of a pry bar. You may be able to reuse nails if they’re still in good condition.
Measuring and Cutting Baseboard Trim
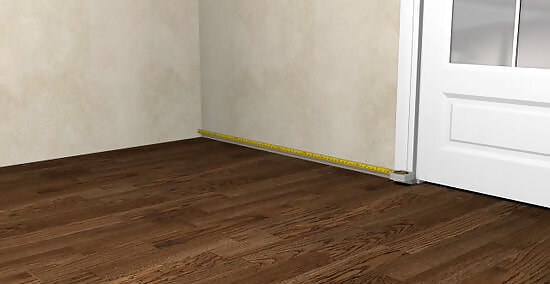
Measure the perimeter of each wall. Use a tape measure to determine the dimensions of each straight wall, rounding up by 10%. It’s important to give yourself leeway and cut slightly more than is necessary to fit a tight baseboard. Calculate the linear footage of a room by measuring length x width. Once you have these measurements, multiply each number by 2 and add them together. An example of a 9’ x 11’ room would be: (9 x 2) + (11 x 2) = 58 linear feet. Add 10% to account for overages by multiplying your total linear feet by 0.1. For example, 58’ x 0.1 = 5.8. So, you would need an extra 5.8 (or round up to 6) feet. Remember, it's always possible to cut off but not always possible to add back on.
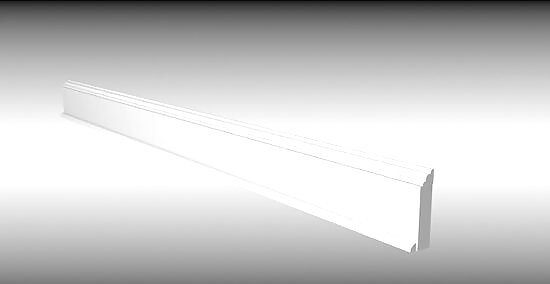
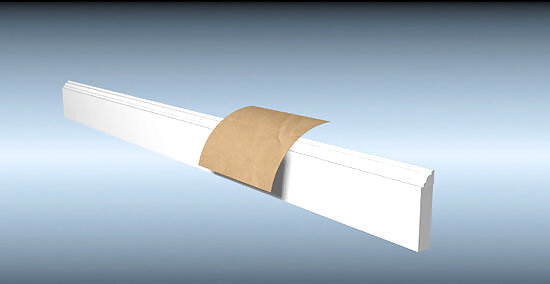
Select and purchase your materials. The most common baseboard materials are pine, hardwood, or vinyl, which can be purchased online or through a local hardwood supplier or store. Acclimate your baseboards to their new environment a week before installation. In dry climates, baseboards shrink, while in wet climates they expand. You only need a baseboard for a basic installation. However, additional components may be needed depending on the type of project. Moving from top to bottom, they include: The cap molding, optional. These moldings fit on top of the baseboards, adding a detailed and ornamental flourish. They are typically only needed if you have wainscot paneling. The baseboard. Usually at least 3.5–6 inches (8.9–15.2 cm) high, they are predominantly flat and form the bulk of the baseboard. The shoe molding, optional. Another ornamental detail at the bottom, between the baseboard and the floor, completes the look. Shoe molding is typically used when retrofitting or putting down new flooring.Alternative options:Purchase wide baseboard molding to cover over existing narrow molding.Or, use a self-adhesive vinyl wall baseboard to give the appearance of a baseboard molding trim. This may be a good option for renters.
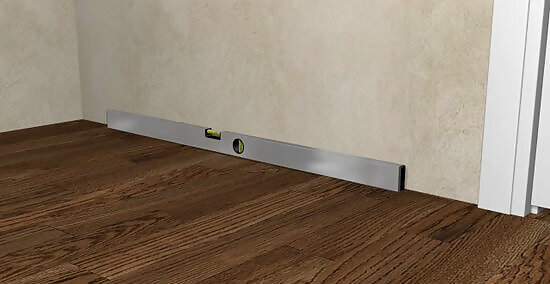
Use a level beam to ensure the ground is leveled. Take a 4-foot level beam and place it on the ground. To read a level, look for the air bubble in the green vial and center it between the two-level indication line marks. If the floor isn’t leveled, scribe the baseboards. Scribing uses a compass fitted with a sharp pencil to easily transfer odd shapes and profiles to a baseboard.
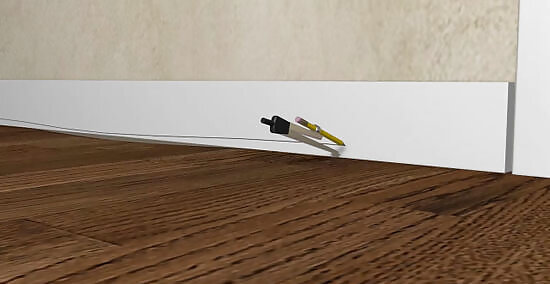
Scribe the baseboards with a pencil if your floors aren’t leveled. Whether leveling the ground or putting in shoe molding, scribing is necessary to ensure the top of the baseboard is even. Tack a piece of baseboard to an inside corner with one or two nails or shims leveling it. Then, scribe the unleveled ground or corner to the wall using a compass to measure the distance. Keeping your compass spread rigid, hold the point-side of the compass on the floor and the pencil-side on the baseboard. Move the pencil across the entire distance of the baseboard to trace an outline. Use a table saw or a jigsaw to cut along the scribed line on the baseboard. Set a slight (2° - 5°) bevel on the cut if you have a circular saw. This will make scribe-fitting much easier in the end. With a block plane, plane down the beveled edge of the baseboard. Then, dry-fit the baseboard back onto the floor and ensure it lines up evenly. Use a level to test.
Measure and cut miter joints on the outside corners. Grab a protractor to read corner angles and divide them in half to get the miter angle. Using a power miter saw cut each piece at a the correct angle—usually, 45º. Match the ends of two corners to form an outside corner. When in doubt, make the cuts a little longer than you need and shorten them when necessary.Alternative tools:Miter box and hand saw: a cheap but effective option. Clamp the wood securely to the box. Cheaper models only allow cuts at common angles.Circular saw and speed square: Fast but inaccurate. Not recommended for baseboard.
Miter or cope your inside corners. For inside corners, reverse the angles of the outside corner to miter them. Cut a traditional coped joint by setting the blade at a 45° angle on the baseboard you want to cope. Use a coping saw to cut back the angled profile made by your initial cut. Leave the paint line intact, but clear away the wood “behind” the paint line. Go slowly to follow the profile accurately. The other end of the baseboard won't need to be cut at all; the coped joint will simply cover up the remaining piece of baseboard. Sand away any excess rough patches or debris to smooth out the coped seam.Alternative tools:Miter saw: coping with a miter saw is fast but difficult. Practice on scrap wood first, and clean up the rough cut with a file.Dremel: a little more difficult to use than a coping saw, but up to the job. Use a carbide cutting or shaping wheel attachment.

Use scrap material for trial-and-error fitting. In a perfect world, every room you work in has perfectly square walls. However, that’s rarely the case. Use scrap material to find the correct angle cut for odd-corner pieces so you don’t ruin perfectly good material. Use scrap material to test out scribing, as it can be tedious. Similar baseboard issues include: Mid-wall pieces. If you have very long walls, you’ll need to use more than one piece of baseboard. Cut both pieces at overlapping 45° angles to fit them together like so //. This will help eventually make wood shrinkage less visible. End pieces. If the baseboard butts into a door casing, simply cut it and scoot it up against the object.
Sand and prime baseboards before installing. Use 120-grit sandpaper to smooth out the surface of the baseboards. This will help ensure the primer applies evenly. Apply the wood primer with a brush or sponge and allow it to dry for 24 hours. Then, use 120-grit sandpaper to remove any brush strokes or paint drips.
Installing and Painting Baseboards
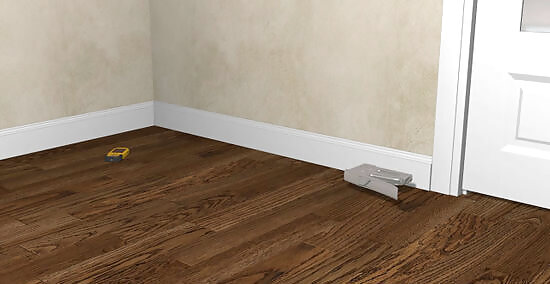
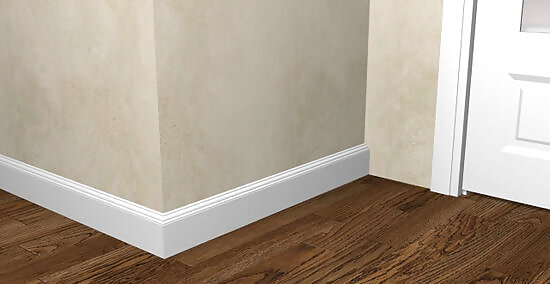
Use a nail gun to set the baseboard in place. Hold your stud finder flat against the wall, near where you ideally want to drill. Power the device on and slowly slide the stud finder to the right until you’re alerted via a beep or flashing light where a stud is located. Use a nail gun to sink two nails into every stud at a downward angle into the baseboard. Afterward, fill all the nail holes with putty, allow it to dry, and sand with 120-grit sandpaper again. On outside corners, apply a thin bead of wood glue or adhesive to mitered edges to ensure a better bond. For inside corners, the adhesive is unnecessary if you’ve properly coped your baseboards.
Install shoe molding and cap molding if necessary. Just like measuring and cutting your baseboards, the process will be the same with shoe and cap molding. Then, nail each piece of shoe molding, ensuring the nails go into the baseboard, not the floor. Use brad nails that have soft rubber tips to avoid damaging the floor or boards. For cap molding, use a nail set to insert the nail heads just below the surface. Use spackle to cover up all the nail holes, sand the surface down, and prime them.
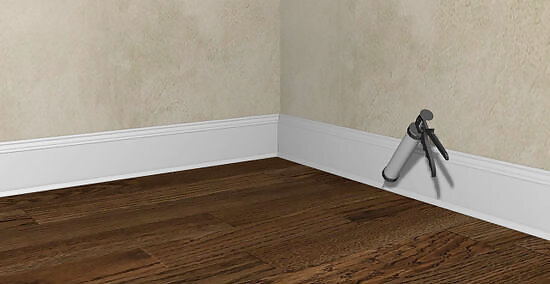
Apply caulking to sections of molding in wet places. Caulk along the top and corner edges and nail holes in wet environments like the bathroom or kitchen, to avoid moisture build-up. This is not necessary in dry environments like a living room or bedroom.

Touch up the trim with spackle. If you haven’t yet covered the nail holes or any scuffs and dings that may have happened during installation, apply a bit of spackle using your finger. Use a putty knife at a slight angle, applying the spackle in downward strokes. Scrape away any excess product and allow it to dry before sanding.
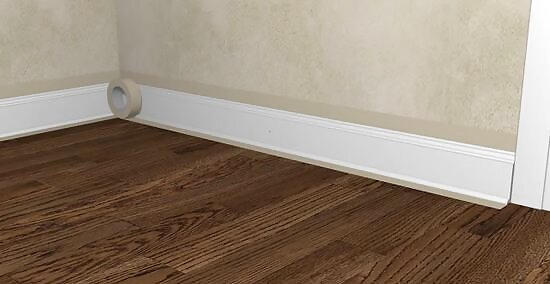
Tape the wall and floor above and below the trim, if necessary. This will allow you to paint the trim quickly without going over the edges. Use something that pulls off easily and doesn’t leave residue, such as blue painter's tape. You can also take your chances and paint freehand.
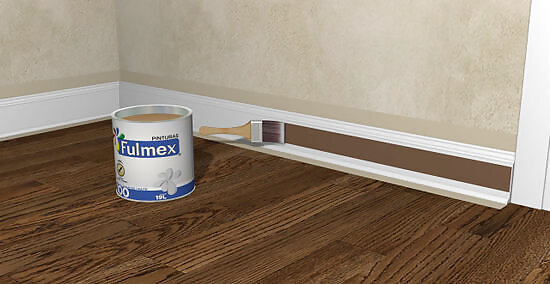
Apply your finishing coat, if necessary. If you didn’t apply a wood finishing coat earlier, this might be a slow and semi-painful process, so be sure to have a good kneeling pad on hand. Apply two coats of a gloss or semi-gloss paint or varnish with a sponge or paintbrush.


Comments
0 comment