
views
you are looking to replace a orn don
Replacing Plastic Tips with Rubber Ones
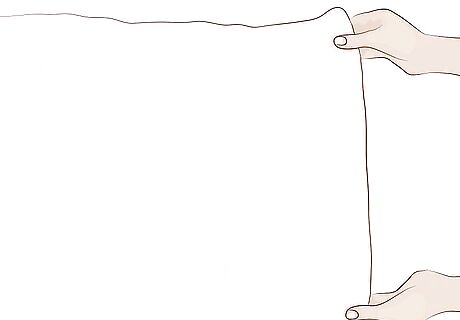
Cover your work surface with a towel or a soft cloth. This will protect your shoes against damage as you work on them. You can use this method on old, worn-out heel tips. You can also use it on brand-new plastic tips.
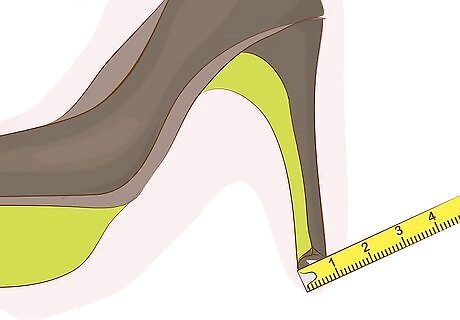
Measure the length and width of the heel tip in millimeters. This is very important, as some heel tips have a slightly elongated shape. If you are having troubles measuring in millimeters, measure in centimeters, then convert to millimeters.
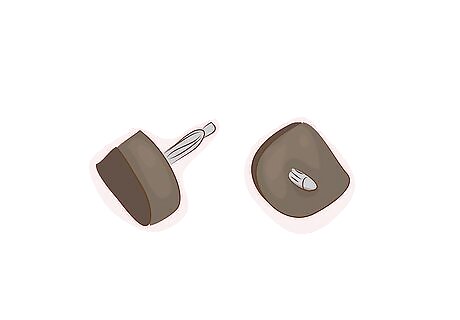
Purchase a set of new heel tips. Look for something called “High Heel Rubber Tip Replacement Dowels.” These heel tips are not the same as the slip-on kind. They are a permanent tip and come with a nail to hammer into the heel. Make sure that you purchase the correct size and shape. Do not round sizes, otherwise the heel tip will not fit.
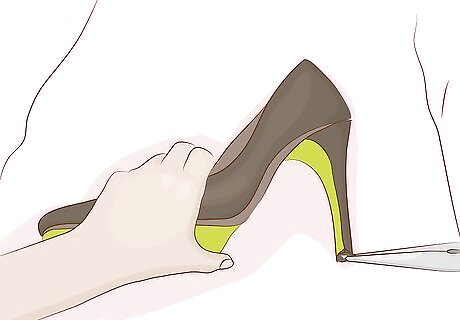
Use long, needle nose pliers to remove the plastic heel tip. Grip the edge of the old heel tip with a set of long, needle nose pliers. Twist the heel tip while pulling on it. Be careful not to break off the nail. You need to have the hole clear, otherwise you won't be able to insert the new heel tip. If you are replacing old, worn-out heel tips, you may have to cut away the old tip with a blade first, then pull the screw out with pliers.
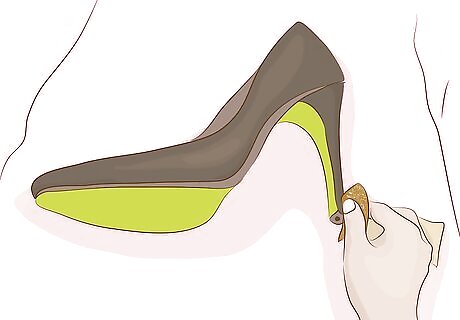
Smooth out the surface, if needed. This may not be necessary if you pulled out a new, intact heel tip. If you sliced away an old, worn-out tip, there may be some residue. Sand this residue off with sandpaper or a dremel. Keep in mind that you may have to get a thicker rubber heel tip to make up for the loss of height.
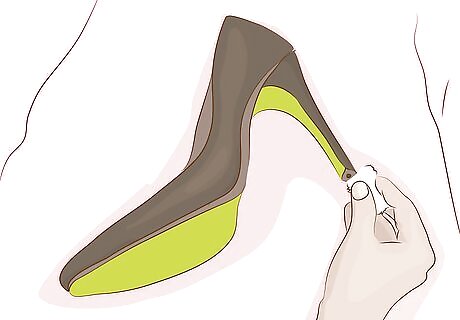
Wipe the bare heel tip clean. A damp rag will do, but rubbing alcohol will work even better. This will remove any dirt or oils. You should definitely do this if you sanded the heel.
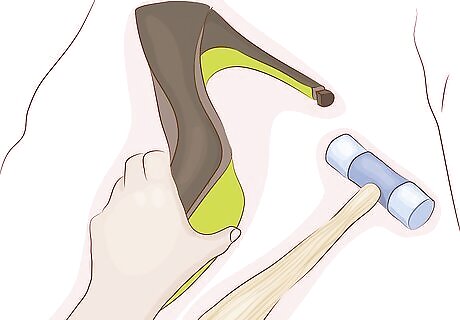
Use a lightweight hammer to tap the new tip onto the heel. Insert the new tip's nail into the hole on the heel. Make sure that it is oriented in the right direction, then tap it into place with a lightweight hammer. Keep going until the tip is flush against the heel; you should not see any gaps. Coat the nail with super glue first. This will help it stick better. If the heel tip is too large, lightly sand the edges after you hammer it into place.
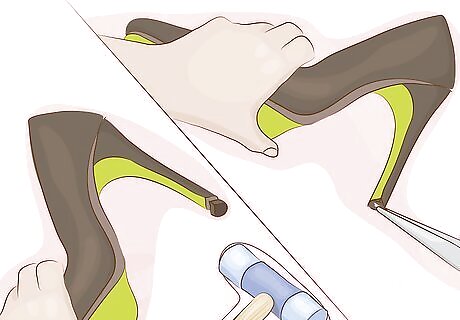
Repeat the method on the other shoe. These caps are durable, compared to the temporary slip-on caps. Keep in mind that because they are made out of rubber, they will eventually wear down—just like any other rubber heel tip.
Using Slip-On Caps
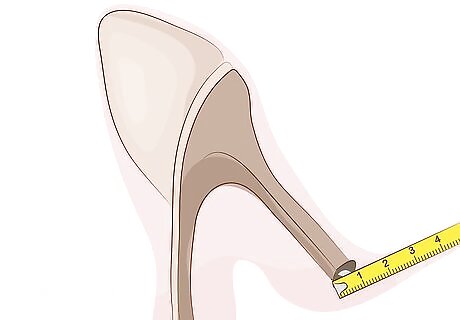
Measure the length and width of the heel tip. It is best to take measurements in millimeter, inches, and centimeters, as there is no guarantee which the brand will use. Also, take note of the shape of your heel: round, oval, or semi-circle. This method will work the best on worn-out heel tips, but you can try it on regular ones. It might be a good idea to sand the tip down until you see the metal nail, however.
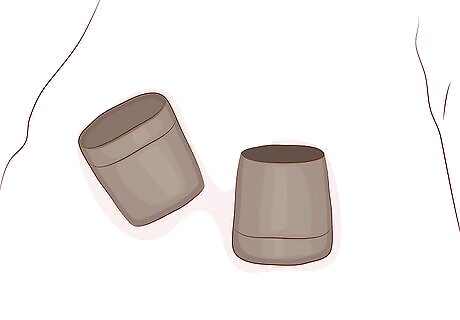
Purchase a rubber, slip-on heel cap. Make sure that you get the right size and shape of heel cap. Some heel caps also come in plastic, which look similar to rubber, so read the label carefully. If the package comes with multiple sizes of heel caps, make sure that you get the range that includes your size.
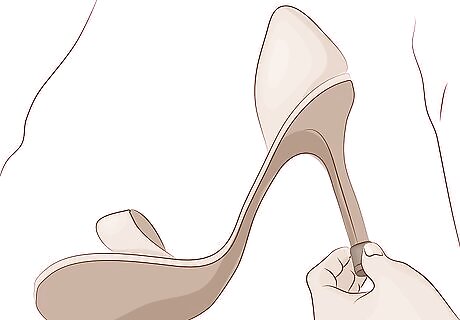
Slip the heel cap over the worn out heel. If the kit comes with several different sizes, you can check your heel tip against the included chart to find the size that you need.
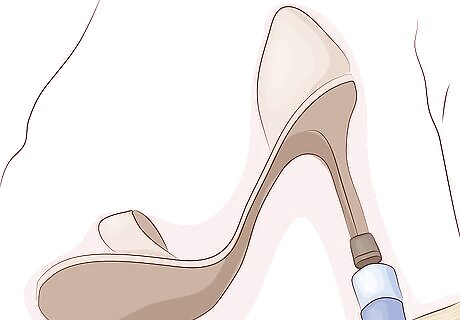
Tap the cap down, if needed. You want the fit to be tight and snug. If the fit is too snug, the cap may not go on all the way. In this case, lightly tap the heel and cap against a flat surface.
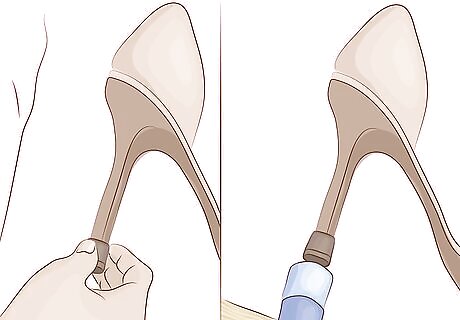
Repeat the process for the other shoe. Keep in mind that because these are slip-on caps, they are not permanent. They will not be as durable as replacement tips.
Using a Cap and Wrap Kit
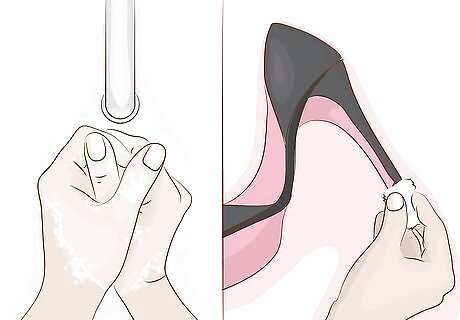
Clean your hands and the heel tip. Wash your hands with soap and water, and skip the lotion. Next, wipe down the worn out heel tip with rubbing alcohol. This method is meant to cover worn-out heel tips. If your heel tip is intact, and you simply want a rubber one, you can try to sand it down to reveal the nail stud first.
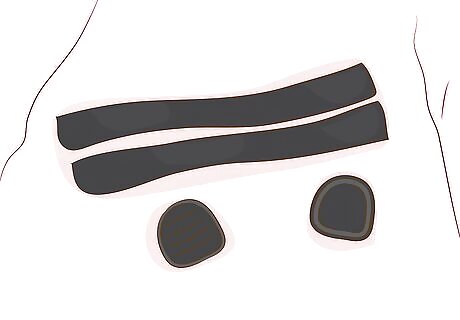
Get a wrap and cap kit. These kits include a rubber cap and a sheet of pre-cut strips of elastic tape. They usually come with several sizes of caps. You can find what size cap you need by measuring your heel tip against the included chart. If the sizes come separately, you will have to measure the heel tip on your shoe first, then get the right size.
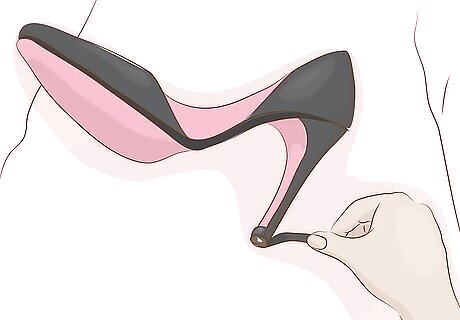
Wrap the elastic tape tightly around the base of the heel once, overlapping it slightly. Find the sheet of elastic strips in your kit; they look a little bit like black, electrical tape. Wrap the tape tightly around the base of the heel once, then overlap it. Make sure that the bottom edge of the tape is aligned with the bottom edge of the heel. Make sure that you wrap the tape tightly so that it stretches. You only need to overlap it by ¼ to ½ inch (0.64 to 1.27 centimeters), depending on the thickness of the heel. The thicker the heel, the longer the overlap.
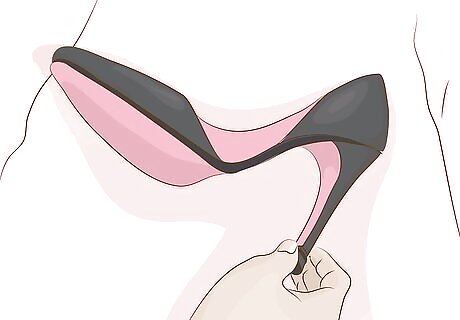
Put the cap onto the heel. Make sure that you slide it on all the way, until it bumps up against the worn-out part. The fit should be tight and snug. The tape should be sticking out over the top edge of the heel cap. If the fit is very tight, you will have to tap heel and cap against a flat surface.
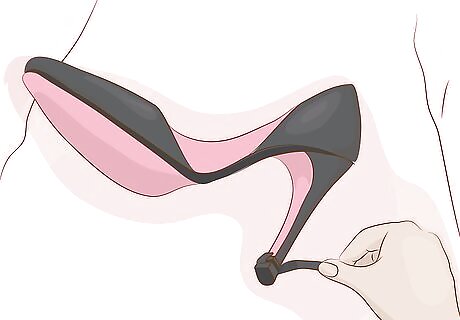
Wrap the elastic tape a few more times around the cap and the heel. Make sure that the tape is centered over the seam between the heel and the cap. You want an equal amount of tape covering the top edge of the cap and the heel. Keep wrapping the tape tightly until the strip ends, about three more times. Again, make sure that you wrap the tape tightly, or it won't stick to itself.
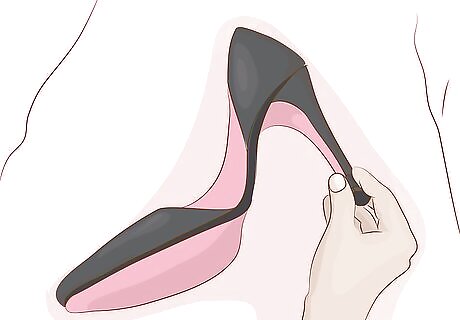
Press the band tightly for 10 seconds. Hold the heel tip between your fingers, making sure that you cover the end of the tape. Squeeze the tip tightly between your fingers for 10 seconds. This will seal the tape and keep it from coming undone.
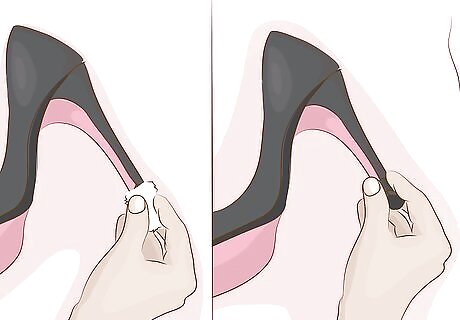
Repeat the process for the other shoe. Keep in mind that these are temporary and not permanent. They won't last as long as real replacement tips.




Comments
0 comment