views
Sizing Down Your Ring With Silicone
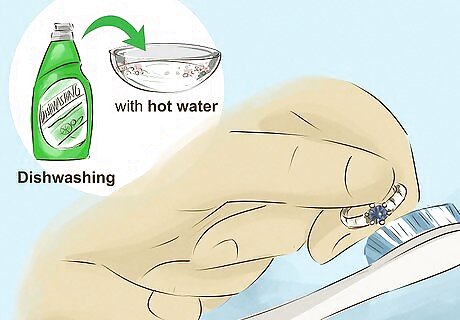
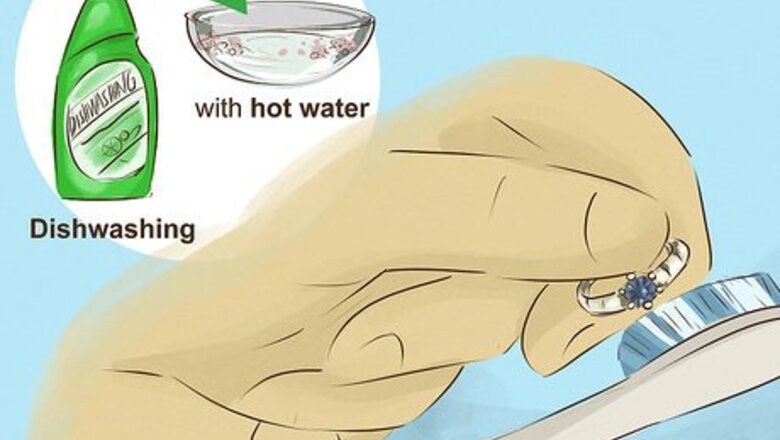
Clean the ring thoroughly. Soak the ring in a solution of hot water and dishwashing soap. You can also use a special jewelry cleaner that is safe for gold and precious stones. Use a soft toothbrush or the brush that comes with the cleaner to scrub the metal and any stones set on the ring. Dry the ring thoroughly before moving on. Use a soft cloth, because a paper towel can scratch the metal. Avoid using cleaners with bleach, acetone or chlorine, as these can damage a ring’s metal band.
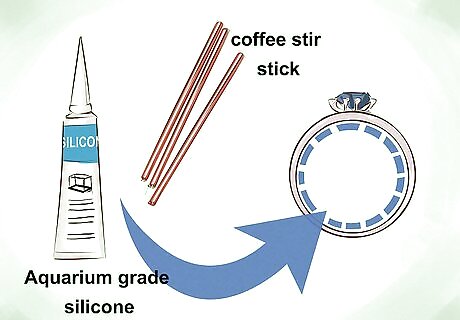
Use a coffee stir stick to apply silicone sealant inside the ring. Make sure to use clear silicone, like food grade or aquarium grade silicone. You’ll want the bottom part of the ring to have the thickest application. Unless the ring is very loose on your finger, you should use a small amount of silicone.
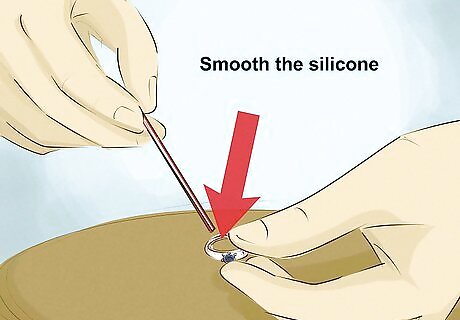
Smooth the silicone with the coffee stir stick. As the silicone will be directly against your skin, you’ll want to try to smooth it out as much as possible. Run the stick along the inside of the ring until the silicone smooths out. You can use a wet paper towel to clean any silicone that gets on the outside of the ring.
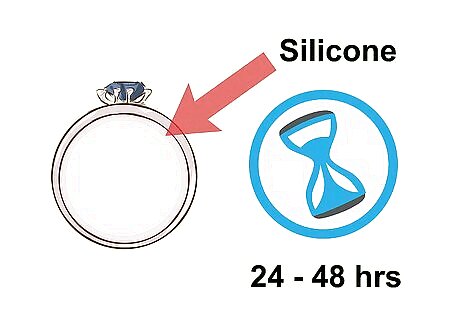
Let the silicone cure. Depending on the type of silicone you use, this can take anywhere from 24 to 48 hours. Resist the temptation to wear your ring during this time, as it will take longer for the silicone to cure and might dislodge it entirely. If you need to remove the silicone, you simply need to scratch at it with your fingernail.
Using a Mallet to Expand the Ring
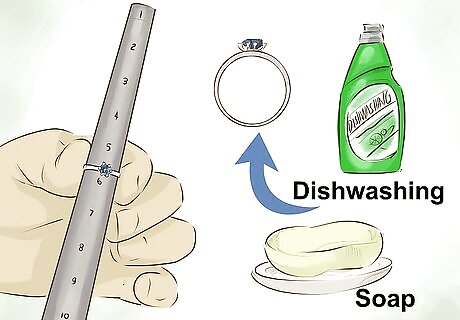
Lubricate the ring with soap and slide it onto a ring mandrel. You can use bar soap or dishwashing soap. Make sure the ring is evenly coated before sliding it on the mandrel. A ring mandrel is a graduated metal cone, which is used to size rings. You can easily obtain them from general online retailers.
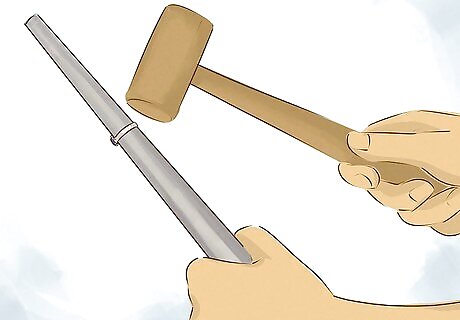
Gently tap the ring with a wooden mallet or jeweller’s hammer. Your strikes should be gentle yet firm. Strike at a downward angle; you’re essentially trying to move the ring further down the mandrel. Make sure to turn the ring as you strike, to evenly stretch it. If you have access to it, use a vice to secure the mandrel. This will make this step much easier. If you only have access to a carpenter’s hammer, you should cover the ring with a soft cloth to prevent damage to the band.
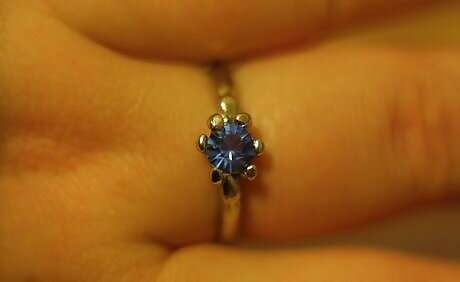
Remove the ring from the mandrel and try it on. If it’s still too tight, you can repeat the process, placing the ring on the mandrel and hammering until it fits. Keep in mind this method can only stretch a ring about half a size. If the ring is stuck, you can strike upwards with the mallet to dislodge it.
Stretching with Pliers
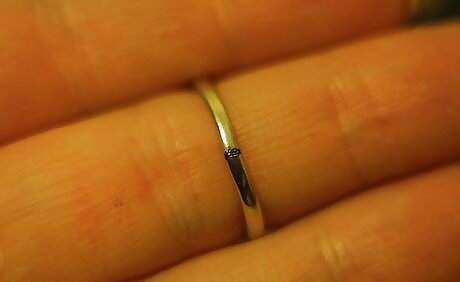
Put on the ring and mark the center of the band. Don't force it on; it’s fine if the ring sits above the knuckle at this point. Use a marker to mark the underside of the ring along the center.
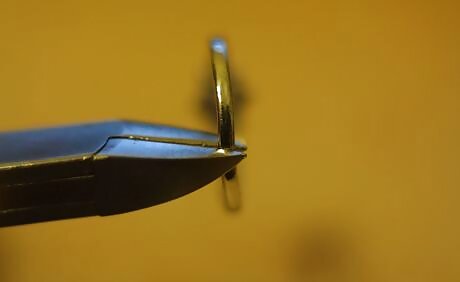
Cut the ring along the mark with a pair of wire cutters. You can either use dedicated wire cutters, or pliers with a cutting edge. Set them along the line you drew on the ring. Apply pressure smoothly to ensure an even cut.
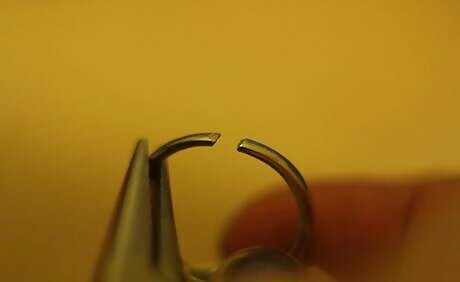
Gently bend the ring open with the flat nose pliers. Bend both sides of the ring to keep it as even as possible.
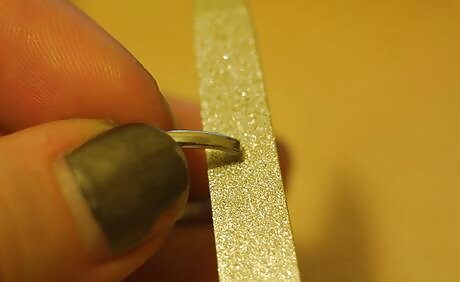
File the cut edges. Ideally, you’ll want to use a metalworking file. Alternatively, you can use a nail file, but it’ll take longer to file down the ends. You want to make sure the ends are flat so they won’t be able to scratch you. You can use a nail buffer to smooth the edges after filing them down.
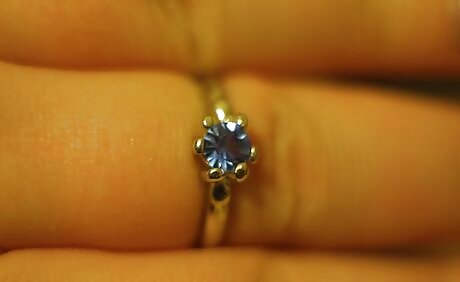
Try the ring on to check the size. The ring should fit comfortably but not move on your finger and the open edges shouldn't dig into your finger when you move it. If the ring is still too tight, remove it and widen it further with pliers.
Reducing Ring Size with Pliers
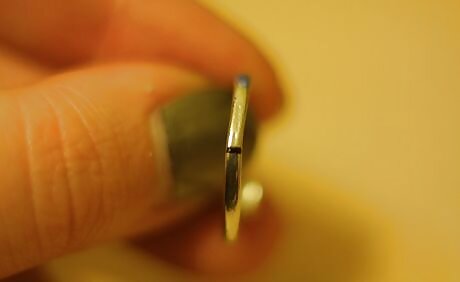
Mark the center of the ring’s band. This will be easier to do while wearing the ring. If it has stones or other markings, make sure they are centered on top of your finger. Then, mark the center of the band under your finger with a marker. Make sure to use a color that will contrast with the ring: black works best for gold and silver.
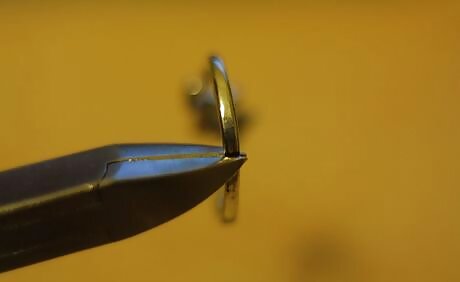
Cut the ring along the mark with wire cutters. You can either use dedicated wire cutters, or pliers with a cutting edge. Set them along the line you drew on the ring. Apply pressure smoothly to ensure an even cut.
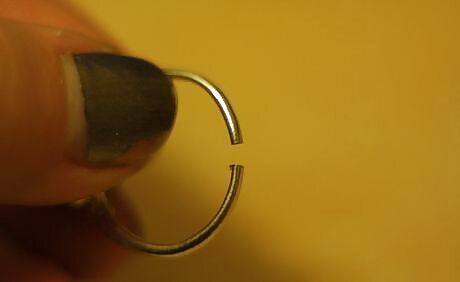
File down the cut edges. It’s best to use a file specifically for metal work; otherwise ensure the nail file you use is made of metal. File slowly, only removing a bit of metal at a time.
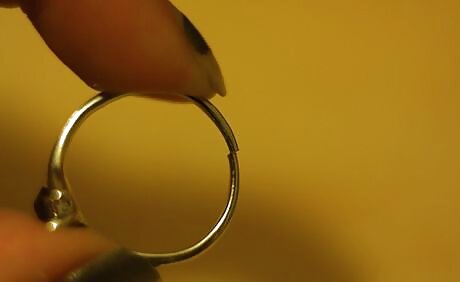
Close the gap and try on the ring. Put the ring inside the open pliers so the outside curvature runs along the pliers. Carefully squeeze, bringing the cut ends of the ring together. Keep the pressure even to make sure the ring keeps its circular shape. Try on the ring after closing the gap. If it’s still too loose, file the cut ends a bit more and try the ring on again.
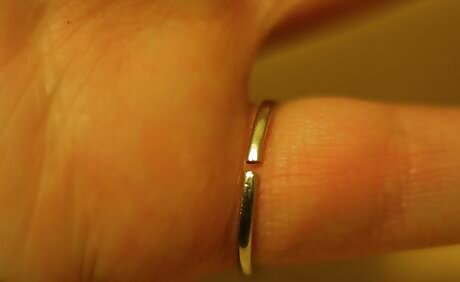
Clean up the ring’s cut ends. Use a buffing block, which you can get from any beauty store, to smooth out the ring’s ends. This will keep the edges from scratching your finger. Alternatively, you can use a propane torch and jeweller’s solder to close the ring into a single loop.


Comments
0 comment