views
X
Research source
Consult a contractor before screeding a large area, installing a thin floor (< 2mm / 0.08") over the screed, or installing screed over underfloor heating.[2]
X
Research source
If you are not installing new flooring and just want to level an old concrete floor, visit this article instead.
Preparing for Unbonded Screed
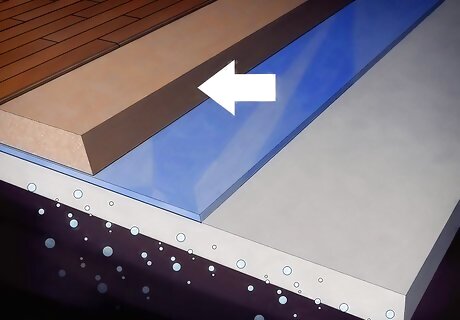
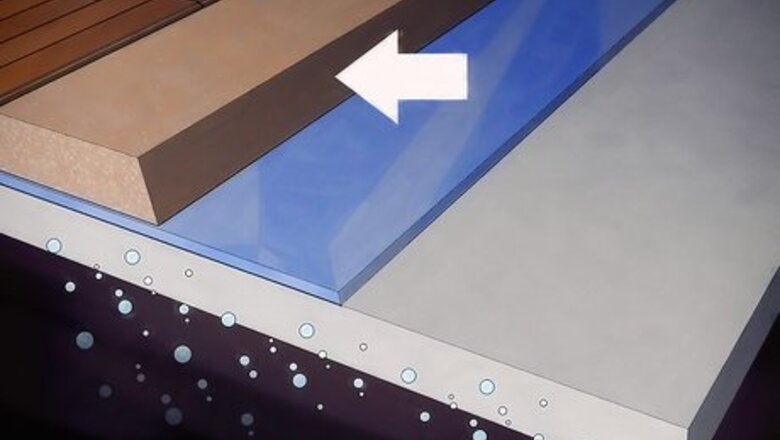
Learn the pros and cons. An unbonded screed sits on top of plastic sheets instead of directly on the concrete below. This protects your floor from moisture in the subfloor, and from settling and other issues in the main structure. However, unbonded screed is more likely to curl. Reinforcing can help with this problem, as described below. Due to the risk of curling, an unbonded screed should be at least 50mm (2") thick at all points. This means pouring a layer at least 70mm (2.75") thick to allow for variations on the sublayer.
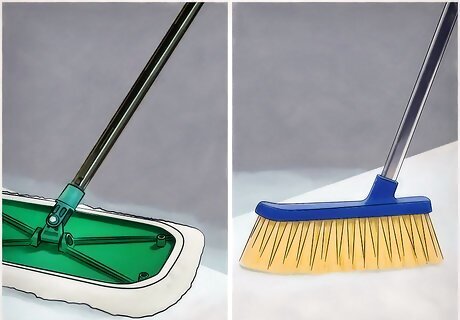
Clean the concrete base. Remove all dust and grease from the concrete before you begin the project.
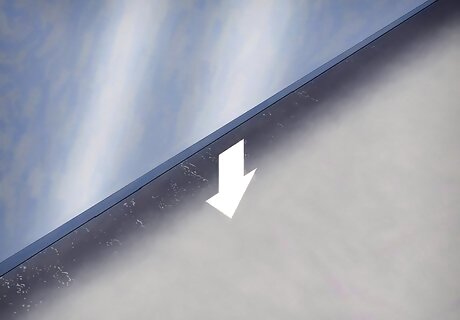
Cover the floor in plastic sheeting. Lay down polyethylene or PVC sheets to separate the concrete from the screed layer. Overlap sheets by at least 20 cm (7.9") and tape them together. Fold the sheets up 10 cm (3.9") onto all walls and pillars.
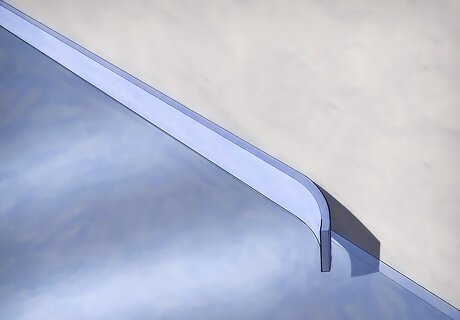
Line walls and pillars with compressible material. This protects these surfaces from damage when the screed shrinks. You may use edging foam, 20mm (0.8") kingspan insulation, or 1 cm (2.5") polystyrene.

Reinforce the screed. Unbonded screed is at greater risk of micro cracks, which reduce its strength. Reduce this risk with one of the following approaches: Mix polypropylene fibers into the screed mix before adding water (or order ready-to-use screed with polypropylene already added). Alternatively, position crack control steel mesh over your subfloor so it will sit in the top half of your screed. If you do not plan to reinforce unbonded screed, it's a good idea to make the screed at least 100mm (3.9") thick. Screed this thick suffers from moisture issues, so consult a contractor about alternative mixes.
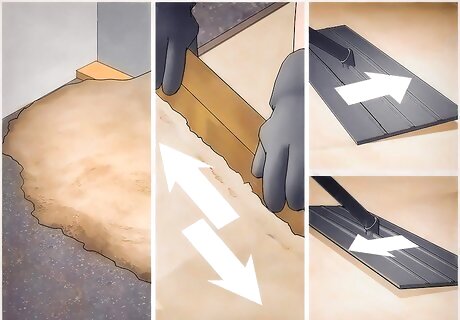
Screed the floor. Once your workspace is ready, skip down to the section below to see instructions for mixing and applying the screed.
Preparing for Bonded Screed
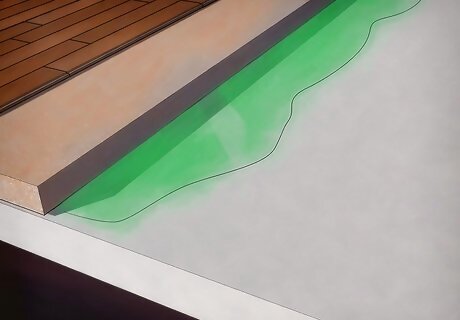
Understand bonded screed. Bonding screed to the concrete base reduces the risk of cracking or curling. The concrete must be strong and uncracked. This approach is best for thin layers of screed: A screed layer 35mm (1.4") thick is ideal, if the concrete base is flat enough to ensure the screed is at least 25mm (1") thick at all points. If the concrete is not flat to those tolerances, add screed 40mm (1.6") thick instead. Increasing the thickness beyond this requires modifications to the mix to prevent debonding.

Roughen the surface of the concrete. You must expose the aggregate in the concrete so it can bond with the screed. You can do this by hand using a chipping hammer or pick, or rent a floor scabbler or shot blaster. Make sure the entire surface is roughened, and no paint or other material remains on the surface. Wear respiratory protection to protect against silica dust.
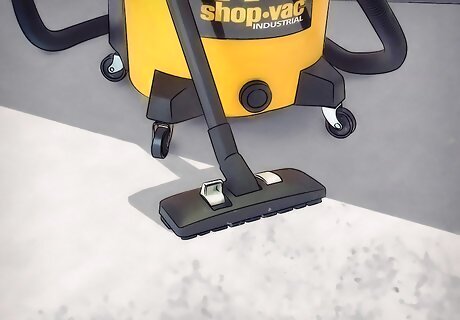
Remove all dust and grease. Vacuum up all dust and debris, sprinkling with water to reduce airborne particles. Remove grease stains if present.
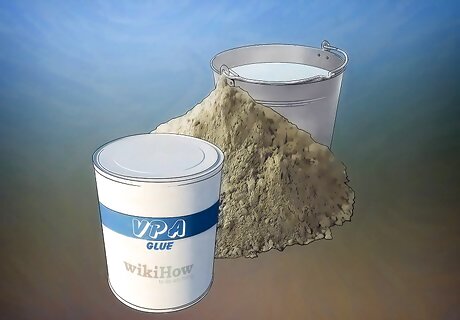
Apply a bonding agent to the concrete. Two common options are a slurry made from PVA glue, water, and cement; or SBR (styrene-butadiene rubber), which is recommended for areas that will be exposed to water. Follow instructions on your product label to prepare the concrete and apply. Alternatively, you can make your own cement bonding agent. This doesn't require any special ingredients, but it can fail to bond if you don't work quickly and accurately: Dampen the cement the day before and let stand at least four hours. Remove all excess water, then wait until the surface looks dry. Mix sand-cement grout (in a 1:1 ratio). Add enough water to form a slurry the consistency of PVA paint. Stir continuously and apply within 30 minutes of mixing. Do not delay before adding the screed. If the grout dries, the screed will not bond.
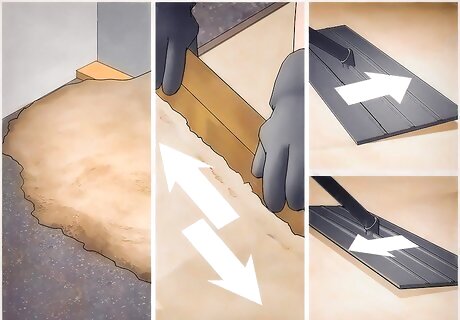
Screed the floor. You are now ready to mix and add the screed. Continue on to the next section below.
Screeding the Floor
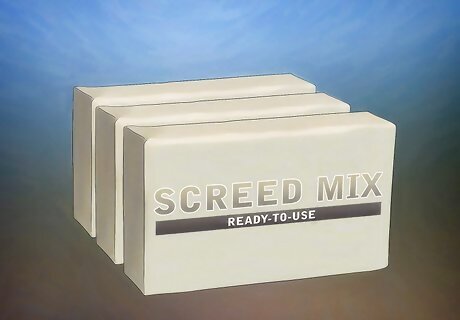
Purchase or mix your screed. Many people choose to order ready-to-use screed mix, which contains additives that slow down the setting so you do not have to work as quickly. If you would prefer to mix your own, try this simple recipe: Select clean sand with a variety of grain sizes. Combine 4 parts sand with 1 part Portland cement. (A standard Type I or Type II A cement is fine.) For greater strength, replace 1 part sand with aggregate. Avoid grain sizes above 10mm (0.4") to reduce cracking. Add water slowly until you can form the mix into a ball, then break it into clumps without water escaping.
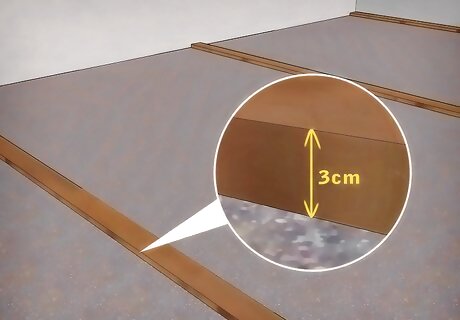
Divide your floor into sections. Professional sometimes make their own dividers using the screed mix itself, but it's much easier to use a timber batten for a DIY project. Use the straightest battens you can find, and cut them to the eventual height of the screed layer. Follow these steps: Lay down about 3 cm (1.2") of screed to keep the battens in place. Wet the batten so you can remove it more easily after screeding. Set the battens down to divide the room into strips 3 to 4 meters (10–13 ft) wide. The length of each strip is not important. Use a spirit level to confirm that each batten is level along the top, and level with adjacent battens in the room.
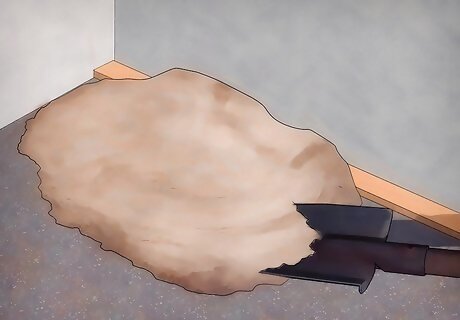
Apply a compact layer of screed to the farthest section. Dump screed onto the section farthest from the entrance, using enough to fill about 60 cm (2 ft) length of the strip. Spread it out with a trowel, compacting as you go by "chopping" it down with a screed board (straightedge), and by tamping the edges with a hand tamper. Poor compaction is one of the most common problems with a home screeding job. For best results, rent a vibrating screed board or other compacting tool. Apply each batch of screed within 45 minutes of mixing.
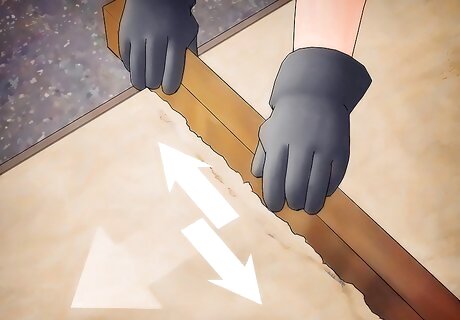
Level the screed with a straightedge. Once you have laid enough screed, place a screed board or a very straight piece of lumber over the battens. Push the straightedge across the surface of the screed in a side-to-side sawing motion. Tilt the lumber slightly so the corner forms a cutting edge to make the screed level.
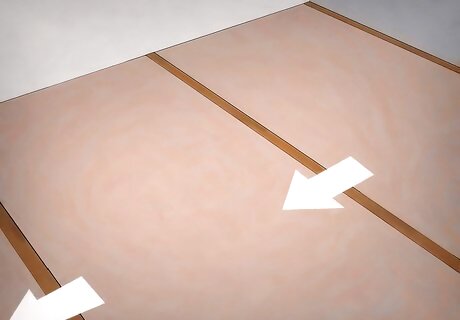
Repeat until the floor is complete. Trowel on, compact, and level the screed in stages until the first section is filled, then move on to the next. Once you have two sections filled, remove the batten between them and fill in the gap. Continue until you have screeded the whole floor. If you cannot screed the floor in one day, install day joints at the edge of the screed.
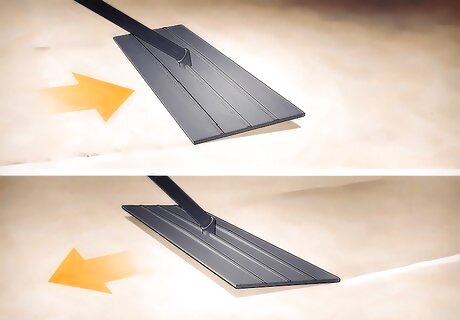
Finish the concrete. It's a good idea to bull float the screed right away to remove imperfections. Float a second time once the concrete has stopped bleeding and excess water has evaporated (or after you have removed it). For final finishing instructions, refer to your flooring manufacturer or use these suggestions: To create a textured finish, swirl a wood float in an arced motion across the surface. This works well under ceramic tiles and carpets. For a smooth finish, use the same motion with a steel trowel instead, held flat against the surface. This works well under vinyl tiles.
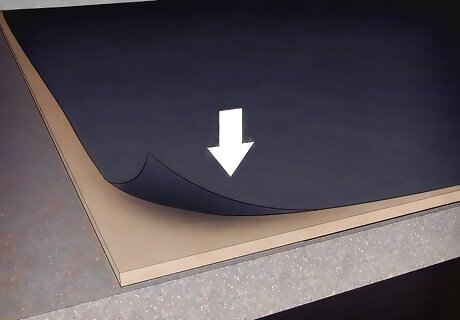
Cure the screed. One way to cure the screed is to place it under polyethylene sheeting, sealed at the edges. Leave the screed undisturbed for at least 7 days, or longer if average temperatures fall below 10ºC (50ºF) in a 24 hour period.
Wait for the floor to dry. Even after curing, your screed will need time to dry. Avoid vehicle traffic and do not install floor for at least three weeks. As a rough rule of thumb, the screed takes one day to dry for each mm (0.04") of depth. If you are bonding ceramic or stone tiles, terrazzo, or synthetic resin floor to the screed, cut stress relief joints every 5–6 meters (16.4–19.7 ft), in straight vertical lines halfway through the screed. You can do this with a trowel now, but it may be easier to align with the tiles if you wait until the screed hardens and cut joints with a saw (within 3–4 weeks).






Comments
0 comment