views
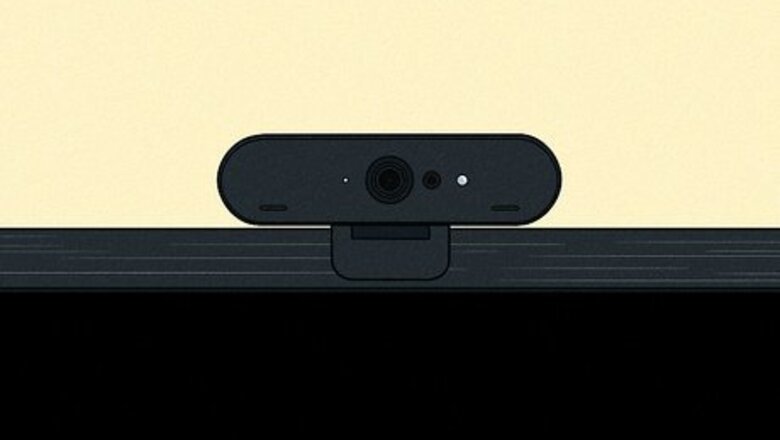
- Most newer webcams are plug-and-play. You just need to connect them via USB and your computer should detect them automatically.
- If your computer doesn't detect your webcam, you can install the drivers that came with it or download them from the manufacturer's website.
Installing the Webcam on a PC
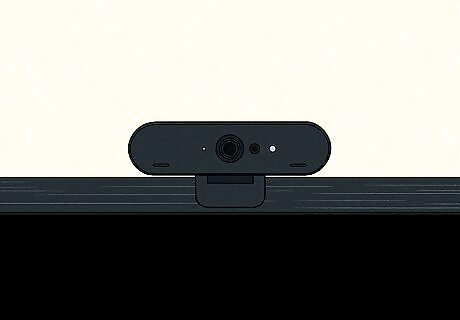
Attach the webcam to your computer. Most webcams have a clip that allows you to attach it to the top of your monitor. Some may have a tripod that you can mount it to. The way it mounts to your monitor or tripod may be very different depending on what model webcam you bought. Consult the user's manual that came with your webcam, if needed.
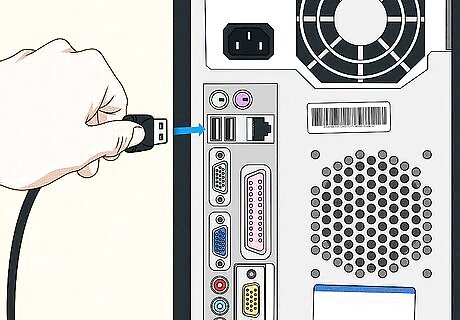
Connect your webcam to your PC. Most newer webcams are plug-and-play. Use the USB cable attached to your webcam to plug it into any free USB port on your PC. Your computer should detect it automatically.
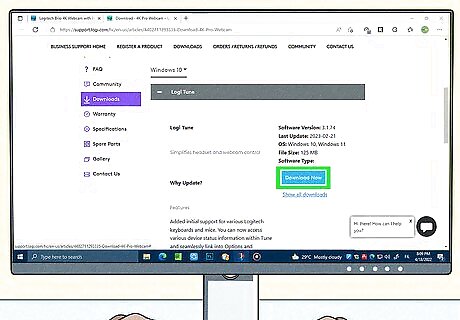
Install the driver software if needed. If Windows doesn't detect your webcam automatically, you may need to install the driver software for your webcam. You may also need to install software if your webcam has specific features that aren't available on a standard webcam. If it came with a CD, insert the CD into your disk drive and follow the instructions to complete the installation process. If you don't have a CD, you can download the driver software from your webcam manufacturer's website. Download the installation file, open it in your Downloads folder, and follow the instructions to complete the installation process.
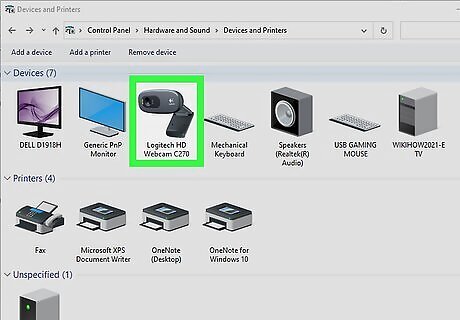
Set your webcam as the default. On Windows 10, you can do this using the Control Panel. On Windows 11, you can disable your PC's built-in webcam in the Settings menu. Use the following steps to set your webcam as the default: Windows 10: Click the Windows Start menu. Type Control Panel. Click the Control Panel icon. Click View devices and printers. Right-click your webcam. Click Set as Default Device. Windows 11: Click the Windows Start menu. Click the Settings icon which, resembles a gear. Click Bluetooth & devices. Click Cameras. Click your built-in webcam (not the external webcam you just installed). Click Disable.
Installing a Webcam on a Mac
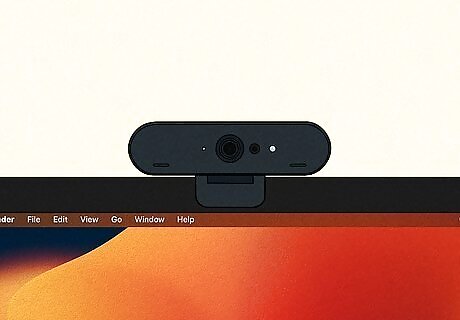
Attach the webcam to your computer. Most webcams have a clip that allows you to attach it to the top of your monitor. Some may have a tripod that you can mount it to. The way it mounts to your monitor or tripod may be very different depending on what model webcam you bought. Consult the user's manual that came with your webcam, if needed.
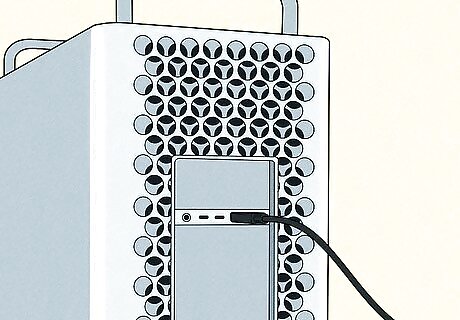
Connect your webcam to your Mac. Most newer webcams are plug-and-play. Use the USB cable attached to your webcam to plug it into any free USB port on your Mac. Your Mac should detect it automatically.
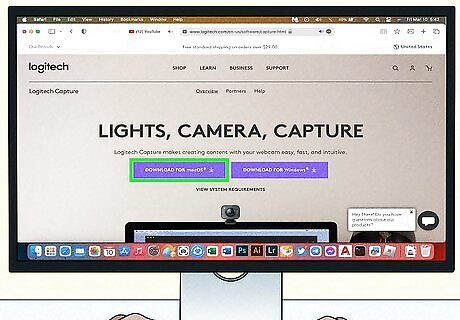
Install the driver software if needed. If your Mac doesn't detect your webcam automatically, you may need to install the driver software for your webcam. You may also need to install a webcam if it has specific features that are not available on a standard webcam. If it came with a CD, insert the CD into your disk drive and follow the instructions to complete the installation process. If you don't have a CD, you can download the driver software from your webcam manufacturer's website. Download the installation file, open it in your Downloads folder, and follow the instructions to complete the installation process. Some webcams may not have drivers available for Mac. Make sure you purchase a webcam that is suitable for your needs and is compatible with your system.
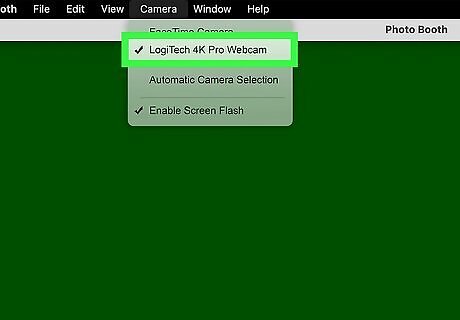
Select your webcam as the primary webcam. On a Mac, you can select your external webcam inside the application that you are using your webcam with. Consult the instructions that came with the app you are using to find out how to select your external webcam as your primary webcam. The following lists how to select your external webcam using a few popular apps: Photobooth: Click Camera in the menu bar at the top. Then select your external webcam in the drop-down menu. Facetime: Click Video in the menu bar at the top. Then select your external webcam below "Camera" in the drop-down menu. Quicktime Player. Click File in the menu bar at the top and click New Movie Recording. Hover your mouse cursor over the new video window and click the down arrow. Then select your external webcam. Head pointer accessibility feature: Click the Apple icon in the menu bar and click System Settings. Click Accessibility and then click Pointer Control. Click the icon that resembles an "i" inside of a circle next to "Head pointer." Then click Camera Options. Click your external webcam. OBS Studio: Click the Plus (+) icon below "Sources" and select Video Capture Device. Type a name for this source and click Ok. Select your external webcam using the drop-down menu next to "Devices." Zoom: Click Zoom in the menu bar at the top and then click Preferences. Click Video in the menu bar to the left. Use the drop-down menu next to "Camera" to select your external webcam. Skype: Click Skype in the menu bar at the top and click Preferences. Click Audio & Video in the menu to the left. Use the drop-down menu next to "Camera" to select your external webcam.
Troubleshooting
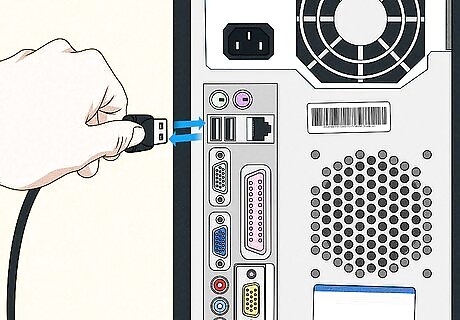
Unplug your webcam and plug it back in. If your webcam isn't working, try unplugging it from the USB port and plugging it back in.
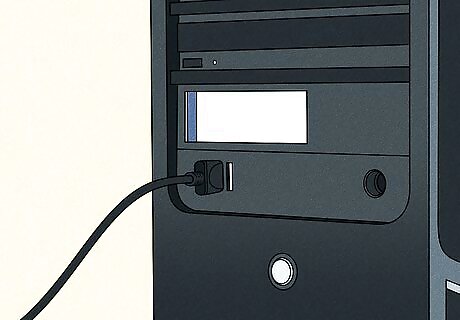
Try a different USB port. If you notice your webcam isn't working with a specific USB port, try using a different port and see if it works. If it's not working with a specific USB port, it's probably the USB port that's not working.
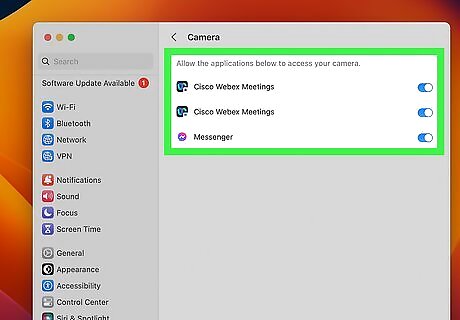
Check to see if any other applications are using your webcam. Most webcams can only work with one application at a time. If you are not able to get your webcam to work, check to see if there are any other applications open that are using your webcam. Check your web browser as well to make sure no applications are running in a web browser. Close all applications that are running and reopen the application you want to use your webcam with.#Make sure your computer and applications have access to your webcam. Most newer operating systems give you the option to limit what has access to your system features, like your webcam. Use one of the following options to change your webcam access settings: On a Mac, you can change your application permissions, by going into System Settings followed by Security & Privacy. Then click the Privacy tab. Select your webcam and check all applications you want to allow access to your webcam. On Windows, click the Windows Start menu followed by Settings. Click Privacy (Windows 10) or Security & Privacy (Windows 11). Click Camera and make sure camera access is turned on. Then make sure applications are allowed to access your webcam. Go through the list of apps and make sure the apps you want to allow access to your webcam have access to it.
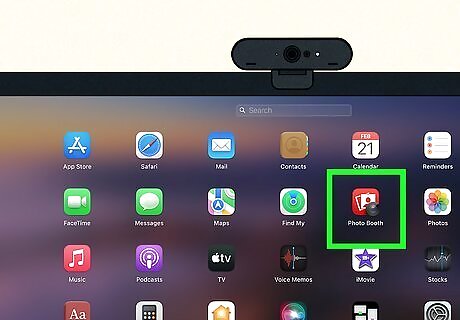
Try using the webcam with a different application. If you can't get your webcam to work with a specific application, try using a different application, such as Photobooth on Mac, or the Camera app on Windows. If it works with other programs, but not the program you want to use it with, the problem is probably with the application you are using. Check the settings in the app, or uninstall and reinstall the application.
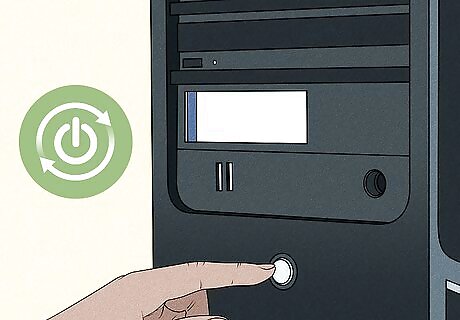
Restart your computer. If your webcam stops working all of the sudden, try restarting your computer. See if it starts working after you restart.
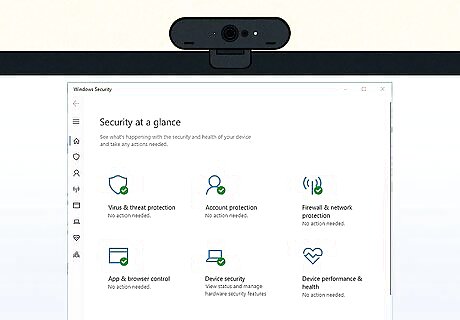
Check your antivirus software. Sometimes antivirus software can interfere with a webcam. Check your antivirus settings and make sure it isn't blocking your webcam, the driver's programs, or the app you are using with your webcam.
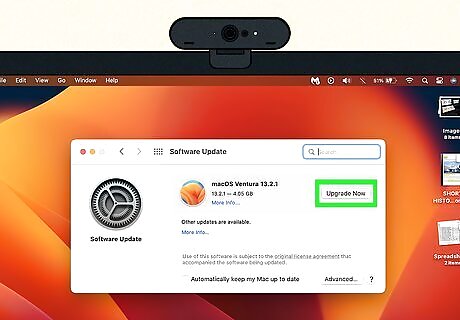
Update your computer's operating system. It's always a good idea to make sure your computer is up-to-date to make sure it has the latest patches and security fixes. You can update your Mac using the App Store. You can update Windows by clicking the Start menu and clicking Settings. Click Updates & Security (Windows 10) or Windows Update (Windows 11). Click Check for updates and follow the instructions.
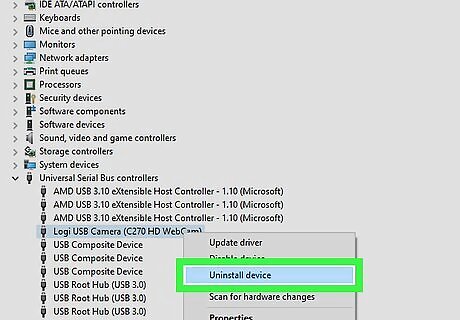
Uninstall and reinstall the webcam drivers. Use one of the following steps to uninstall your webcam drivers On a Mac, unplug your webcam and open the Applications folder and find the application for your webcam and drag it to the Trash. Restart your Mac and reconnect your webcam. Reinstall the drivers if need be. Use the following steps to uninstall and reinstall your webcam drivers on Windows: On Windows, unplug your webcam and right-click the Windows Start menu. Then click Device Manager. Expand the "Universal Serial Bus controllers" menu. Right-click your webcam drivers and click Uninstall device. Restart your computer. Reconnect your webcam. Then reinstall the drivers if need be.
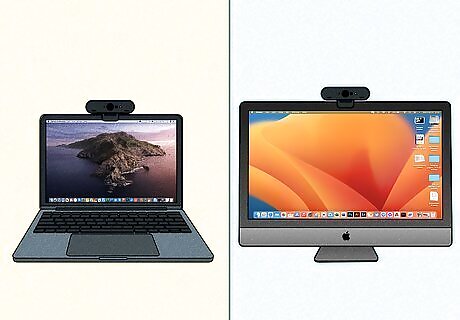
Try the webcam on a different computer. If you cannot get your webcam to work on your computer, try seeing if it works on a different computer. If it works on another computer, it may not be compatible with your computer. If it doesn't work on any computer, it could be a defective webcam.


Comments
0 comment