
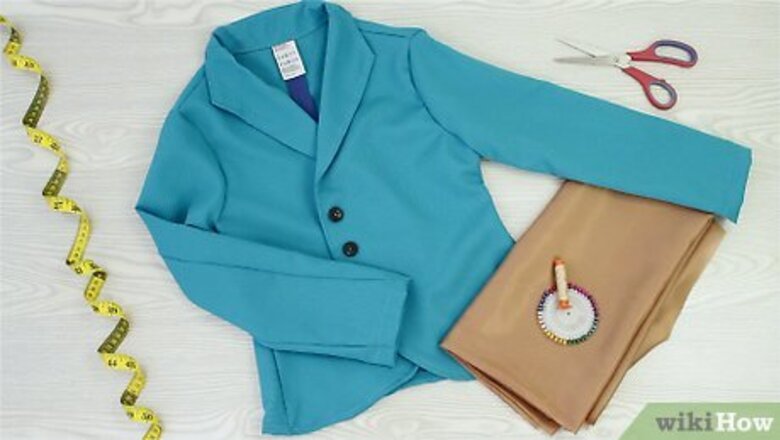
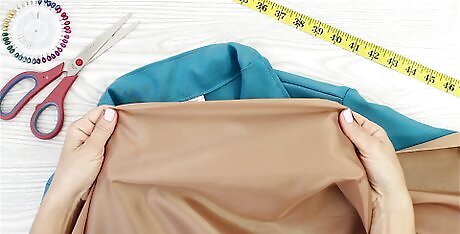
Choosing the Lining Material
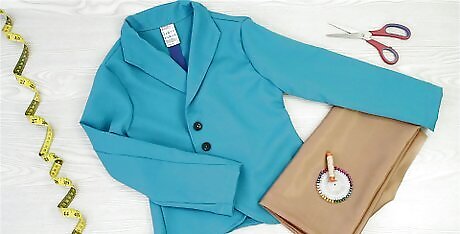
Look for a fabric that matches or compliments the jacket fabric. The lining of the jacket will not be visible most of the time, but it will occasionally peek through. Therefore, you will most likely want to choose a lining fabric that will go well with the outer fabric of the jacket. For example, if you are making a dark brown jacket, then you will most likely want to use another earth tone, such as medium brown, beige, or tan. For a more striking look, try choosing a lining in a contrasting color, such as a red lining for a white jacket or a lime green lining for a hot pink jacket.
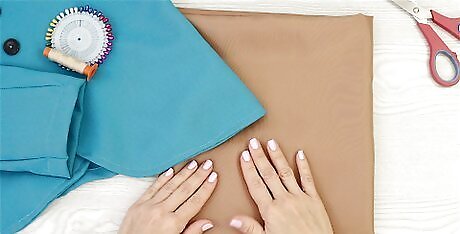
Feel the texture of the fabric to see if it is smooth. The lining fabric should be smooth so that it will easily glide over other clothing when the wearer puts the jacket on and takes it off. You can tell if a fabric will make good lining material by touching it and running it across your clothing. If the fabric feels smooth and glides easily over your clothes, then it will likely make a good lining. Fabrics that make good linings include silk, satin, and acetate. Avoid rough fabrics, such as flannel, wool, and fleece. Silk works best for a summer jacket. Use a thicker shaved lining for a winter jacket. Bemberg lining is a great basic lining for a jacket. It's soft, silky, and affordable.
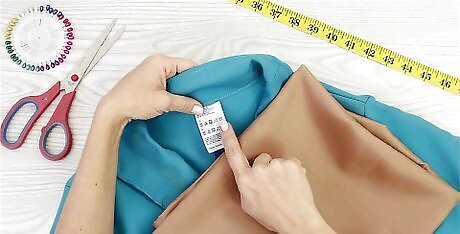
Check the care instructions for the fabric. The lining fabric should require the same type of care as the fabric for your jacket. Otherwise, it may be difficult to clean the garment. Check the lining fabric’s care instructions and compare them to the care instructions for the jacket’s outer fabric. For example, if the lining fabric is dry clean only and the outer fabric of the jacket is machine washable, then the entire jacket would need to be dry cleaned each time it is dirty.
Hold the fabric up to the light to make sure it is opaque. The lining fabric should not be see-through or you will be able to see the seams on the inside of the jacket. To make sure that the fabric is opaque, hold it up to the light. You should not be able to see objects or light through the fabric if it is opaque.
See how well the fabric moves. Lining fabric should be relatively flexible so that it will move with the garment, rather than bunching up or making the jacket feel stiff. Try moving the fabric to see how easily is moves, such as by waving it in the air and folding it in your hands. If the fabric feels stiff, then it probably won’t make a very good lining. Avoid heavyweight fabrics, such as wool and linen, which tend to be thicker and less flexible than lightweight fabrics, such as cotton and silk. Expert Answer Q What is the most affordable lining for a coat? Alessio Iadicicco Alessio Iadicicco Apparel Manufacturing Specialist Alessio Iadicicco is an Apparel Manufacturing Specialist and the CEO and Co-Founder of MarkersValley, an online apparel and manufacturer sourcing platform that connects luxury fashion brands to a network of highly-vetted, truly Italian manufacturers. He holds a Bachelor's degree in Economy and Management of Financial Enterprises from The University of Naples Federico II. MarkersValley has connected fashion brands in over 100 countries and has a network of over 100 independent Italian factories and artisans. MarkersValley has been featured in Forbes, EQ, St. Louis Business Journal, Il Mattino, and Corriere Della Sera. Alessio Iadicicco EXPERT ADVICE Answer from Alessio Iadicicco: Try Bemberg lining. This soft and silky lining sells at a moderate price, and is affordable for most people.
Prepping Your Fabric
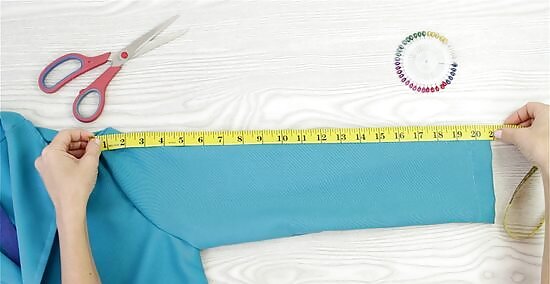
Figure out how much fabric you will need. If you are using a pattern, the pattern package should indicate how much fabric you will need to line the jacket. Check the package to find this recommendation. However, if the pattern does not include this information, then you can use a simple formula to figure out how much fabric to get. Add together the total length of the front and back of the jacket and the sleeve length. For example, if your jacket pattern will create a jacket that is 30 inches (76 cm) long in the front and back, and it will have sleeves that are 26 inches (66 cm) long, then add 30 + 30 +26 for a total of 86 inches (220 cm).
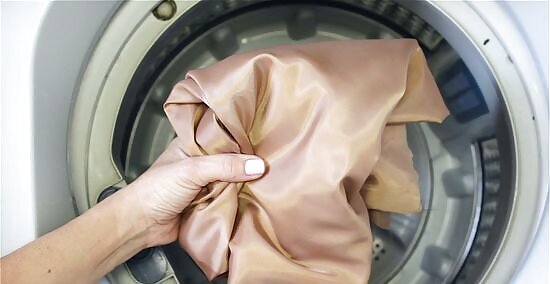
Preshrink the fabric if needed. Depending on the type of fabric you are using to line your jacket, you may need to preshrink the fabric before you sew it into the jacket. Consider whether or not the lining fabric will shrink the first time it is washed. If it will, then you should preshrink it by washing the fabric as indicated for that type of fabric. For example, cotton will most likely shrink the first time you wash it, so you should definitely wash cotton fabric. Keep in mind that any fabrics that are dry clean only will not require any pretreatment, such as wool and silk.
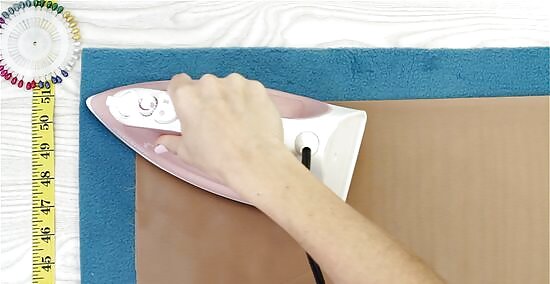
Iron the lining fabric. Ironing is a crucial step for fabric that is wrinkled. Taking the time to iron the fabric will help to make sewing it easier and lead to better results. If your fabric is wrinkled, then iron it on a low setting. For delicate fabrics, place a t-shirt or towel over the fabric before you iron it.
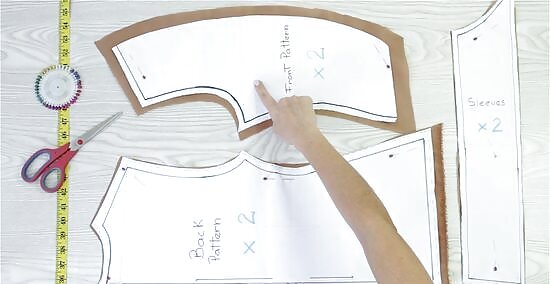
Cut the lining fabric using the jacket pattern pieces. Some patterns come with special instructions for how to cut out the lining fabric, so check for these first. If your pattern does not include these kinds of instructions, use the pattern for your jacket to cut out the lining pieces. Fold the lining fabric in half and then lay the pattern pieces over the fabric. Pin the pattern pieces to the lining fabric along the edges of the pattern pieces. Then, cut the lining fabric along the outside of the pattern pieces. Be sure to check the pattern pieces for instructions on how to position them on the fabric. For example, some pieces will need to be positioned along a fold, while others are fine to place anywhere on the fabric. You will also need to consider your fabric’s grainline, and cut out any darts or notches indicated by the pattern.
Sewing the Lining and Jacket Together
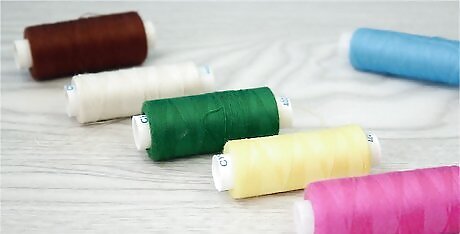
Select thread that will blend in with the jacket lining fabric. A matching color thread will help to ensure that your finished jacket looks neat. For example, if you are making a black jacket with a grey lining, opt for a black thread. For a red jacket with a black lining, opt for a red or black thread.
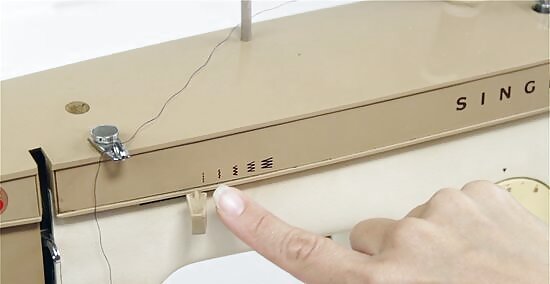
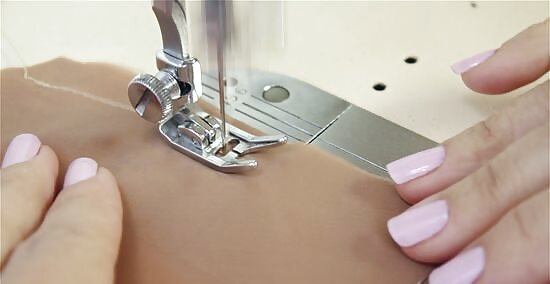
Select the straight stitch setting on your sewing machine. A straight stitch is usually the best choice for attaching a jacket lining. Set your sewing machine to the straight stitch setting, which is usually number 1 on most sewing machines. You can use a different stitch type if desired, but make sure it is an inconspicuous one. For example, the zigzag stitch setting will be more noticeable, so only use this stitch if your pattern calls for it.
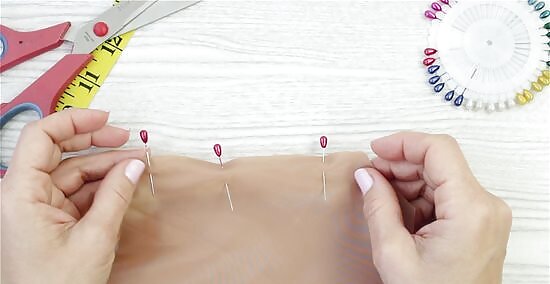
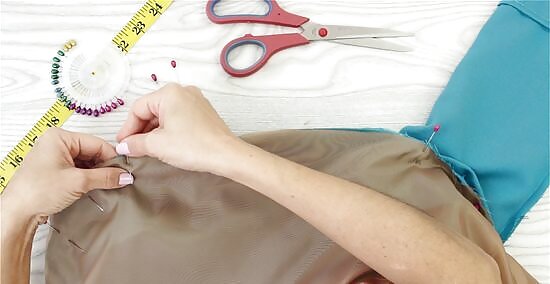
Pin the lining pieces together according to the pattern’s instructions. The pattern for your jacket will indicate how the pattern pieces should go together. Follow the instructions to pin the pieces together correctly. For example, the pattern pieces may have darts or notches on them to indicate where two pieces should line up.
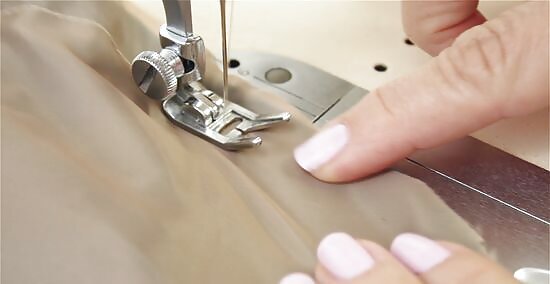
Sew the lining pieces together. When you have pinned all the pieces together, sew along the edges as indicated by your pattern to connect them. Sew about 0.25 inches (0.64 cm) to 0.5 inches (1.3 cm) of fabric from the edges of the fabric pieces.
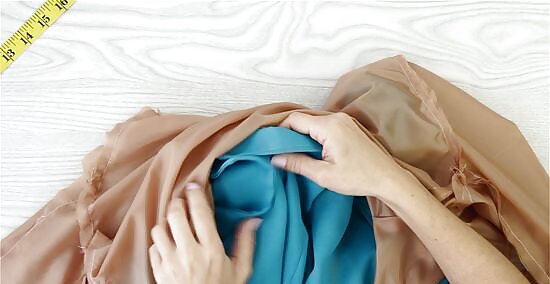
Pin the lining and completed jacket together. Make sure that the print sides of the lining and jacket are facing each other as you do this. Pin along the raw edges of the jacket neckline the lining neckline. Then, place pins along the edges of the front opening area (along where the jacket’s zipper or buttons will be) of the jacket and lining. Pin along the bottom edges of the jacket and lining as well. The pins should be about 0.25 inches (0.64 cm) to 0.5 inches (1.3 cm) from the raw edges of the fabric pieces.
Sew around the pinned edges leaving a small gap. Sew through the lining and jacket material about 0.5 inches (1.3 cm) from the raw edges. Do not sew the pieces together completely because you will need to invert them. Sew around the edges except for about 3 inches (7.6 cm) to 5 inches (13 cm) of the pinned area. Remove the pins as you sew.
Finishing the Cuffs
Invert the pieces so that the lining is inside of the jacket. After you finish sewing the two pieces together, pull the inner fabric to the outside through the gap you left in the seam. Keep pulling until the print sides of the jacket and lining fabric are fully visible.
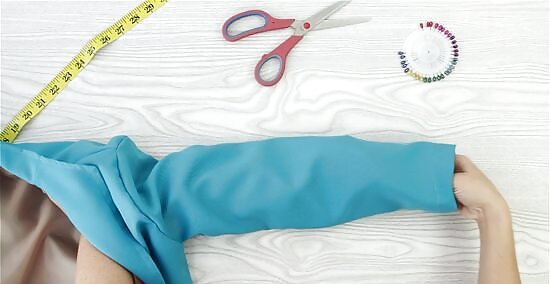
Push the sleeve lining pieces through the jacket sleeves. Next, take the lining sleeves and push them through the jacket sleeve openings completely. The cuffs of the lining and jacket should be just about lined up at the ends, but it is okay if one of the cuffs is slightly longer than the other. If the jacket sleeve lining is considerably longer than the jacket sleeve, then trim down the lining so that the jacket sleeve and lining sleeve are even.
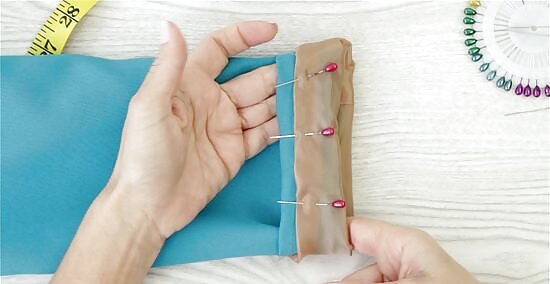
Pin the lining and jacket sleeve cuffs together. Fold about 0.5 inches (1.3 cm) of the jacket sleeve into itself so that it covers the end of the jacket sleeve lining cuff. Then, pin around the edges of the sleeve to secure the pieces together. Do this for both sleeves.

Sew the sleeve cuffs. To complete the jacket lining, sew along the cuffs of the sleeves where you pinned the lining and jacket material together. Stitch about 0.5 inches (1.3 cm) to 1 inch (2.5 cm) from the edge of the jacket cuff. Do this for both sleeves. Remove the pins as you sew.
Sew the gap on the interior of the jacket closed. To complete the lining, you will need to sew up the opening that you left in the lining. Tuck the excess 0.5 inches (1.3 cm) of jacket and lining fabric into the jacket so that the raw edges are hidden. Then, pin the area to hold the folds in place. Sew across the edges of the fabric pieces to secure them and close up the hole. You can use your sewing machine for this, or you may sew the gap closed by hand if it seems easier to you.


Comments
0 comment