views
Using Google Chrome
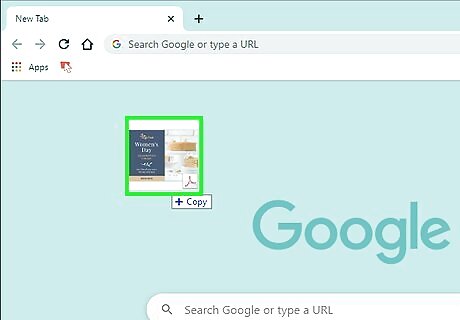
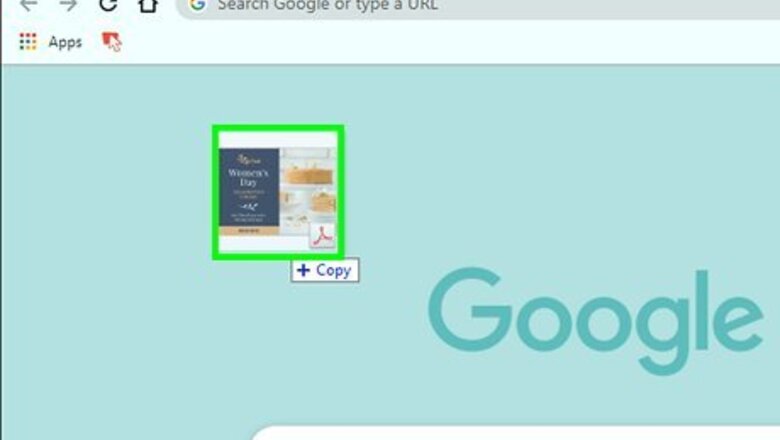
Open the PDF file in Google Chrome. The easiest way to do this is to drag the PDF file into an open Chrome window. You can also right-click on the PDF file, select "Open With", and then select Google Chrome from the list of available programs. If the PDF won't open in Chrome, type chrome://plugins/ into the Chrome address bar and then click the "Enable" link under "Chrome PDF Viewer".

Click the Print icon. It's the icon that resembles a printer in the upper-right corner. This displays the Print menu.
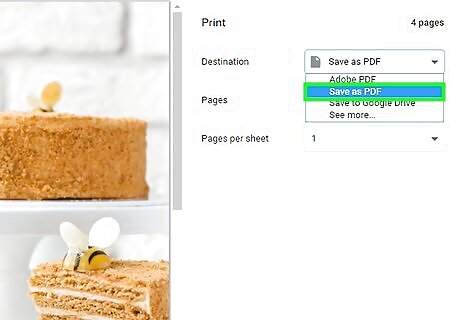
Select "Save as PDF" as the Destination. Use the drop-down menu next to "Destination" to select "Save as PDF".
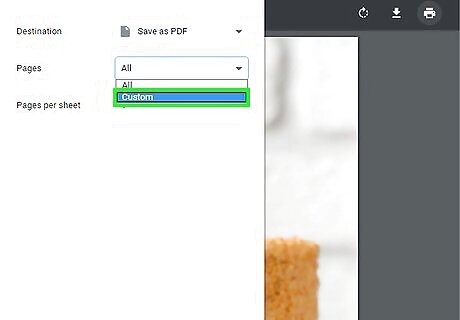
Select "Custom" next to "Pages". Use the drop-down menu next to "Pages" to select "Custom". This allows you to create a new PDF from a range of pages.
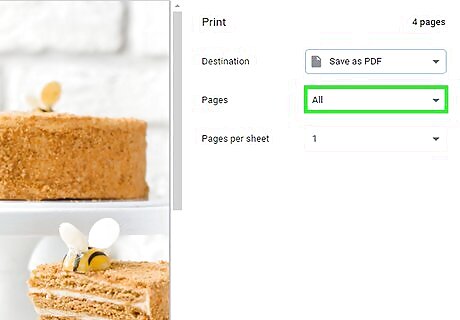
Enter the range of pages that you want to create as a new document. Use the text field below the "Pages" drop-down menu to enter the pages you want to save as a new PDF. For example, let's say you have a 10-page PDF file that you want to split, with the first 7 pages in one file and the last 3 in another. In the Pages section, you would enter "1-7" to create a PDF file with the first 7 pages.

Click Save. It's the blue button in the lower-right corner
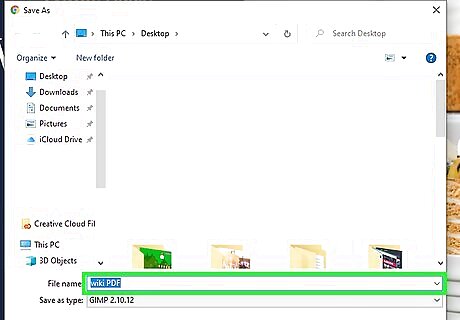
Type a name for the PDF. Use the field next to "File name" to enter a name for the split PDF. It is recommended you give the new PDF a different name from the original.
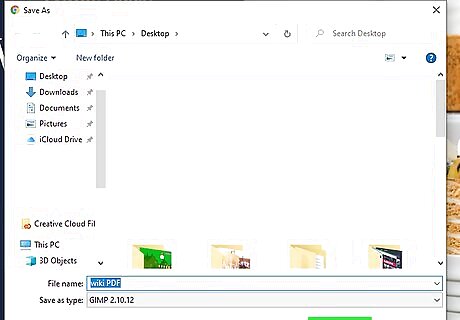
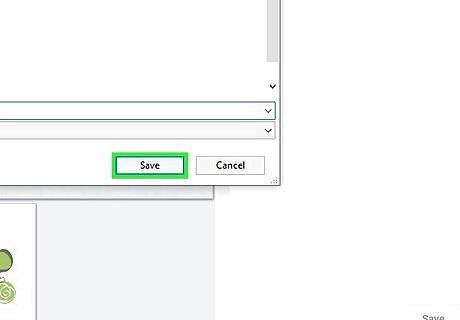
Click Save. This saves a new PDF file with the range of pages you selected.
Repeat the process to create more documents. If you need to create another document for the other pages, repeat these steps to create another document and use another range of pages to save the next document. For example, if you want the next document to contain pages 8-10, just enter "8-10" as the range of pages below "Custom" in the print menu.
Using CutePDF (Windows)
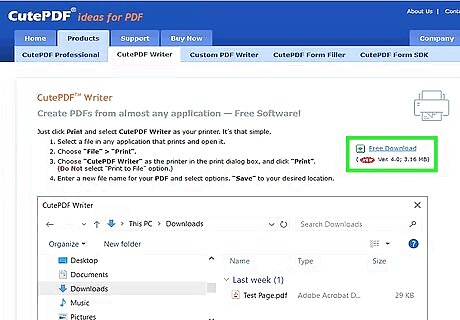
Download the CutePDF software. Unlike OS X, Windows does not come with any software that can manipulate PDF files. CutePDF is a freeware program that allows you to easily split PDF files from any program that can open them. Use the following steps to download CutePDF: Navigate to https://cutepdf.com/products/cutepdf/writer.asp in a web browser. Click Free Download. Scroll down and click Free Converter.

Install CutePDF. By default, you can find the install file in your Downloads folder. Use the following steps to install CutePDF. Double-click CuteWriter.exe in your Downloads folder. Click Yes. Click the radio option next to "I accept the agreement" and click Next. Click Browse to choose an install location (optional) and click Next. Click Install. Click No or Cancel if you receive an offer to install any additional software.
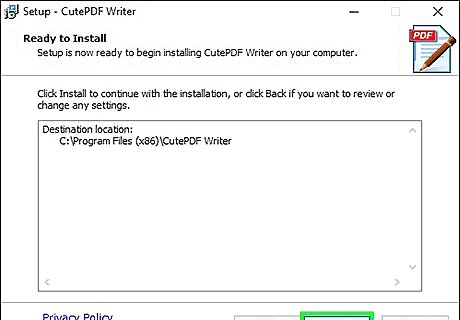
Install the Converter program. The Converter program is needed to install the files that CutePDF needs. Use the following steps to install the Converter program: Double-click Converter.exe in the Downloads folder. Click Yes. Click Install. Click Ok.
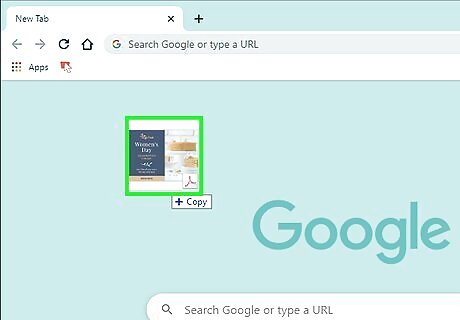
Open the PDF file that you want to split. Double-click a PDF file to open it in your default PDF reader. CutePDF works from within any PDF program. You can open the PDF in Adobe Reader or a web browser.
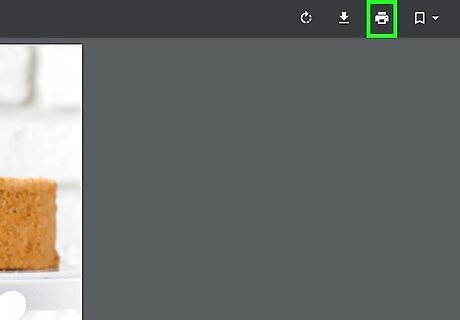
Open the Print menu. You can typically open the Print menu by click File followed by Print or by press Ctrl (Command on Mac) + P. In a web browser, click the icon that resembles a printer in the upper-right corner.
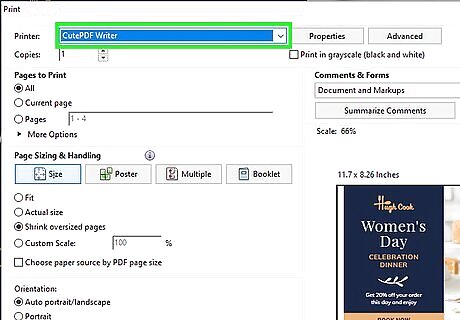
Select "CutePDF Writer" from your list of available printers. CutePDF acts as a virtual printer, and creates a PDF file instead of printing the document. Select CutePDF Writer" in the drop-down menu next to "Printers" or "Destination".
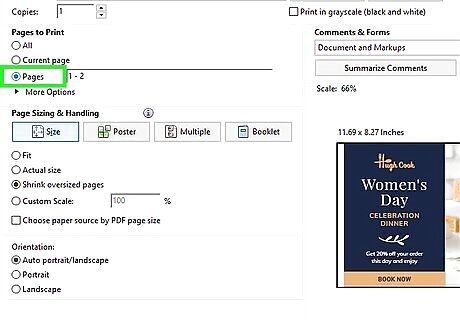
Select the option to print a range of pages. By default, the Print menu is set to print all pages. Click the "Pages" radio option, or drop-down menu to select the option to print a range of pages.
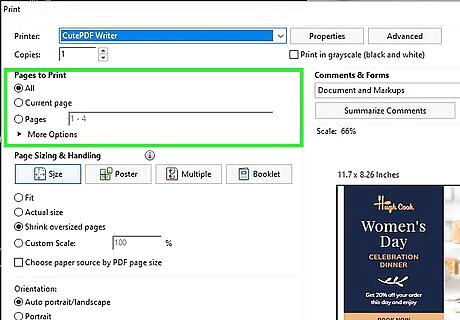
Enter the range of pages you want to split into a new document. Use the field below the Pages option in the print menu to specify a range of pages you want to convert into a new PDF. For example, if you want pages 1 through 5 to be converted to a new PDF, you would enter "1-5" in the field. By specifying the pages, you'll create a new document from the pages you select.

Click Print or Save. This button is usually in the lower-right corner. You'll be prompted to give it a name and select the location.
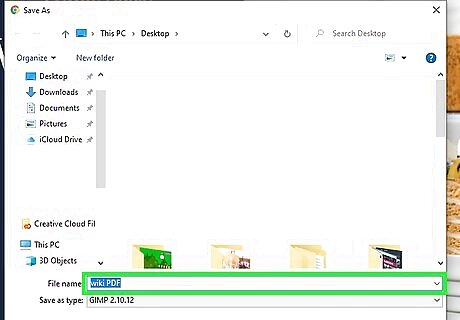
Type a name for the PDF. Use the field next to "Filename" to enter a name for the split PDF. It is recommended you give the new PDF a different name from the original.
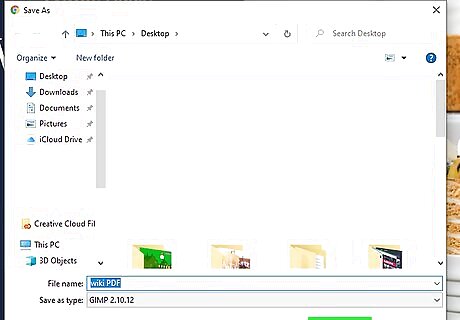
Click Save. This saves a new PDF file with the range of pages you selected
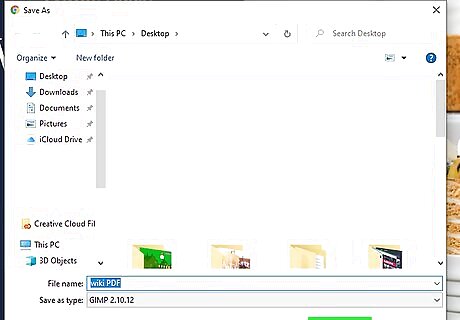
Repeat the process to create more PDFs. If you need to create another PDF for the pages you didn't save, repeat these steps to create another PDF for the rest of the pages.
Using Preview (macOS)
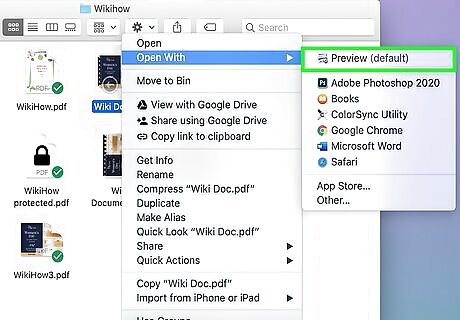
Open the PDF file in Preview. The Preview program that comes with all Mac computers can perform a lot of basic tasks without the need for extra software. To open a PDF in Preview, right-click a PDF and click Open with followed by Preview. If you are using a magic mouse or trackpad, you can right-click by clicking with two fingers.
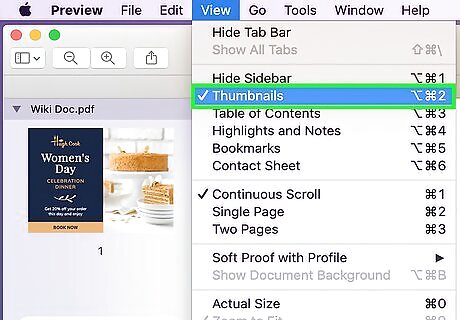
Click the View menu and select Thumbnails. The view menu is in the menu bar at the top. Select "Thumbnails" from the drop-down menu. This will display a list of all the pages in a panel to the left.
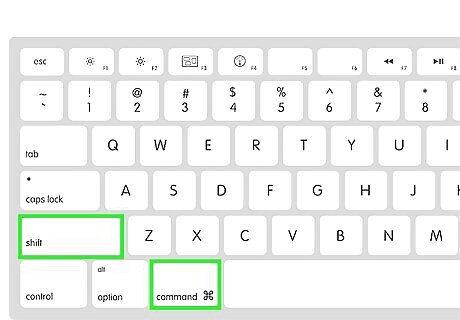
Hold ⌘ Command or ⇧ Shift and click the pages you want to split. Click the pages in the panel to the left to select them. Hold the Command key and click to select multiple pages. Hold the Shift key to select multiple pages in a row.
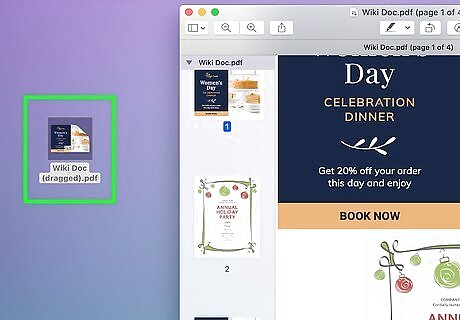
Drag and drop the selected pages onto your desktop. This will create a new PDF with all the pages you have selected.
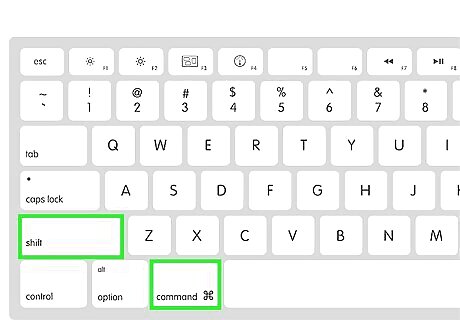
Repeat to create multiple documents. To create multiple split files, simply hold Command or Shift and select the pages you want to split into a separate PDF. Then click and drag them onto the desktop to create a new PDF with those pages.
Using Adobe Acrobat DC Pro
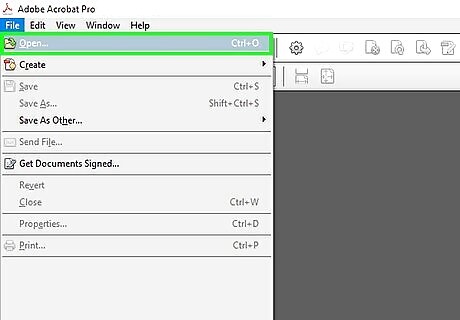
Open the PDF you want to split in Adobe Acrobat. If you have the paid version of Adobe Acrobat installed, you can use it to split your PDFs. You can't split PDFs with the free Adobe Acrobat Reader DC, so if that's all you have you'll need to use one of the other methods in this article.
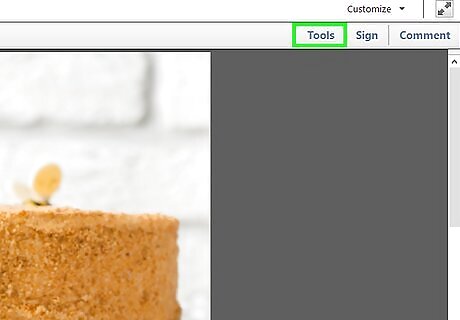
Click the Tools. It's the second option in the panel at the top.
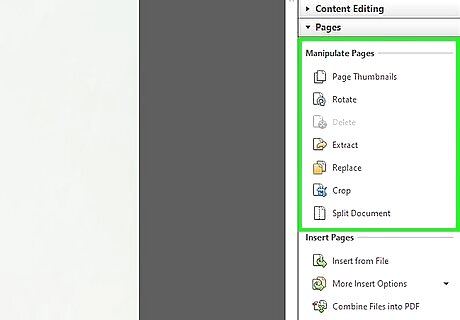
Click Organize Pages. It has a lime-green button in the Tools menu.
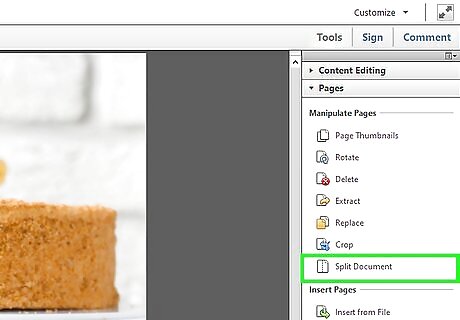
Click Split. It's in the panel at the top of the page. It's next to an icon that resembles scissors.
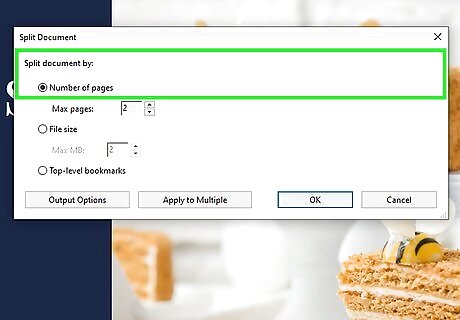
Select how you want to split the document. Use the drop-down menu at the top next to "Split by" to select how you want to split the document. You can split it by the number of pages, file size, or top-level bookmarks.
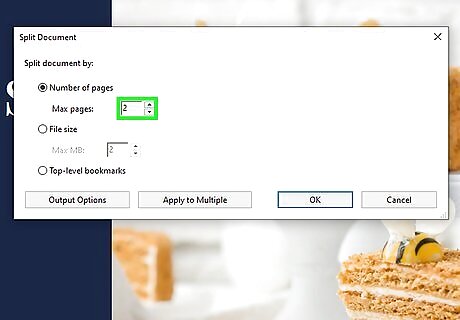
Enter the number of pages or file size you want each split file to have. If you are splitting the document by pages, enter the number you want each split file to have next to "Pages" at the top. If you are splitting the file by file size, enter the file size in megabytes (MB) you want each split file to have. Files split by top-level bookmarks will be split automatically based on the bookmarks for each page. You can split more than one PDF at one time. To add multiple files click Split Multiple Files in the menu bar at the top. Then click Add Files to add more PDFs to split. If you want to edit the file output, click Output Options. This allows you to select a folder to save the split PDFs to, as well as edit the label for each split document.
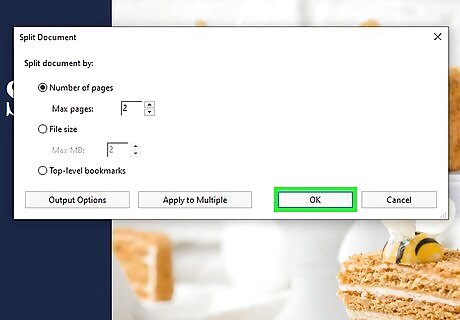
Click Split. It's the blue button at the top. This will split the document by the specifications you set.




Comments
0 comment