views
Understanding the Logistics
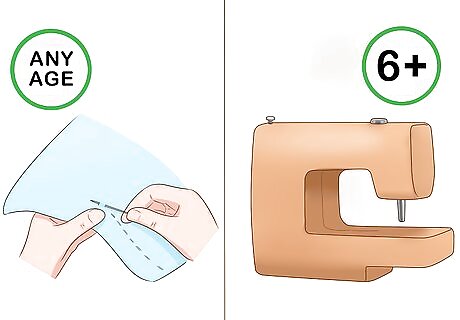
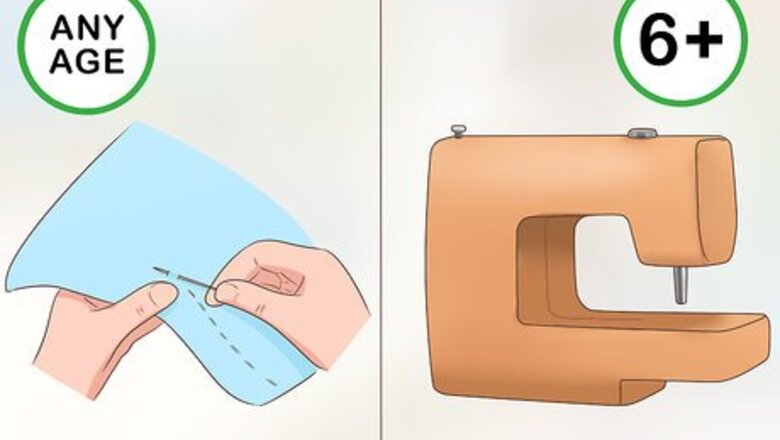
Know what age kids can start to sew. Age, in general, doesn’t matter. What matters is motivation. If you’re child shows an interest in learning how to sew, this is the indicator that they might be ready to start learning. Some sewing instructors, however, recommend waiting till your child is around 6 years of age before introducing them to a sewing machine. Prior to this, hand sewing is the best option. Because hand coordination is required for sewing, another indication of whether your child is ready can be based on hand-eye coordination.
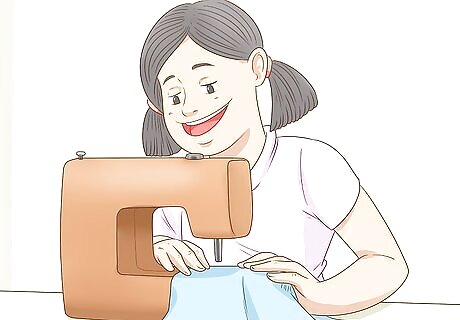
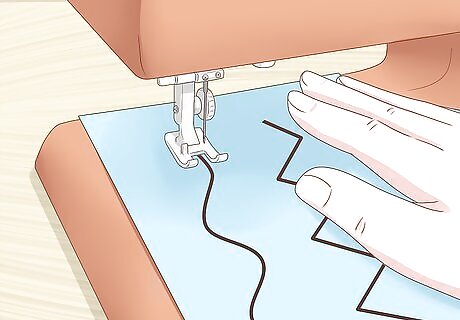
Allow kids to use the sewing machine. Sewing machines can be a little intimidating for first time sewers. As with sewing in general, the best indication of whether your child is ready for work on a sewing machine is their interest in the machine. While it may seem like a good idea to buy a sewing machine specifically for children, these machines are normally of a very low quality and will easily break. There is no reason why a child cannot use a ‘real’ sewing machine from the start. Remember to start off any lesson on the sewing machine with a ‘safety talk’ so your child understands where to and not to put their hands. One possible way to start a child on a sewing machine is to allow the child to work the pedal, while you control the fabric. This will allow the child to feel a part of the process, without being scared of having fingers near the needle. Once more comfortable, you can allow your child to take over control of the fabric as well.
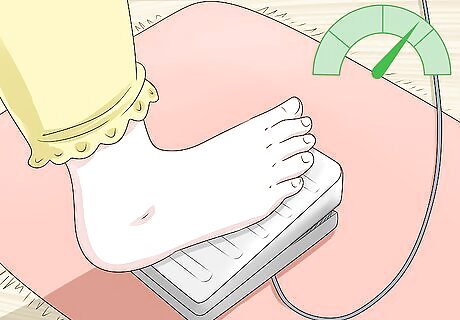
Instruct that speed doesn’t equal quality. When using a sewing machine it is often tempting for the child to ‘put the pedal to the metal’ and sew really fast. Unfortunately not only can this cause injury to little hands, it is incredibly difficult to control the direction of the fabric when going this fast. Teach your child that the best way to sew is slowly and carefully. The ‘slowly’ tip also works for hand sewing. While kids can only sew as fast as their hands can move, there is no need to rush hand sewing. If it takes all day to sew a square — that’s okay. It is better that they feel good with their accomplishment rather than needing to make several corrections because they went too fast.
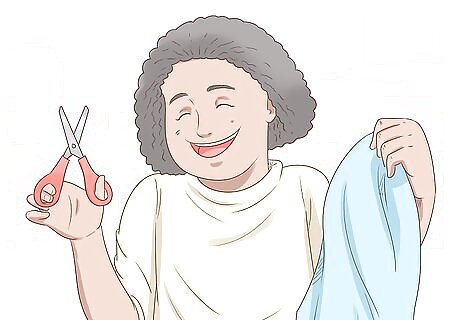
Have kids pick the pattern, fabric, notions, thread, etc. Allow your child to pick every aspect of the sewing project to be undertaken. This may mean odd combinations of fabric and colours, but that’s okay. The sewing project should be about the child, and making sewing fun and exciting. Kids are more likely to enjoy the project if they feel they were apart of all the decisions. One exception to this ‘rule’ is to provide advice if your child wants to use a pattern that is really complicated (e.g. a shirt) or a fabric that is difficult to work with (e.g. velvet). You don’t want to set your child up for failure, so you may need to encourage an alternative in this situation.
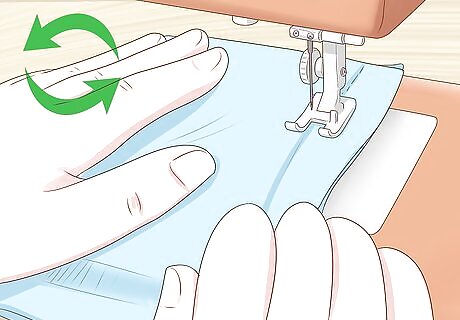
Let kids sew the same thing over and over. Once kids have found a pattern they like, and they’re able to sew the project with great success, they may want to sew the same project over and over (and over and over). Having them grow really comfortable with a specific pattern is great as it will boost their confidence. As your child is sewing the same project again, suggest they change something up. Add a different feature, or a different colour combination, etc. One small and simple project can actually teach kids a large variety of sewing skills that will help them with every new project they take on.
Change the pattern paper. Most professional patterns are made on very thin and flimsy tissue paper. While they type of paper is fine for adults, it can be really frustrating for kids to work with. Instead of using the tissue paper, trace the pattern onto thick paper or cardboard for your child to use. Thick card stock paper may work, as well as the cardboard cereal boxes are made from. Instead of pinning the pattern to the fabric (as you would with the tissue paper), simply have your child trace the pattern onto the fabric with a fabric pencil. Cutting around a pinned pattern is not easy, even for more experienced sewers. Tracing the pattern directly onto the fabric will make it easier for your child to cut it out properly.
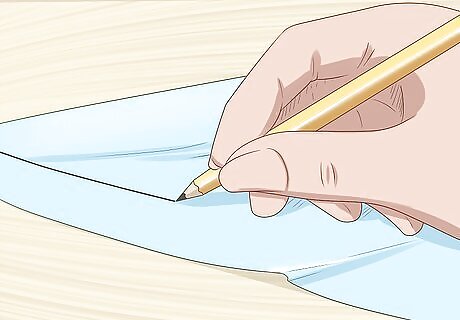
Draw ‘real’ lines on the fabric for guidance. When experienced sewers are sewing pieces of fabric together, they know they have to keep their stitching ¼” or so from the edge of the fabric. The line that needs to be sewn along is, technically, invisible. For an older child or an adult, this is an easy concept to master. For a young child, this can be really confusing. Instead of telling kids to follow an imaginary line while they sew, use a fabric pencil and draw the line they need to stitch along directly onto the fabric.
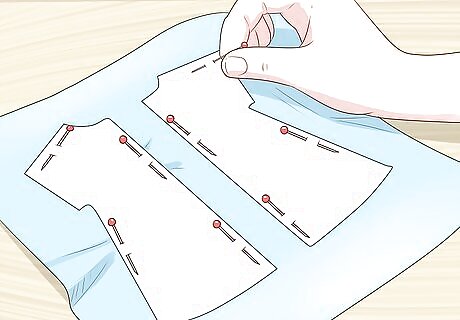
Demonstrate how to put the pattern on the fabric. Normally, when laying the pattern pieces out on a piece of fabric, you want to cover as much of the fabric as possible so you don’t waste any. Kids, however, may find it more fun to start by cutting pattern pieces out of the middle of a piece of fabric, making it harder to use the fabric again later. Demonstrate to your child how to lay out all the pattern pieces so you maximize your use of the fabric. Encourage them to do the same. Indicate that more projects can be made if less fabric is wasted!
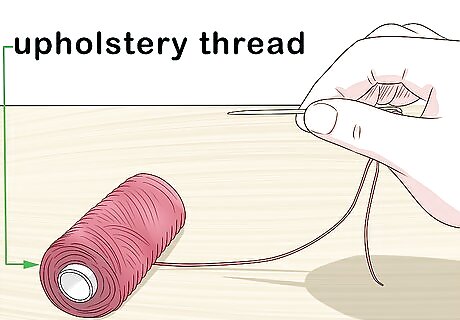
Select thicker thread for hand sewing projects. One of the hardest parts of hand sewing is getting the end of a piece of thread through the eye of a needle! To help alleviate this frustration with your child, use embroidery needles and thicker thread instead of the ‘normal’ stuff. Thicker thread could include the thread used for hand-quilting or upholstery. ‘Regular’ thread is quite thin and can tangle very easily. An embroidery needle — around size 5 — works best. The eye of this needle is easier to see and thread.
Sewing Projects for Toddlers
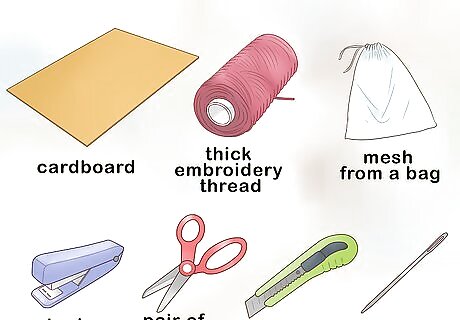
Get the right materials. To help toddlers get the hang of stitching and sewing, there is a simple project you can try with them that uses a lot of things you already have around your house. You’ll need the following: a piece of cardboard; mesh from a bag of potatoes, citrus fruit, etc.; a stapler, a pair of scissors and an Exacto knife; an embroidery needle with a blunt tip; and thick embroidery thread or yarn.
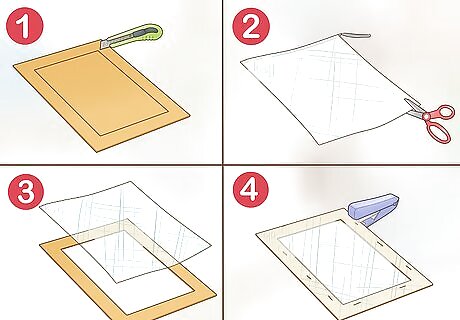
Cut the cardboard and mesh. The mesh will essentially be used as your toddler’s sewing surface, and the cardboard is used to stabilize the mesh as a frame. The setup is very similar to a cross-stitch frame and fabric. Therefore you can cut the cardboard and mesh any size that works for you and your toddler. Attach the mesh to the cardboard using the stapler. You want the mesh to be approximately 1.5” longer and wider than the cardboard frame. Pull the mesh taught over the cardboard so it’s not too flexible in the frame.
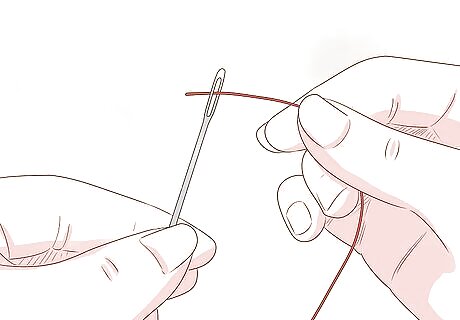
Thread the needle. You may need to thread the needle for your toddler, even though the eye is quite large. Once you have the needle threaded, show them how to stitch in and out of the mesh squares. Change-up the colour of the thread (or yarn) every so often. Once you show your toddler how to stitch, let them go at it however they want. Don’t worry about ‘normal’ sewing rules. If they want, you can use a marker to draw a pattern on the mesh for your toddler to follow.
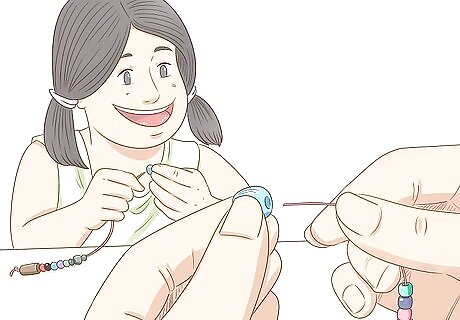
Make a string of beads. While not exactly a sewing project, stringing beads will help a toddler with their hand-eye coordination. Plus the motion of stringing beads is almost the same as threading a needle, so this skill will be useful should they want to sew in the future. Making a string of beads is incredibly simple. For the ‘string’ you can use plastic gimp, yarn, or thick thread. The beads can be any type that you find at a craft or fabric store. The younger the child, the bigger the beads should be. You can even use buttons instead of beads. Demonstrate how to put the beads on the string, then allow your toddler to take over. The resulting string of beads can be used for just about anything: bracelet, necklace, bookmark, keychain, etc.
Trying Hand Sewing First
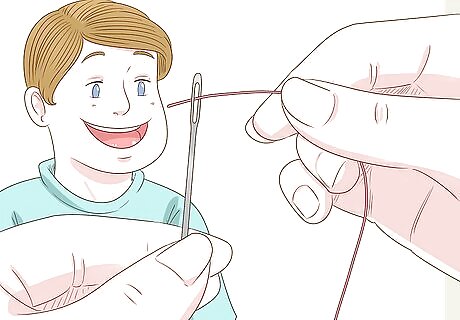
Teach kids how to thread a needle. For practice purposes, cut a piece of thread about 2 feet (0.6 m) long. Thread one side through the eye of the needle. Pull the thread through the needle until both ends are beside each other. Put 1-2 knots in the end of the thread, about 1” up from the end. For visualization purposes, you should be able to hold up the entire length of thread, with one end in each of your hands, and the needle should dangle in the very middle of the piece of thread. You can then bring the two ends together to tie the knot. The knot will be at the opposite end of where the needle will dangle.
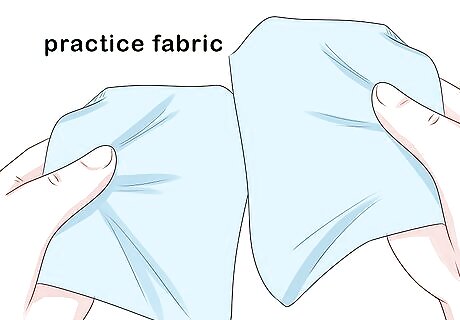
Get some practice fabric. In order to practice hand sewing, get two pieces of scrap fabric and put them together. Your child will use these pieces to practice stitching. This fabric doesn’t have to be fancy, but it should probably be a type of fabric you’ll use often, such as cotton. One type of practice stitching could be to sew along the edge of the fabric, so make sure that at least one side of your scrap pieces line up to each other. If necessary, cut the fabric along one edge so it lines up. You may want to select fabric and thread that are two very different colours. This way your child can easily see the stitches made on the fabric.
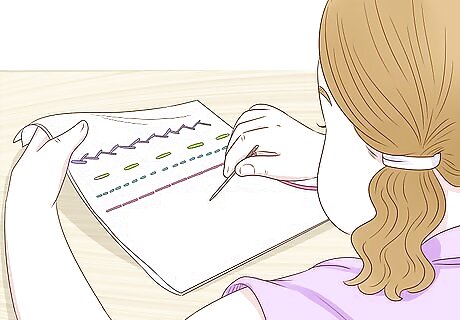
Practice different stitches. Start by having your child practice stitching a straight line along the edge of the fabric. Encourage them to keep each stitch the same size, and keep all the stitches in a straight line without going off the end of the fabric. Continue having your child practice stitches until they’re able to get a good straight line with even-sized stitches. The end result may be one or more sets of scrap fabric with all sorts of crazy and uneven stitches in them. But the point is to allow your child to get the hang of hand sewing with practice. Using this method will also allow your child to see improvement between each attempt.
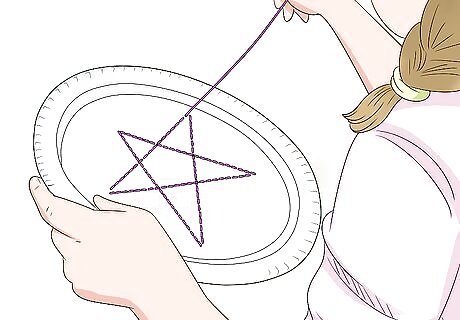
Complete some other practice hand sewing projects. Another potential way to practice hand sewing is to use styrofoam plates and colourful embroidery thread. This form of practice may be better for very young children (less than 6 years old). They can also sew neat patterns onto the plates with different colours and put them on display. The styrofoam plates stay stiff while kids are sewing, helping them get the hang of the stitches without getting frustrated with fabric. The styrofoam is also easy to poke a dull-ended needle through. For this type of practice you can use tapestry needles as they have large eyes and dull ends. This will help your child get use to threading a needle without accidentally poking themselves with the needle. You can start by having your child get use to pulling the needle in and out of the plate to make stitches. Then work from there and have them stitch straight lines or objects (e.g. stars, letters, flowers, etc.). You can even draw the shape onto the plate with a pen first so your child has something to follow.
Completing a No-Sew Sewing Project
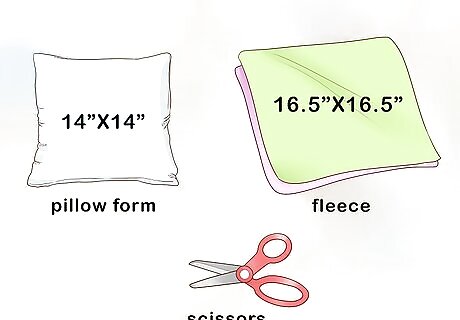
Buy the materials. For this project the materials are simple — you’ll need a 14” by 14” pillow form and two pieces of fleece that are at least 16.5” by 16.5”. You will also need a good pair of sewing scissors.
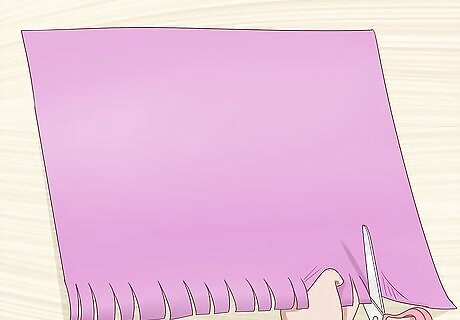
Cut the fleece. Each square of fleece has to be at least 16.5” by 16.5”. Because the pillow form is 14” wide, the additional 2.5” will be used to cut strips to tie the two pieces of fleece together. If you want strips longer than 2.5”, just cut the fleece larger than 16.5” by 16.5”. Once the two squares are cut, cut strips out of all four sides that will be 1” wide and 2.5” long.
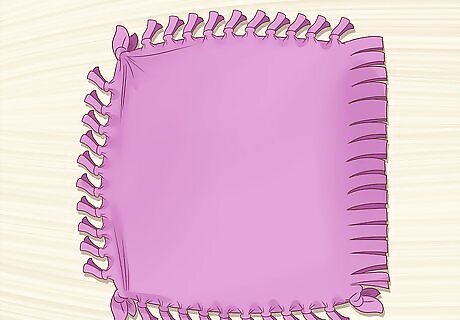
Tie the fleece together. Make sure the two pieces of fleece are on top of each other, with the ‘right' sides of the fleece facing outwards. (Most fleece doesn’t have a good and bad side, so it may not matter.) Starting on one side, start knotting one strip from the top piece of fleece to one strip from the bottom piece of fleece. Use a double knot. Complete knotting 3 of the 4 sides of the pillow case.
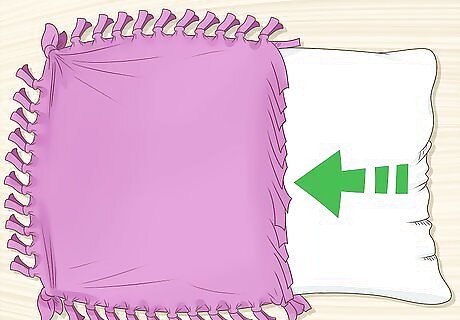
Put the pillow form inside the fleece. Once 3 of the 4 sides are knotted together, slide the pillow form inside the fleece pillow case. Once it’s inside, knot the 4th side of the pillow case strips together, also using double knots.
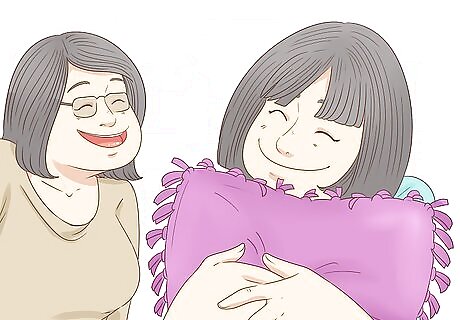
Enjoy your pillow. This project is super-easy and can be completed by kids of just about any age. If the kids are too young, you may need to do the cutting for them, but even young kids can practice tying knots. Plus, you can buy pillow forms of any size as long as you also buy fabric that is 2.5” longer on each side for the knots. Note that ONLY fleece works for a project like this because the edges do not fray. The same method can be used to make blankets, seat covers, pet beds, etc.
Learning How to Use a Sewing Machine
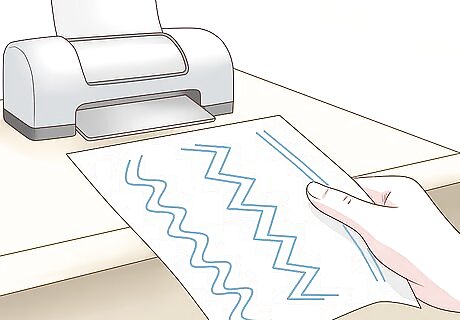
Print some sewing practice sheets. Many kids’ craft websites have sewing sheets you can download and print at home. These sheets have a variety of different patterns on them for your child to follow using a sewing machine. Print several sewing sheets for your child and go to the sewing machine. These sheets have a variety of fun patterns like mazes and dot-to-dot patterns. The purpose is to teach your child how to control the sewing machine BEFORE you put thread in it.
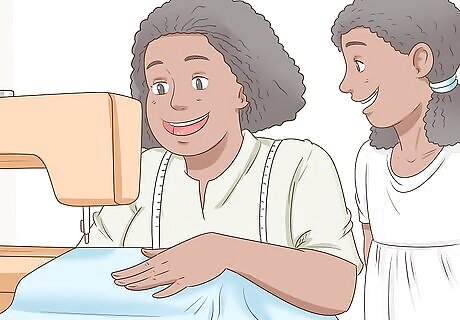
Show the basic sewing machine functions. Once at the sewing machine, show your child the following: how to raise and lower the needle/foot; how to use the pedal to make the needle move; how to use the manual dial to move the needle; and how to guide the paper while the needle moves. Once your child has a handle on the straight-forward functions of the machine, use the patterns you printed to practice these various functions. All that is happening is that the paper is having tiny holes punched in it from the needle. No thread is being used. Use these practice sheets to show your child how to do a pivot stitch around a corner (where the needle stays down, but you turn the paper in a new direction).
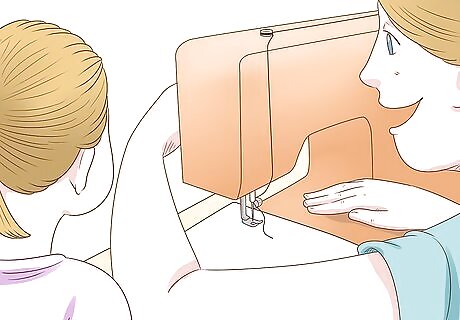
Practice with thread. Once your child has the hang of the basic functions of the sewing machine without thread, it’s time to add the thread. Start with a folded piece of fabric and a regular-sized straight stitch on the machine. Demonstrate the differences with the functions your child has already learned now that there is thread involved. It might be too early to demonstrate how to thread the machine and create a bobbin, so you may just want to do this on your own. Show your child how to line up the edge of the fabric with the edge of the lowered foot. This allows the stitching to be about ¼” from the edge of the fabric. If it helps, you can draw this line directly onto the fabric for your child to follow. Show your child how to lower the needle into the fabric before touching the pedal. You should instruct your child that the needle must always be all the way down before pressing the pedal. Practice pressing the pedal slowly and lightly to start the needle. Show them how to use the back button to do a backstitch over top of the forward stitches already in place. Practice anchoring the stitching by using the backstitch (which should always be done at the start and end of every line of stitching). Continue practicing along the edge of the fabric, including pivoting around corners. When finished a line of stitching, remember to anchor the end of the stitching. Demonstrate how to use the wheel to raise the needle all the way up, and then raise the foot off the fabric. Finally, show your child how to pull the fabric away from the machine and cut the thread.
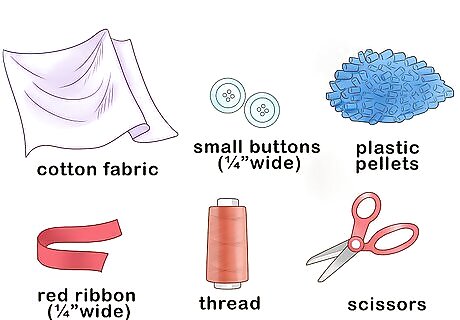
Continue to practice by making a snake charmer. Snake charmers are a very simple project that can be made on a sewing machine. This project doesn’t require an actual pattern, it just uses measurements. You’ll need the following items to complete this project: easy-to-sew fabric like cotton that can be cut into two 2” by 9” pieces; two small buttons (¼” to ⅜” wide); a small piece of red ribbon (¼” to ⅜” wide); plastic pellets for stuffing; thread; and scissors. The fabric and thread can be any colour your child wants — they don’t have to match!
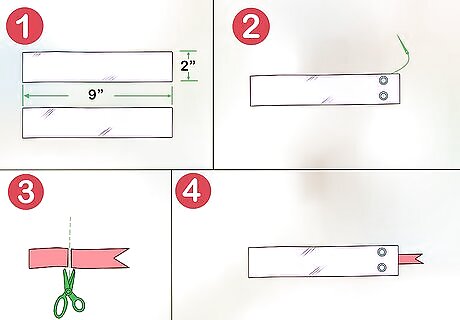
Complete pre-sewing machine preparations. Complete the following steps before going to the sewing machine: Cut two pieces of fabric so they’re 2” by 9” in size. Sew the two buttons (which will be eyes) to the ‘right’ side of the end of one piece of fabric. The buttons should be between ⅜” to ½” from the edges of the fabric piece. Cut the red ribbon (which will be the tongue) so that it’s 1.5” long. Cut a triangle out of one end so it looks like a forked snake tongue. You can cut the fabric and ribbon using scissors or a rotary tool. Pin the red ribbon to the ‘right’ side of the fabric, between the buttons. The flat end of the ribbon should line-up with the flat end of the piece of fabric, the forked end of the ribbon should point towards the other end of the fabric piece. (The tongue should not be hanging off the end of the fabric.) Pin the two rectangular pieces of fabric together, with ‘right’ sides facing inwards.
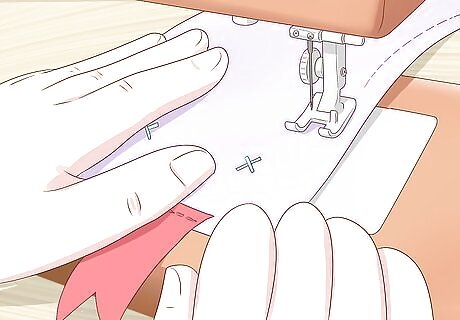
Sew the snake together on the sewing machine. Now it’s time to take your snake to the sewing machine and bring him to life. Starting on one of the 9” sides of the fabric, sew a straight line from one end of the snake TOWARDS the end with the eyes. The stitches should be ¼” from the edge of the fabric (which should be easy to measure by aligning the edge of the foot with the edge of the fabric). Pivot around the corner and sew a straight line below where the eyes are (keep in mind you won’t be able to see the buttons, as they’ll be on the inside of the two pieces of fabric). This stitch should also anchor the red ribbon onto the fabric. Pivot around the second corner and sew a straight line down the second 9” edge. Remember to anchor your stitching with a backstitch at the beginning and end. Take the fabric off the sewing machine and cut and trim all the thread.

Finish up the outside of the snake. Before turning the snake right-side-out, trim the two corners (pointy edges) off the fabric on the eye and tongue end. This will help make it easier to flatten out the corners when the fabric is turned right-side-out. Turn the pieces of fabric so the ‘right’ sides are facing outwards. Use a stick to straighten out the corners (near the eyes) if you need to. The tail end of the snack should be open — fold the raw edges of the fabric inside at the tail end by at least a ¼”. Fill the snake with 3 tablespoons of plastic pellets. Use a funnel if you have to. Use a hand stitch to sew the tail end of the snack together so the pellets don’t fall out. Enjoy!




Comments
0 comment