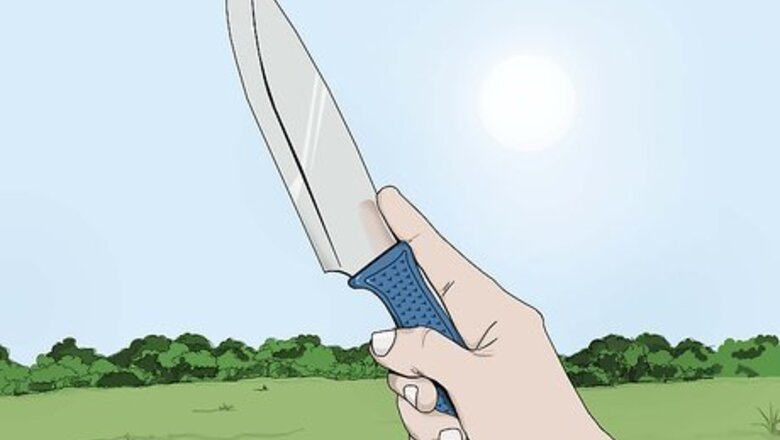
views
Using the Mumyou-Ryu Technique
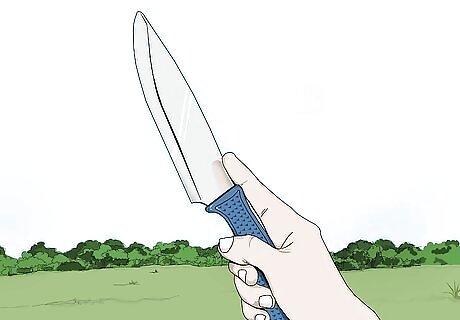
Take the proper grip. Sticking a knife with no rotation is made possible by modifying the standard throwing grip. Wrap your hand loosely around the handle of the knife. Pinch the handle between your thumb and the length of your middle finger. Place your index finger flat against the spine of the blade at the knife’s center of balance. This is known as the “thumb grip,” or sometimes the “drive-finger grip,” as you’ll be using your thumb to guide the movement of the knife and your index finger to drive it forward as you release. The thumb grip is used to neutralize the rotation of the blade after it leaves the hand. Every knife will have a slightly different center of balance. Locate the knife’s center of balance by laying it across one outstretched finger and adjusting it until it balances on its own. This is the section of the knife on which you should place the point of your finger.
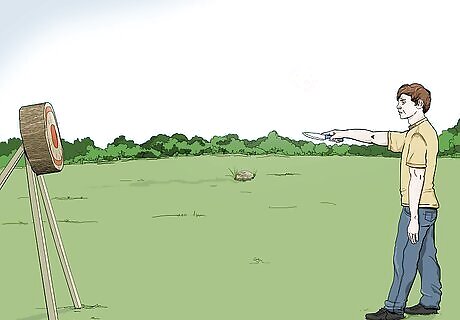
Line the knife up with the target. Hold your arm straight out in front of you with the tip of the blade trained on your target. Eyeball the exact spot you’re aiming for. Pay close attention to the angle and position of your arm. This is where your arm will need to be at the moment you release the knife. Pointing the knife in the direction of the target before you throw can help muscle memory take over, giving you a sense of exactly where your arm should be when you release. For better accuracy, make a quick initial lineup part of your throwing ritual.
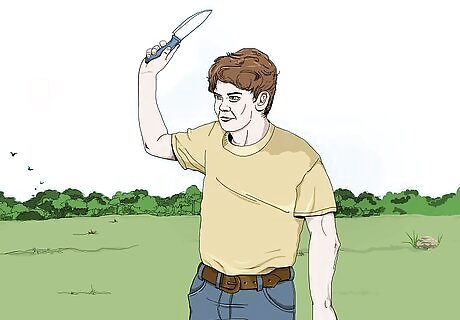
Raise the knife up beside your head. Keeping your shoulder fixed and your upper arm parallel with the ground, draw the knife back until it’s level with your head. Your elbow should be bent about 90 degrees, with the blade of the knife pointing straight up. Square your stance and take a small step forward with your opposite foot. To get an idea of what position your shoulder and forearm need to be in, hold up your throwing arm as though you were making the “goal” gesture used by fans of American football. The Mumyou-Ryu technique was derived from a technique used by ancient Japanese warriors to throw circular projectiles (shuriken, or “throwing stars”) without rotation. It was adapted for use with straight, modern knives and spikes.
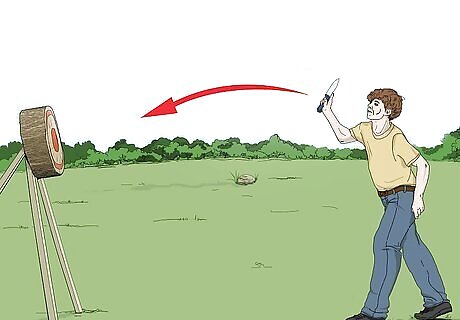
Release the knife in a smooth slinging motion. Lean over your front foot as you prepare to throw. Let go of the knife while your throwing arm is at roughly a 45 degree angle—this will help compensate for gravity and create the relaxed arc that the knife will trace in the air. At the moment of release, lightly “brush” the length of the spine with your pointer finger. Straighten your arm so that you complete the throw pointing at your target. With any luck, you’ll hear the thump of a successful stick. Bring your forearm and knife hand down in a circular path, in one quick movement. Your forearm should stay straight up and down throughout the windup and release.
Using the Russian Technique
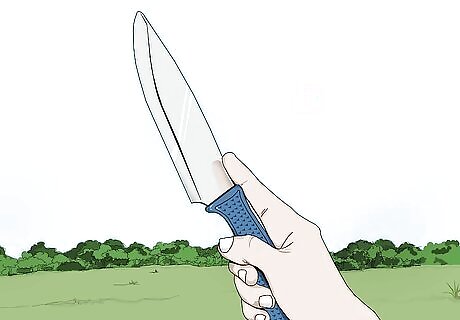
Hold the knife with the thumb grip. Assume the thumb grip. This will be the most efficient way of minimizing the knife’s rotation in flight. Press the handle of the knife snugly between your thumb and middle finger, but don’t squeeze too tight. During the throw, your wrist and forearm should move as one. With the thumb grip, the blade must be flung with the arm and shoulder using a pushing motion, rather than the snap of the wrist which usually causes the knife to spin.
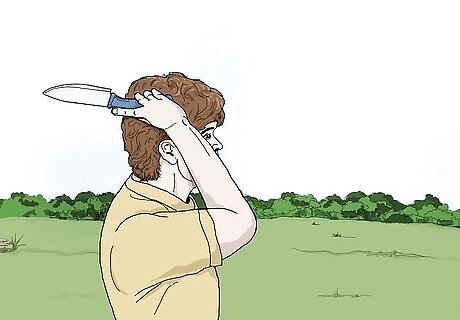
Raise the knife up and out to the side of your body. Extend your throwing arm with the knife held upright just above and behind your head. The blade should be almost vertical, hovering out at a shallow angle. When using the Russian technique, the knife should point slightly out to your dominant side before it is thrown. Bend your elbow a little so that the blade of the knife is nearly parallel to the ground. Stay loose and ready to time your throw. Holding the knife out further from your body creates additional torque, allowing you to throw the knife with more force. The Russian technique requires a little more room to move, so be aware of your surroundings before you start waving the knife around.
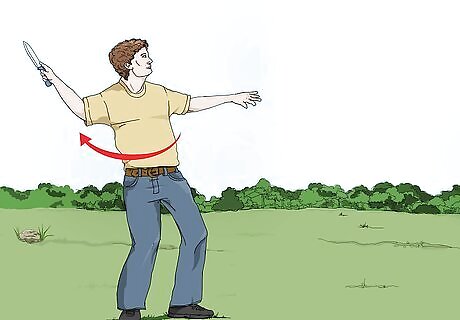
Rotate your hips and shoulders. Initiate the throwing motion by winding up with your upper body. Turn your hips and shoulders a few inches away from the target in the same direction of your knife hand (right-handed knife throwers will turn clockwise, left-handed throwers should turn counterclockwise). The Russian no-spin throwing technique relies on lateral motion to generate force, which means you’ll be focusing on the movement of your midsection rather than just your arm. Don’t let your knees or feet turn as you twist your upper body. This will throw off your base, as you’ll no longer be facing the target.
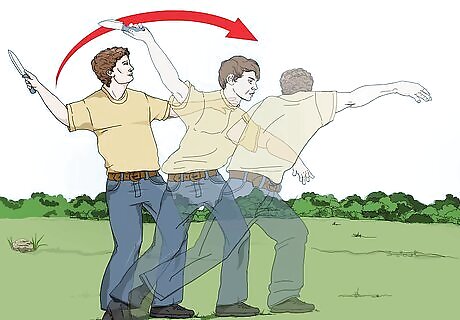
Use a whip-like motion to throw the knife. Once you’ve drawn back all the way, reverse the motion suddenly. Rotate your hips and shoulders in the opposite direction. At the same time, sling your arm out at an angle, releasing the knife just before your throwing hand lines up with the target. Follow through with the throw the way you would if you were cracking a whip, keeping your arm extended until the blade makes contact. The trickiest part of the Russian technique is timing your release correctly. It’s more difficult to gauge where the knife will end up as you’re throwing from the side and not centering the blade’s path with your line of sight like with vertical throws. Despite the somewhat complicated mechanics, the Russian method of no-spin throwing is thought to be more consistently accurate than other techniques.
Using the Thorn Technique
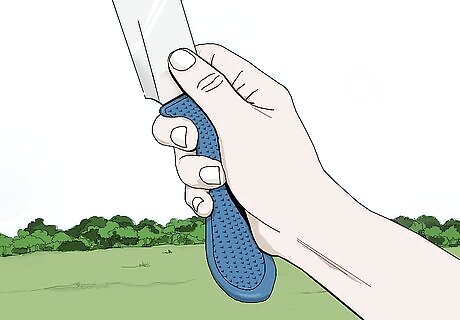
Take hold of the knife. Grab the knife high up on the handle. For the Thorn technique, you can use either a thumb grip or a modified hammer grip for increased stability. Since you’ll be using your entire arm to throw, so you should make sure that you have a secure grasp in order to control the path of the blade. The Thorn method of no-spin throwing was invented by and named after knife throwing instructor Ralph Thorn. To modify a hammer grip for no-spin throwing, wrap your whole fist around the handle of the knife, the way you would a hammer. Then, uncurl your pointer finger and rest it along the spine of the blade. Whether you choose a thumb grip or a modified hammer grip, your grasp should be firm but not too strong. The tighter you hold on, the more difficult and unreliable your release will be.
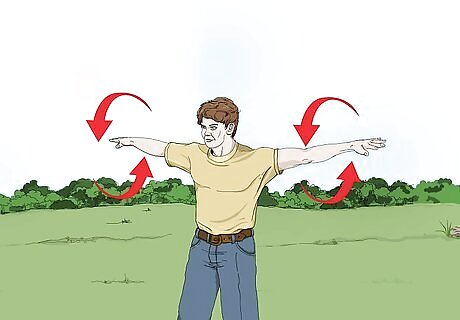
Keep your shoulder relaxed. The key to the Thorn technique is the windmill-like motion of the arm. This can put a lot of strain on the tendons and ligaments of the rotator cuff if you’re maintaining a lot of tension. Shake out your arm and loosen up a bit before you start throwing. If you’re not careful, you may be setting yourself up for injury. Warm up before your knife throwing sessions with some basic mobility exercises and a little light stretching. If the Thorn method causes pain in any part of your shoulder or arm, stop and switch to a less strenuous technique.
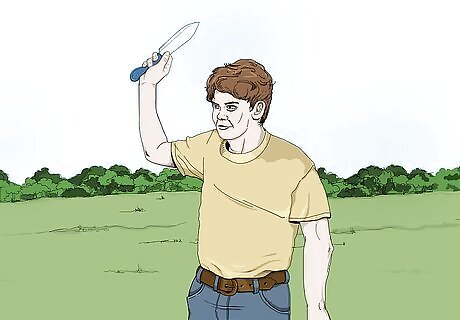
Pull your arm back beside your head. Bend your throwing arm slightly and lock it into place. Your upper arm and elbow should only form about a 35 or 40 degree angle. Raise your arm until it’s above and slightly behind your head. With the Thorn technique, you’ll use your entire arm to throw, not just the momentum of the forearm. Stand up straight and fully extend your back as you start the windup.
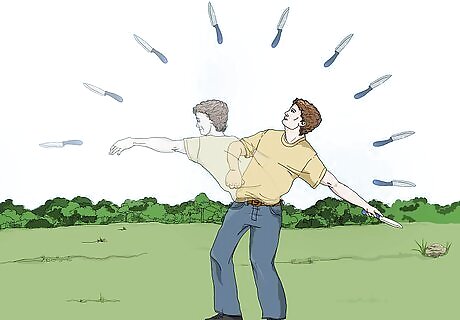
Throw the knife using your entire arm. To perform the throw, drop your arm fast in a circular arc, not letting the elbow bend. Release the knife right before your hand falls level with the target. Thrust your index finger forward during the release and follow through to prevent the knife from spinning. When executed correctly, the knife should sail in a smooth, direct line toward the target. It may be helpful to practice the Thorn technique in two separate phases: the wide, looping motion of the arm and the timing of the release. Most no-spin techniques, like the Thorn method, are a combination of a traditional knife throwing motion and the heaving action used to throw spears.




Comments
0 comment