
Making Balloon Clusters
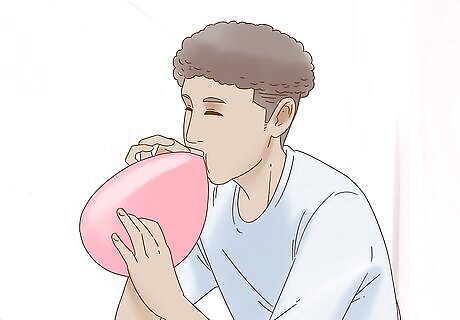
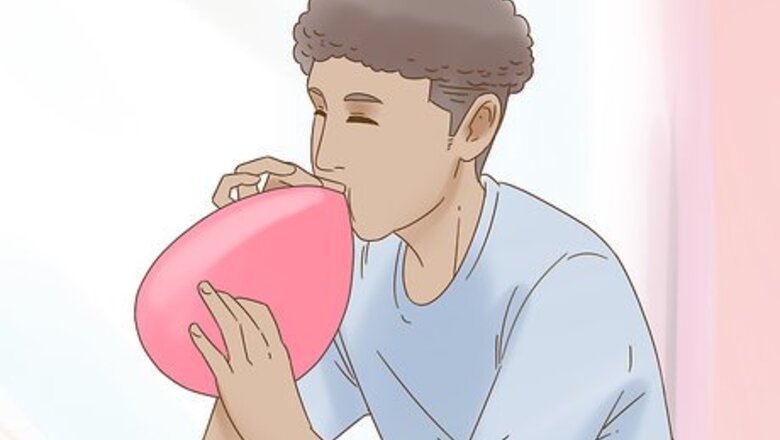
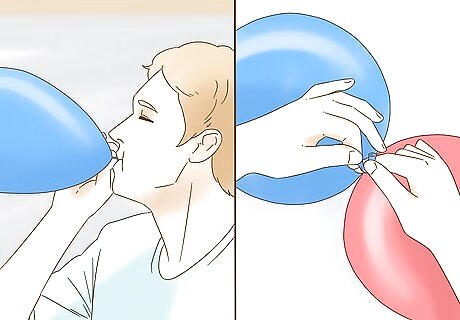
Blow up all of the balloons you want to use. Start by inflating your balloons, then tying them off securely with a basic neck knot. You’ll be using the necks to tie the rest of the cluster, so be sure to keep them as long as possible. For more symmetrical clusters, try to blow all of your balloons up to roughly the same size. Alternatively, you can inflate them to different sizes for more of a varied look. The number of balloons you use is up to you—you can easily cluster up to 5 together using their necks.
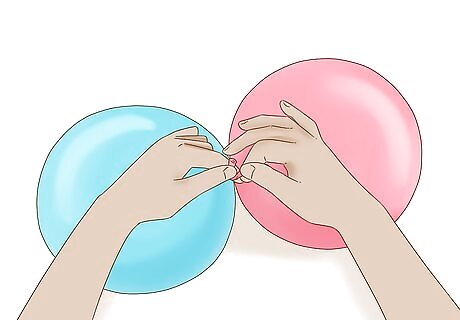
Tie the necks of your first 2 balloons with a half knot. Take a balloon in each hand and hold them by their necks, making sure the necks are touching each other. Cross one neck over the other, then continue wrapping it all the way around twice. Tie the two necks together using a half knot to secure the balloons. A half knot is the same kind of over-under knot you would use to start tying your shoelaces. A cluster of 2 balloons is sometimes referred to as a “duplet.”Tip: Stretching the necks gently to elongate them can make them easier to manipulate.
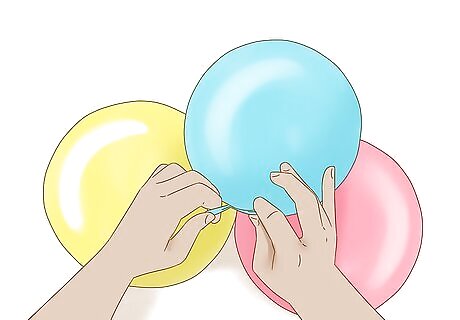
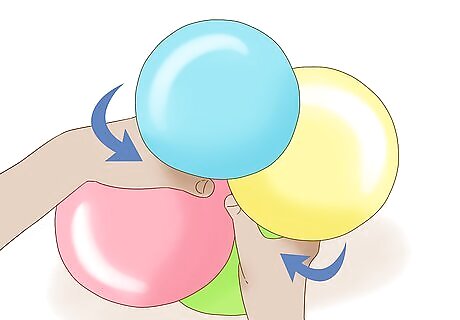
Add a third balloon to the cluster by knotting its neck to another. Position this balloon between the other two, again making sure that all of the necks are touching. Wind the neck of the third balloon around the center of the duplet twice to cinch all the balloons together nice and tight. Tie the neck to one of the loose necks of the duplet in a half knot. Doing so will give you a triplet. The rubbery balloon material will offer lots of traction, so there’s no need to double-knot your necks.
Twist 2 duplets together to make a quad cluster. First, tie up a pair of duplets. Then, place the necks of one duplet across the other and push the balloons down so that they form a cross shape. Finally, grip one balloon from each duplet on both sides and twist the pairs in opposite directions twice until the balloons lay flat. If you want, you can also give the duplets another half twist to give your quad more of a three-dimensional shape. Use 2 balloons of the same color to make your duplets, but choose a different color for each duplet. As a result, your finished cluster will have a balanced two-tone look.
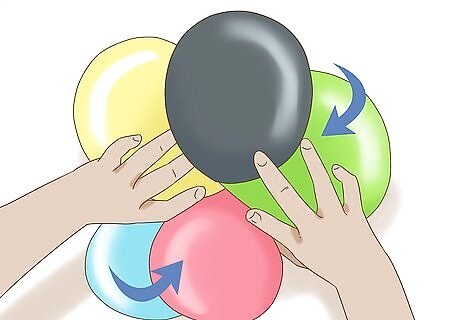
Tie a duplet to a triplet to create a cluster of 5 balloons. Work the balloons of the duplet into the spaces in the triplet and rotate the balloons around each other 2-3 times. As you do, the necks will twist together, joining the balloons tight. Theoretically, you could continue tying duplets to triplets in this way to make your cluster bigger and bigger until you run out of room for more balloons. Bookend a cluster of 5 patterned balloons with a duplet in a plain color to make a lovely balloon flower.
Assembling a Balloon Banner
Inflate and tie off your balloons. The exact number of balloons you use will depend on how large you want your banner to be. For a 10 ft (3.0 m) banner, you’ll need around 72-100 balloons. To make a multi-colored banner, blow up an equal number of balloons in each of your chosen colors. Varying the size of your balloons can lend your banner more visual appeal.
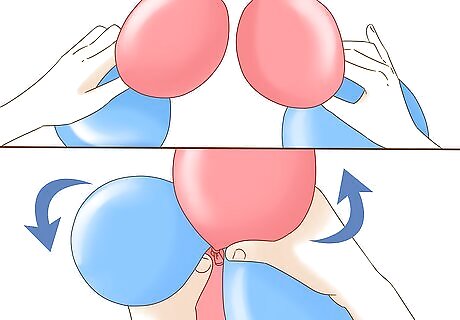
Group your balloons into quad clusters. Make duplets from pairs of balloons by wrapping one neck around the other twice and the necks with a half knot. Arrange 2 duplets together in a cross shape and twist the pairs in opposite directions to secure them. These clusters will provide the basic shape for the balloons that make up your banner.
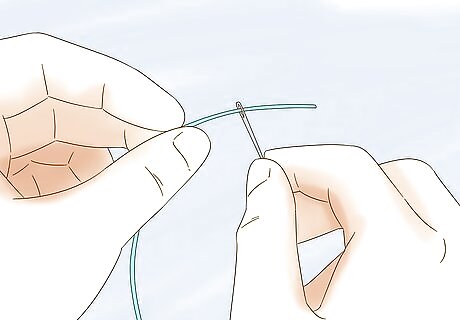
Thread a sewing needle with strong string or fishing line. Slip the end of a length of string through the eye of the needle, then tie it off. Unravel the rest of the spool until it's the correct length for your banner. Consider using a blunt tapestry needle instead of a regular one. Not only will be there less chance of pricking your fingers, you also won’t have to worry about popping your balloons by accident.Tip: For a banner made up of 18-20 quads, plan to use around 8–10 feet (2.4–3.0 m) of fishing line.
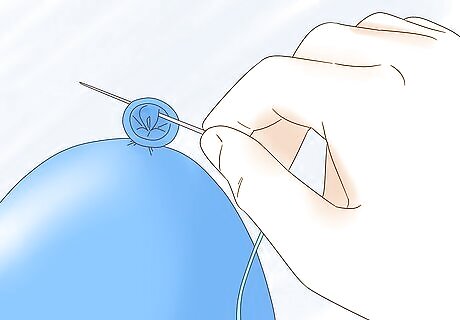
Guide the tip of the needle through the necks of your first cluster. Push the needle into the excess material below each of the knots. You may have to use a little extra force to puncture the material with a tapestry needle. Once you’ve got the first cluster on the string, slide it down to make room for the next one. Be careful. If your hand slips, you could end up losing one or more balloons! It may help to set your balloons on a table or countertop to steady them as you maneuver the needle.
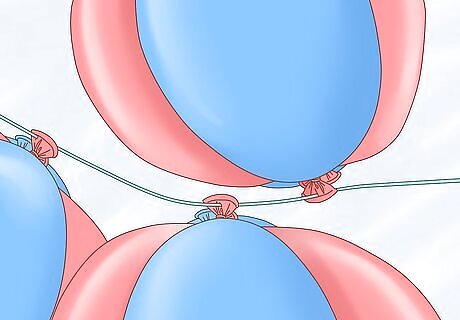
Continue threading on more clusters to extend your banner. Leave about 5–6 inches (130–150 mm) of space between each cluster to allow the balloons to spread out. To save time, have a helper tie together the balloon clusters and hand them off to you so you can slide them onto your banner. Pattern your banner after the colors of the rainbow, or try alternating complimentary colors that fit the theme of your event, such as red and green for Christmas or black and orange for Halloween.
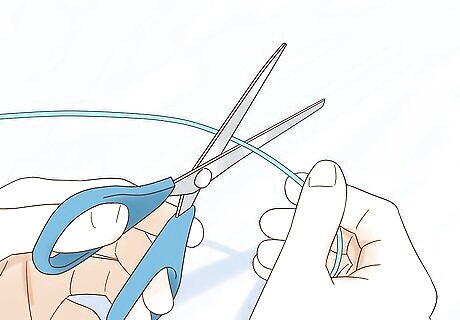
Cut the end of the string when you’ve completed your banner. Once you’re satisfied with the look of your balloon banner, snip the string from the spool with a pair of scissors. You shouldn’t need to tie off either end of the string—there’s little chance of it pulling free since it will be pinched between the balloon material. Leave 3–4 inches (7.6–10.2 cm) of excess string hanging from either side of your banner. The extra string will come in handy for hanging. It will also keep the banner from coming apart if the balloons happen to shift.
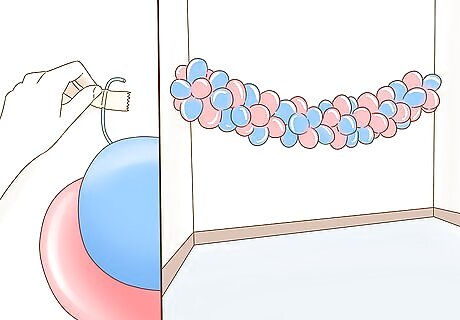
Hang your balloon banner using tape or wall hooks. Position your banner in the desired location and press a strip of tape to each end to keep it suspended. Attach additional strips to the intervening sections of string as needed to prevent drooping or create a bunched effect. Another option is to anchor the string on adhesive wall hooks to further customize your hanging formation. Hang your balloon banner on the wall or over a doorway as a decorative arch, or run it along the underside of a bar or countertop or in between the posts of a deck to introduce some color wherever you need it. Be careful not to let any part of your banner come into contact with anything that might pop the balloons, such as sharp corners or jagged wood.


Comments
0 comment