
views
Creating a String of Small Flowers

Tie 2 flowers together at the stems. Hold 2 flower stems together so that the blooms are facing in opposite directions. Check to ensure that the end of each stem is below the bloom on the other stem. Wrap the thread around the middle of the stems 2 times and then make a knot to secure it. Use small flowers, such as jasmine, clover, or mullai flowers. You will need around 200 blooms. Just make sure that the flower has a sturdy stem or it may break when you tie the string around it.Tip: Practice your technique with small pieces of crepe or tissue paper. Cut or tear the paper into 2 in (5.1 cm) squares. Then, pinch 1 side of the square and twist a few times to shape it into a faux flower.
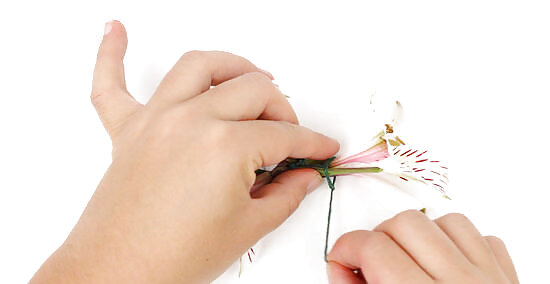
Place one stem next to the first 2 and loop the thread around it twice. Position a new stem so that the bloom is aligned with one of the first 2 blooms you tied. Make a loop with the thread and bring it over the top of the new bloom and the stem of the last bloom you tied. Pull the thread taut around the center of both stems. Then, make another loop with the thread. Bring it over the top of the last bloom you placed and the stem of the new bloom. Pull the thread taut to secure them. If desired, you can alternate the direction of the flowers, such as placing the next bloom at a 90 or 45 degree angle to the stems of the first 2 you tied. Make sure to tie the loop around the bloom stems on both sides! This is how you ensure that the flowers are secure.
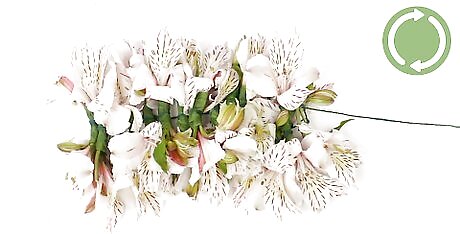
Continue adding flowers until the string of flowers is the desired length. Next, add another flower and position it so it is facing the opposite direction of the last one you placed. Repeat the wrapping process to secure the bloom. Keep adding flowers in this way to achieve the length you want. 24 in (61 cm) is a good length if you want to ensure that the finished string of flowers will fit over the wearer’s head. This will hang down to about the middle of their chest.
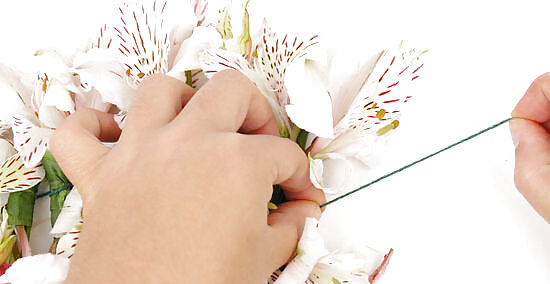
Tie a double knot to secure the end. After you finish tying the last bloom into place, make a loop with the thread and pull the end through. Position the knot so that it is right up against the stems of the blooms. Then, tie a second knot in the same way. Cut the excess thread if you want to keep the string of flowers in strand form. Tie the ends together if you want to create a necklace of flowers.
Making a Decorative Carnation Garland

Cut the stems of 12 flowers so that they are all 7 in (18 cm). Cut each of the stems straight across. This will provide plenty of stem to tie the twine or ribbon around. However, you may make the stems 1 to 2 in (2.5 to 5.1 cm) shorter or longer if desired. Use a pair of sharp scissors to cut the stems.Tip:Carnations are not the only type of flower you can use to create a garland! Anything with a hearty stem and a big bloom will work, such as roses, mums, or daisies.
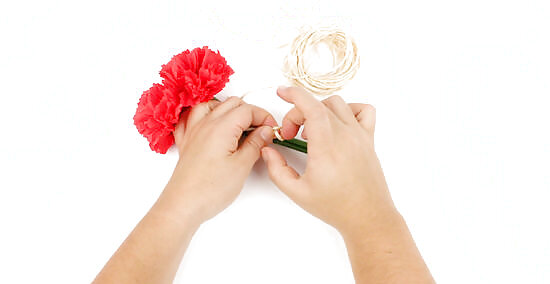
Tie a piece of twine or ribbon around the middle of 2 stems. Pair of flowers and make sure that the ends of their stems are even. Then, wrap the twine around the center of the 2 flowers and tie a knot. Don’t cut the twine or ribbon yet! Work directly from the spool in case you need a little extra.
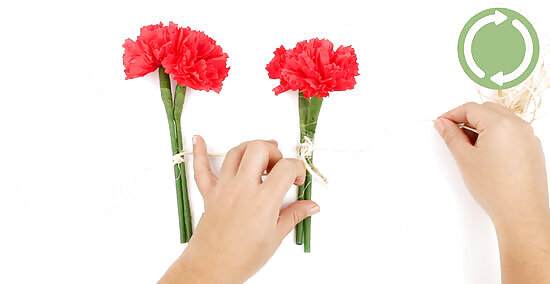
Continue to add pairs of flowers until you have used all of them. Keep adding more flowers in the same way you added the first 2. Space out the pairs of flowers so they are about 6 in (15 cm) apart. Make sure to leave about 6 in (15 cm) of twine or ribbon on the ends so that you can secure the garland when you are finished.
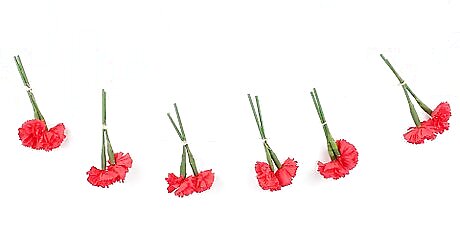
Hang the garland by tying the ends of the twine to hooks or nails. After all of the flowers are attached to the twine or ribbon, tie one end of the twine or ribbon to a hook or nail on your wall. Then, tie the other end of the twine or ribbon to another hook or nail about 5 ft (1.5 m) away to display the flower garland. The garland should curve slightly as it hangs.
Wrapping a Bridal Bouquet
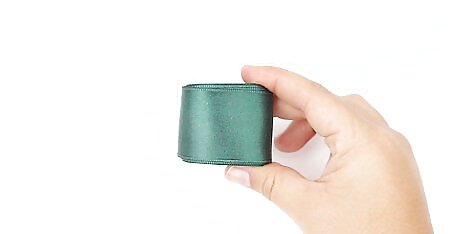
Choose a spool of ribbon that complements your bouquet. Look at the colors in the bouquet and then choose a ribbon that will bring out these colors, such as a dark green for a bouquet of red roses or a yellow ribbon for bouquet that has yellow, purple, and white flowers in it. Or, go with a white satin ribbon if you are unsure! You can use satin, matte, or sheer ribbon to wrap a bouquet. Do not cut the ribbon! Leave it on the spool while you wrap the bouquet.Tip: If you are having trouble deciding on a ribbon to use, try holding each type of ribbon next to your bouquet to see what looks best!
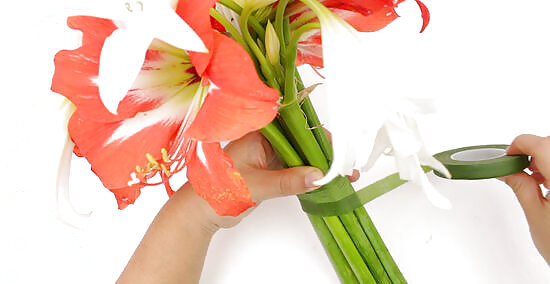
Use flower tape to secure the blooms. Hold the bouquet in one hand and the end of the flower tape in your other hand. Place the end of the flower tape against the stems just above your hand and use the index finger of the hand holding the bouquet to hold the end in place. Wrap the tape around the bouquet tightly. Repeat to secure the bottom of the stems.
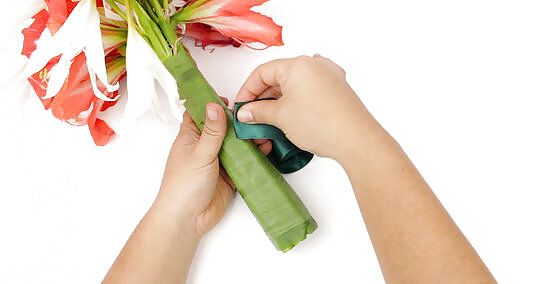
Fold over the end of the ribbon and position it against the middle of the stems. Fold the first 0.5 in (1.3 cm) of ribbon over before you start wrapping the bouquet. Then, position the folded ribbon against the center of the bouquet. Use the hand that is holding the bouquet to keep the end of the ribbon in place. You may also insert a pin into the ribbon and stems to secure the end.
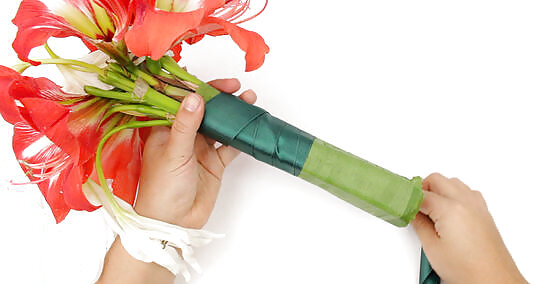
Wrap the ribbon around the center and then move up. Go all the way around the center of the bouquet to overlap the end of the ribbon 2 times. Then, begin wrapping towards the top edge of the flower tape. Wrap the bouquet in a spiral so that the ribbon overlaps itself. Then, wrap back down towards the other piece of flower tape. Make sure that the ribbon is overlapping by about half the width of the previous layer. This will help to ensure that the stems and flower tape are completely covered.
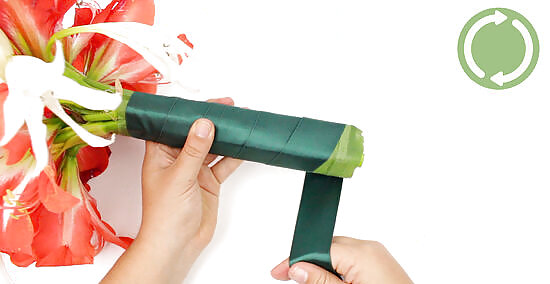
Keep wrapping to cover the flower tape and stems. Continue wrapping until the stems are wrapped and then work back up the stems towards the center of the bouquet. Wrap in a spiraling fashion to get back to the center of the bouquet. Check to ensure that the ribbon is flat all the way around the bouquet. There should not be any bumps in the ribbon.
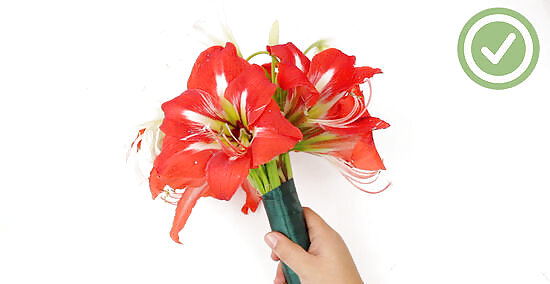
Fold over the end of the ribbon and pin it. Fold 0.5 in (1.3 cm) of the ribbon over just as you did when you started wrapping the bouquet. Then, insert a pin through the folded end of the ribbon and into the flower stems. Your bouquet is finished!





Comments
0 comment