views
Measuring with a Spirit Level
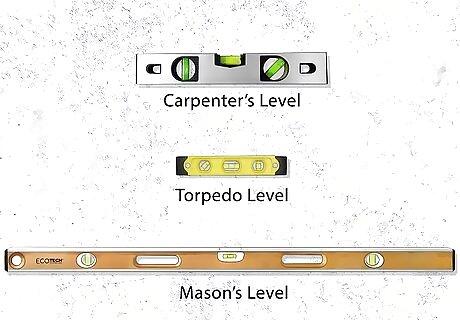
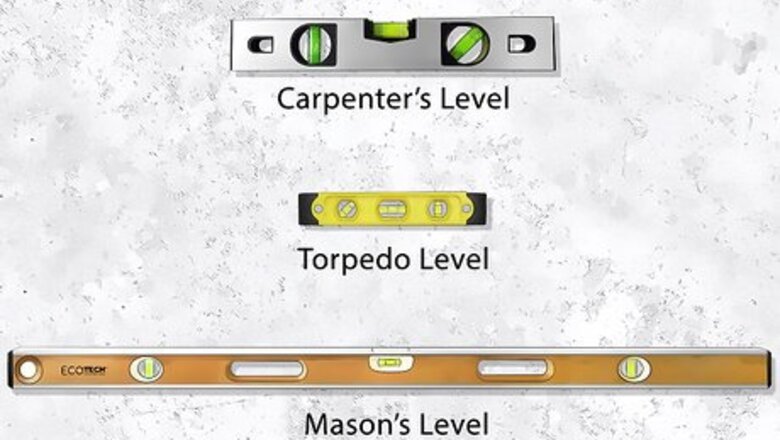
Choose the right spirit level based on your home improvement needs. Spirit levels can vary widely in size and shape. Which spirit level you buy should depend on how often you plan to use it, and the length or width of the objects you will be measuring. If you need a spirit level for general use to measure a variety of object sizes, a Carpenter’s Level is probably the one for you. These are between 2 and 6 feet long. Try a Torpedo level if you want a portable option that will fit in a toolbox and measure tight spaces. They can be as small as 6 inches. These levels generally have a diagonal vial to help you find level at 45 degrees. A Mason’s level is great for measuring wide and long surfaces like walls. They can be four feet or longer. However, it will not work for measuring smaller objects, so it’s not a good choice for an all-purpose level.
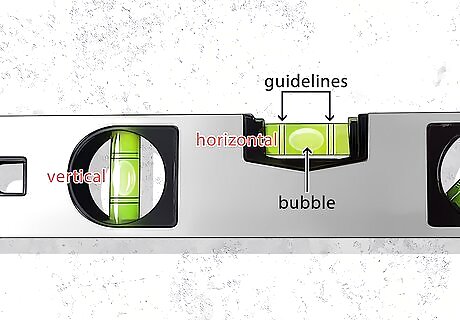
Find the horizontal or vertical vial on your level and notice its two lines. Your level probably has two small vials, or liquid-filled tubes: one horizontal and one vertical. You will use the horizontal vial to find the horizontal plane. You will notice that the vial has a bubble and two lines in the center, which are called guidelines. When you measure your horizontal object, and the bubble falls between the two guidelines, then it is completely flat and even, or “level.” Another way of thinking about this is that a level object is completely parallel to the horizon. If during your horizontal measurement, you find that the bubble is outside the left guideline, then your object’s left side is higher than your right. If the bubble is outside the right guideline, then your right side is higher than your left. When you measure your vertical object, and the bubble falls between the two guidelines, then it is completely vertical, or “plumb.” A plumb object is perpendicular to the earth. If during your vertical measurement, you find that the bubble is outside the top guideline, then your object’s top side is bulging forward. If the bubble is outside the bottom guideline, then your object’s bottom side is bulging forward.
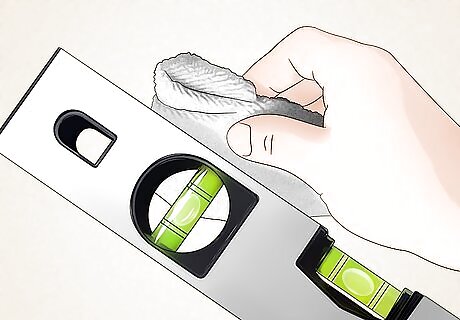
Clean both the level and the object prior to taking your reading. Dirt and debris can throw off the level, which can be sensitive. Just brushing a gloved hand across the level and object can be enough to ensure an accurate reading. If you use your level often, remove any dirt that accumulated in its edges.
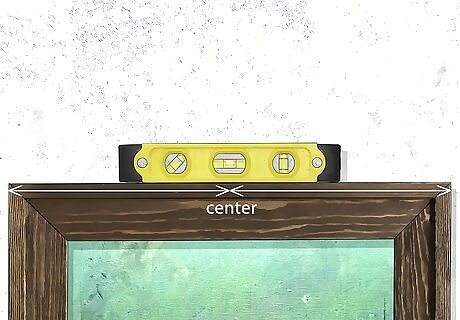
Position your level in the center of your object. Your horizontal object might be a couple of bricks, a framed picture, a deck, or even the ground. Meanwhile, a vertical object could be a wall, cabinet, doorframe, or fencepost. Check to see whether the bubble is within the guidelines, to their right or left (horizontal), or to the top or bottom (vertical). If your object is very wide or tall, you may find that an average-sized spirit level cannot give you an accurate reading on its own. In this case, the easiest solution is to find a larger level. Consider investing in a level that is at least 1 meter (3.3 feet) long for the most versatility. Another option is to rest the level on top of a long or tall straightedge during your measurement.
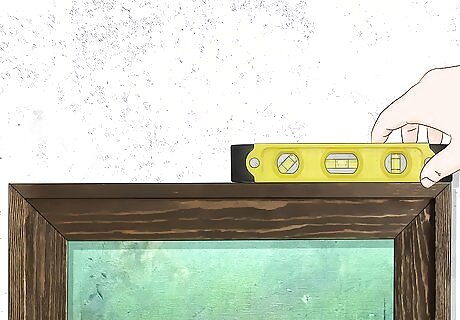
Double-check by moving the level away from the center. Move the level to the right or left for horizontal readings, or top or bottom for vertical readings. Sometimes, levels are poorly made, damaged, or defective, which render their readings inaccurate. You can always double-check the reading by re-positioning the level on the object and ensuring that the reading is the same.
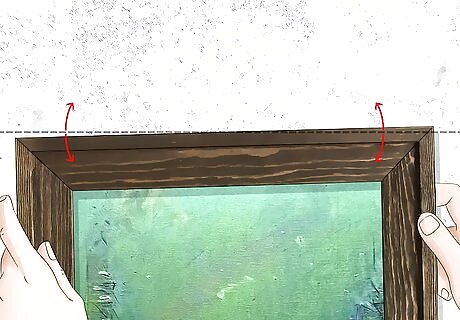
Take the appropriate action to level your object if necessary. If you discovered that your object is unlevel, you may decide to level it. For example, if your horizontal object is a couple of bricks, you can add more mortar under the brick that is resting lower. Or, if your vertical object is a cabinet, you may decide to add a filler piece in between the cabinet and the wall it rests on. In some cases, you may actually want an unlevel reading! This will be the case if you are measuring rain gutters or a patio on the horizontal plane, which must have a slight slope to drain rain properly. Some levels have two outer lines in the vial, which measure the 2-percent slope, or “grade,” that is necessary for these kinds of projects.
Measuring with a Laser Level
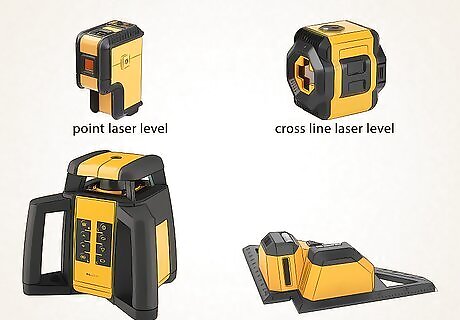
Choose a laser level based on your home improvement needs. Laser levels can be pocket-size or as large as a full-size construction device. While those new to levels will want to start with a spirit level, you may find that a laser level is a great option if you want to invest in a device that is more accurate and portable. Consider a variety of types depending on your budget and project. A dot or point laser level is the smallest and most budget-friendly option. It’s a good place to start with laser levels. Keep in mind that it throws an even line of light in one plane at a time, and often in one direction (unless you purchase a multi-point level). It is best for smaller projects like hanging curtains or checking that a group of pictures is in line. Try a cross line laser if you want a smaller device for home use that can measure both the horizontal and vertical plane at once. Keep in mind that unlike the dot laser, this one will usually need a tripod (as most laser levels do). This level is ideal for hanging pictures. Consider a larger rotary laser level for larger projects like leveling windows and doors. It can also be used outdoors, and even for professional use such as construction and surveying. It also needs a tripod. The final type of level recommended for home use is a tile laser level. As its name suggests, it has one signature use: laying tile. This level can allow you to center tiles much more easily, keeping them in perfect line with other tiles. However, it must be used on a completely flat surface, not an uneven, slanting floor. It can also be used for laying hardwood and other types of flooring.
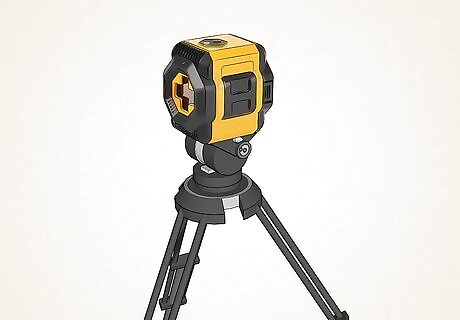
Mount the level on a tripod, if using a cross line or rotary laser level. Many laser levels can fit perfectly into a standard camera tripod. This will allow you to reach the optimal height for your project.
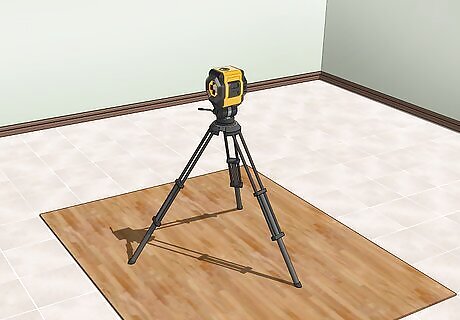
Pick a spot near the center of your object to project the laser beam. Turn on the laser, and spend some time adjusting it if necessary. You can place it near or far away from the object. Laser levels work like projectors, sending a direct beam of light that reveals what a level line looks like in a given plane. As with a spirit level, adjust your laser level’s settings according to whether you are measuring the horizontal, vertical, or even diagonal plane. If you are working outdoors or in a bright space, you may need to wear red laser glasses, which will allow you to see the beam more clearly.
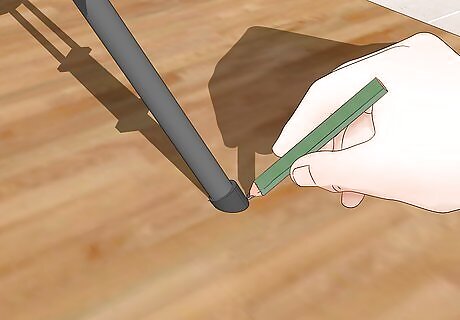
Mark the level line with a pencil before you start working. The laser level can get knocked slightly out of place while you are working. Make a pencil mark to keep track of key reference points just in case.


Comments
0 comment