
views
Using a Manual Die Cutting Machine
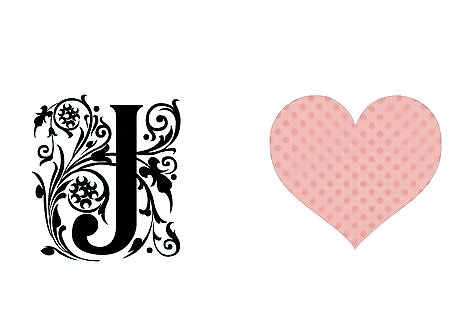
Choose your first designs to cut from your die set. Your die-cutting machine either came with a set of dies or has compatible sets for sale. Regardless of what type of material you’re cutting, you’ll need to choose your first design from your choices of dies. You’ll probably have many shapes to choose from; think about what you’re making and for whom as you decide what shapes to use. You may be able to choose from flower shapes, hearts, stars, letters, spirals, or animals, depending on your die kit. Also consider what materials you have available when designing your project.
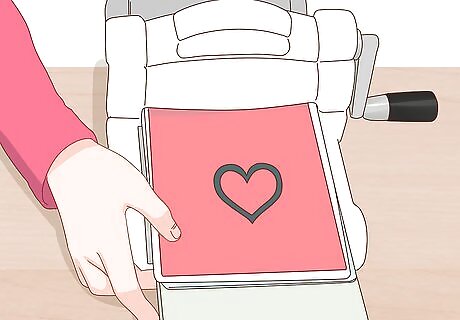
Sandwich your die and material between foam layers. Follow a layered sandwich pattern for what gets cranked through your machine. You will have a thick rubber or foam layer at the bottom that came with the machine. Lay your paper or other thin material you’re cutting on top of that, place your die where you want it to make a cut on your paper, and top it with another thick layer of foam. Different machines can vary slightly. Follow the instructions on your particular machine for creating your die cut sandwich. Your machine came with all the rubber or foam layers that it requires – you just need to supply the material you’re cutting and choice of die from your die collection.
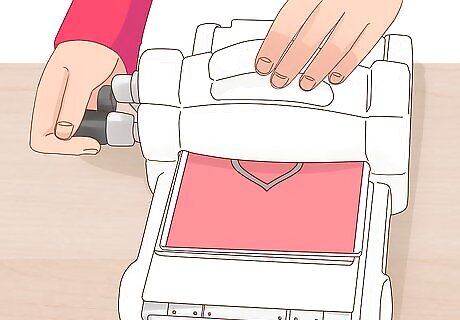
Turn the crank slowly. Once you have your die cut sandwich assembled, begin turning the crank in the direction of the press. The tray of materials will move through the press, and the die will cut your paper or other material. If you’re using paper, you may hear the cut as it’s being made. Continue cranking until the tray is all the way through the other side.
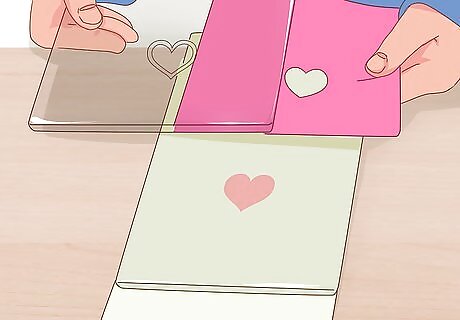
Check to see that the material cut all the way through. Gently lift the top layers of foam and see if your shape cut fully on your paper or other material. If it did and you can lift the shape out from the rest of the paper, you’re done with that part and can move on to making a new cut depending on your project. If there are places on your shape that did not fully cut and are still attached to your material, you’ll need to move it back through the press.
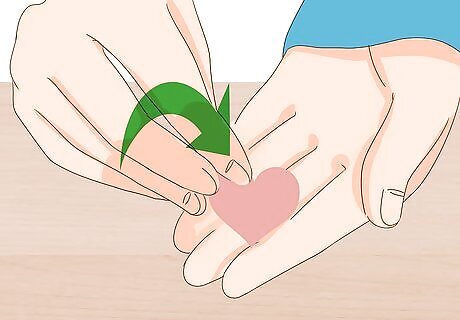
Turn the crank the other way if you need to cut the shape again. Without reassembling the layers of your sandwich, but simply laying the pieces back down how they were, begin turning your crank in the opposite direction. The press will make a second cut on top of the first one, hopefully getting all the shape’s edges to cleanly separate from the rest of the material. You can continue cranking the die cut back and forth through the machine. However, if it takes too many times to get your final cut, you may be using a material that’s too thick for your machine.
Making Paper Crafts with Die Cuts
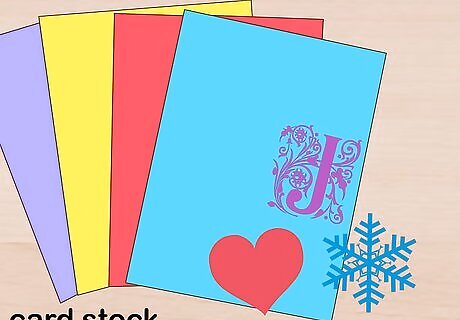
Cut shapes out of card stock for basic cards or sign letters. Find card stock of various colors at your local craft store. If you are making intricate designs for a card, choose heavy card stock so that it holds your cut shape without tearing. Try cutting different shapes like hearts, stars, and flowers for a card. Layer them or arrange them on your card in a way that you like and glue them in place. Teachers often use die cut letters when making wall and door decorations for their classrooms. You can do this too if you have signs to create or want to personalize a child’s bedroom.
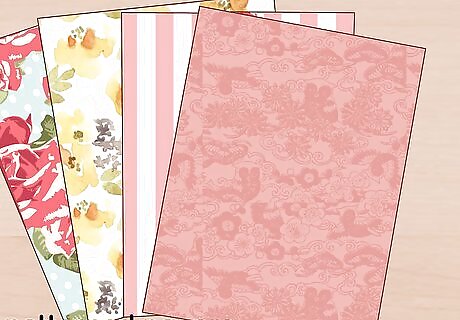
Use patterned paper or vellum for an elegant handmade card. Choose any style of patterned paper for creating layers on a handmade card. Again, choose heavy paper to avoid tearing while you cut. Vellum is a transparent paper product that adds a beautiful touch to handmade cards. Both can be found at your local craft store. When adhering vellum, be careful to use clear lightweight glue, as the vellum’s transparency can cause the glue to show. Or, you can try stitching the vellum to your card design.
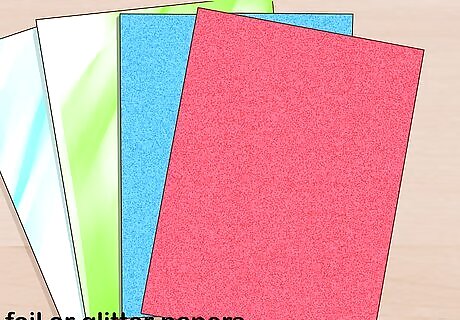
Add accents to cards with foil or glitter paper. Foil paper and glitter paper are popular to use on handmade cards. These materials may be quite thin, so use caution when removing the cuts from your machine. You will probably only need to make one cut for thinner paper products like these. Look for foil and glitter paper in the scrapbooking aisles of your local craft store.
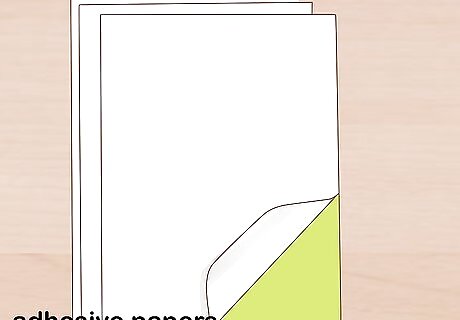
Use vinyl or adhesive paper to make your own stickers. You can use any type or color of vinyl or sticker paper for making your own die cut stickers. Experiment with shapes and letters to create personalized labels for your laptop or anything else. Or make sticker collection gifts for someone who enjoys crafting with stickers. If you’re making a gift for someone who likes animals, for example, make a set of die cut animal stickers out of assorted colors of sticker paper. Or use letters for a younger child so they can have stickers to practice spelling their name and other words.
Crafting with Fabric Die Cuts
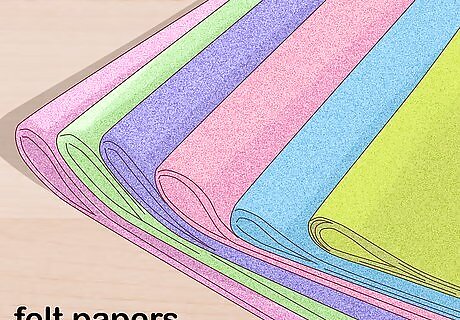
Cut felt for a soft touch. Felt is especially nice to use for children’s crafts because it’s both soft and durable. Try cutting felt letters for your child so they can practice spelling. Or if you’re making a card or gift for a child, attach felt die cuts to accentuate the item. Be careful when pulling the felt shape out of your die cut machine. If the felt didn’t cut all the way through, you can break it by pulling too hard on an edge that’s still attached to the rest of the felt.
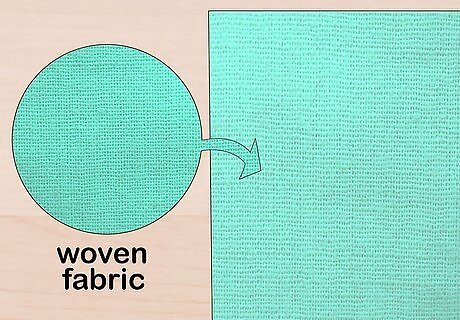
Choose any woven fabric for quilting. If you use patchwork patterns while quilting, using die cuts for your patches is a perfect way to go. You’ll get a uniform shape in your patches without the tedious work of tracing and cutting them by hand. Choose thin woven fabrics like denim, silks, cottons, or twills in colors and patterns you like at your local craft store. Depending on your machine and the type of fabric, you may be able to cut several layers of fabric at a time to get more patches in less time.
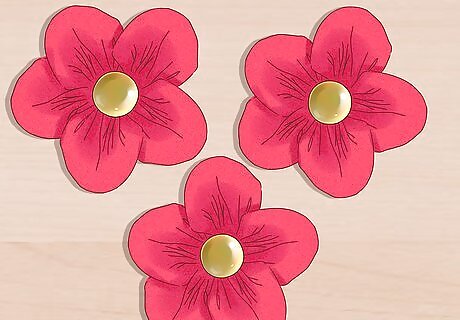
Create clothing accents like 3D fabric flowers. Using colorful patterned fabric from your local craft store, cut fabric flower shapes that are similar in shape but different sizes. After you cut each flower size, layer them from big to small, with the big one at the bottom and the smallest on top. Fold the layered flowers in half and sew them together right at the center using an overhand stitch. Next fold the flower in the opposite direction and make a few overhand stitches. This will create pinches in the fabric that give the flowers some dimension. Be sure to get through all the layers as you’re sewing. When you’re finished sewing the flower, sew a button at the center. You can then attach this flower to any jacket or other clothing items. Or you can make several matching flowers for the same piece of clothing for a cute customized look.
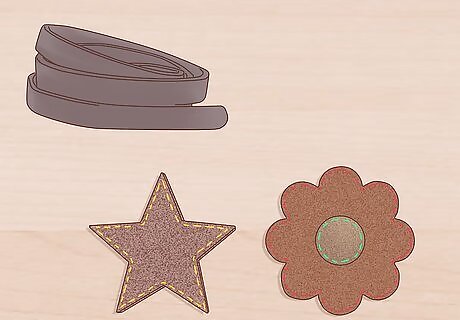
Use thin leather for jewelry or other embellishments. Cut flower or star shapes into leather with your die cut machine to create cute leather jewelry. You can layer the leather shapes into designs for necklaces, bracelets, or earrings. Once your shapes are cut, you can add color with tints or inks, embroider designs with colorful thread, and make the leather shiny with a leather water sealant before attaching the design to your metal necklace, bracelet, or earring pieces.




Comments
0 comment