
X
Research source
This is the most popular way to protect watercolors since varnishing can be a little risky. For one, you cannot use regular acrylic varnish on a watercolor painting; you must use an archival or polymer varnish.[2]
X
Research source
Also, the watercolor painting has to be coated in a fixative to keep the varnish from bleeding into the paper or board. With all of that said, varnishing your watercolor painting is a unique way to give it an elegant, beautiful finish that will protect your art for decades to come. Keep in mind, if your painting is on paper you need to mount it to a panel or board before varnishing it to prevent warping and wrinkling.
Applying the Fixative
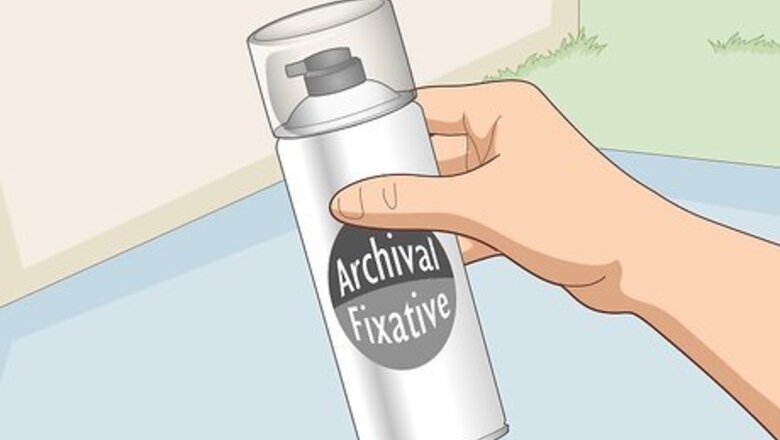
Pick up a can of archival fixative spray from your local art store. You cannot use a standard acrylic or drawing fixative for watercolor. Instead, buy an archival fixative designed for sensitive images and print on paper. Archival fixative offers much more protection and won’t damage the delicate brushstrokes and colors in your painting.Tip: Fixative is a general term for a type of spray that protects artwork from being damaged. You have to apply the fixative before doing anything else. Spraying the varnish first will damage and ruin the watercolor pigments. If your painting is on paper, you must mount it on a panel or wood board before doing this.
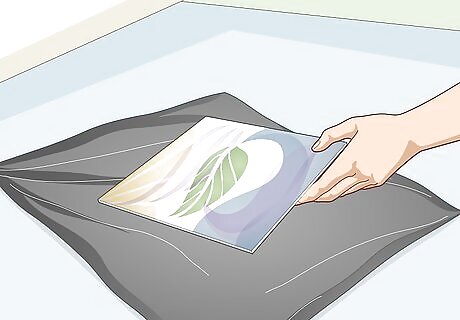
Set the painting down on top of a trash bag or piece of cardboard. Grab a trash bag, sheet of cardboard, or old newspaper and spread it out on a flat work surface. Place the painting face up in the middle. This will keep the fixative from covering the surface underneath the painting. Do this outside if you can. If you can’t, open up some windows in the room to get rid of the fumes. Fixative isn’t toxic or anything, but the smell can be kind of obnoxious to some people.
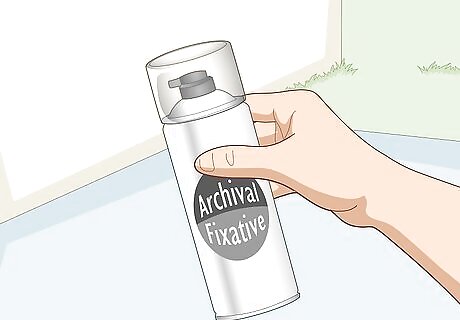
Shake the can and hold the nozzle 8–12 in (20–30 cm) from the painting. Move the can back and forth in your hand for 10-15 seconds until you hear the ball rattling around. Take the cap off of the can and point the nozzle towards the artwork.
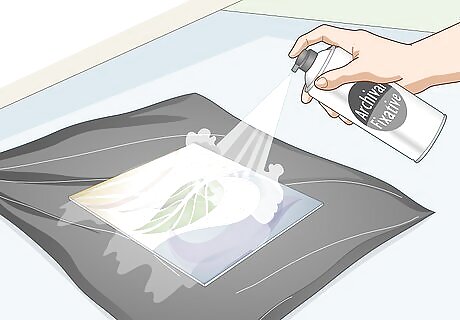
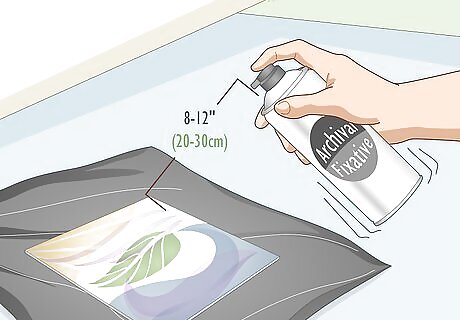
Spray the fixative while moving the can back and forth to add your first layer. Starting at the top of the artwork, press the nozzle down to release a steady stream of fixative. Move the can back and forth in horizontal rows to cover the entire painting in fixative. Cover each area 2-3 times to ensure that you don’t leave any gaps in the protective layer. Avoid holding the spray in any one location for too long to prevent the paper or board from getting absolutely soaked. Keep the can constantly moving to prevent buildup or drips.
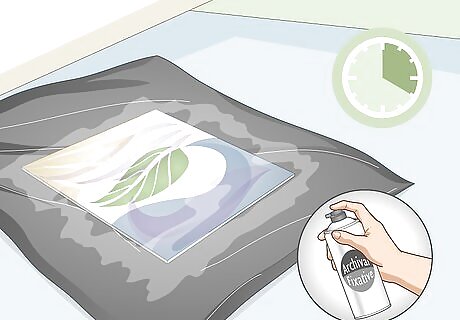
Wait 20 minutes before applying your second and third layer. Let the artwork dry for at least 20 minutes. Then, repeat the process to cover the painting in another layer of fixative. Wait 20 minutes again and repeat the process a third time. This will ensure that every section of the artwork is covered in a solid layer of fixative. You can add up to 8 layers of fixative before adding the varnish for maximum protection. While you can certainly do this if you’d like, it’s probably unnecessary. Typically, 3 coats is more than enough to protect the artwork. Don’t move the painting or take away the paper or cardboard underneath. Varnish is applied pretty much the same way as the fixative so there’s no need to move stuff around.
Adding Your Varnish
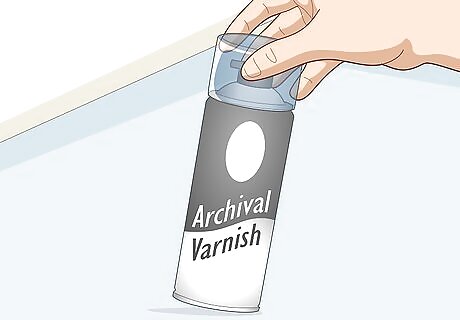
Pick up an archival or polymer varnish from an art supply store. Stop by your local art supply store and look for an archival or polymer varnish. Aerosol varnishes are ideal since they’re easier to apply, but you can grab a liquid polymer varnish if you prefer. These are the only types of varnish that you can use with watercolor so make sure to grab the right varnish.Tip: These varnishes typically come in matte, satin, or gloss finishes. Matte finishes will be flat and won’t affect the image’s shine. Satin finishes will have a kind of bumpy, light texture. Gloss finishes will make your work shine in the light. There’s no right or wrong choice, so choose the finish based on what you think will look best! Check the ingredient list to make sure your varnish is water-based. You cannot use a varnish with an oil or polyurethane base for watercolor paintings.
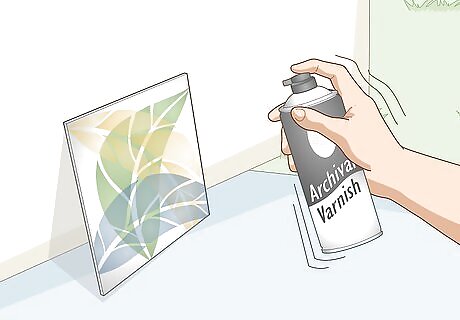
Shake the can and point the nozzle towards the painting. Take your can of varnish and shake it back and forth for 15-20 seconds until you hear the ball rattling inside. Then, take the cap off of the can and point the nozzle towards the artwork. Hold the can 10–14 inches (25–36 cm) away from the painting. If you’re using a liquid varnish, pour ⁄2 tsp (2.5 mL) in the center of the painting and spread it around by with a microfiber cloth. Continue pouring and spreading it out as needed until the entire image is covered in a thin layer of the varnish.
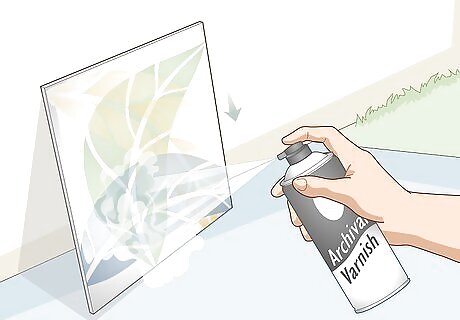
Spray your painting with the varnish by working from top to bottom. Start at a corner at the top of the painting. Hold the nozzle down to release a steady spray of varnish. Move the can horizontally until you reach the end of the paper. Then, move your wrist down and paint the next horizontal layer. Continue doing this until you’ve covered the entire painting in a layer of varnish. Varnish is pretty thick, so it’s safer to only cover each section once with your spray instead of moving the can back and forth over a single area multiple times. You can always add more varnish, but you can’t take layers off!

Wait at least 1 hour before applying an additional coat if necessary. After the varnish has dried, inspect the surface of your painting. If the varnish looks like it’s evenly covering the painting and there are no gaps, you’re done applying the varnish! If the layer of varnish doesn’t look particularly even or you want even more protection, apply another coat. You typically don’t need more than 1 layer of varnish, but 2 layers is probably the maximum. If you spray too much varnish, it may bleed under the layer of fixative and affect the colors in your painting.
Mounting Paper for Varnishing
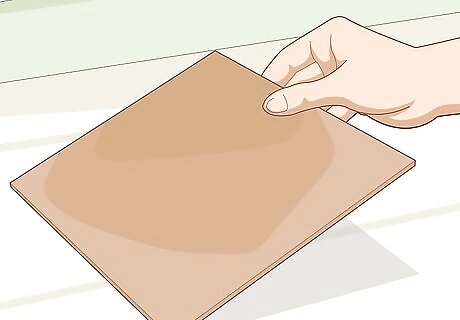
Grab a Masonite board or wood panel to mount your painting. You can realistically mount your watercolor painting on anything so long as it’s solid. The most popular options are Masonite boards and wood panels, which are easy to frame or hang on the wall. Buy a board or panel that matches the dimensions of your paper if possible. Alternatively, you can buy something that matches the composition and cut the painting out to remove the negative space around your painting.Tip: If you can get a board that matches the size of your painting perfectly, you can skip all of the steps about tracing and cutting the painting out. This makes this process much easier. You only need to complete this process if your watercolor painting was done on paper. If you don’t mount paper before varnishing it, the varnish and fixative will cause the painting to curl up and become wrinkly.
Place the board or panel over your painting if it isn’t to size. If you’re cutting the painting out, place the board or panel on top of the main part of the composition. Orient the panel so that sides run perfectly parallel to the edges of your paper. Only do this if your painting doesn’t fill the paper completely or you don’t care about cutting the edges out. It’s better to get a board or panel that fits the painting perfectly, but this is your only option if you have an oddly-sized work or cut the paper yourself before painting it.
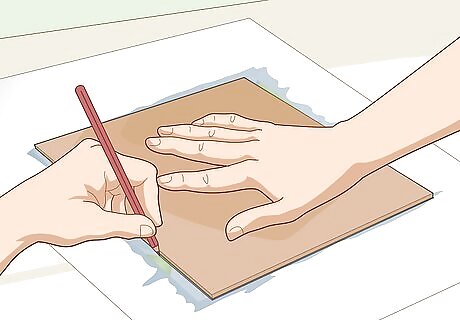
Outline the board or panel on the paper with a pencil. Take a regular pencil and press the board down with your nondominant hand to brace it. Then, draw around the sides of the board or panel with your pencil. Use the elevated sides of the board or panel as straight edges to draw an outline around your image. It’s okay if there’s ⁄5–⁄10 in (5.1–2.5 mm) between the outline and the board. A minor amount of excess space is actually preferable since you’ll have a little margin of error when you attach the painting to the board.
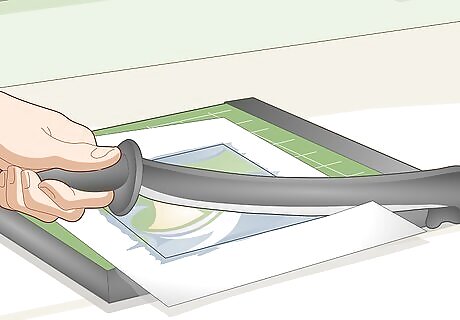
Cut the painting to fit the size of the board or panel with a paper cutter. Remove the panel or board. Open the blade of a paper cutter and slide the painting underneath. Line the blade up with the first line you drew and close the blade to trim the paper off. Repeat this process for the other 3 sides to finish cutting the painting to size for mounting. You can use scissors if you want, but you need to have a really steady hand. Alternatively, you can put the painting on a cutting board, but the panel or board on top, and use a utility knife to cut the excess paper off.
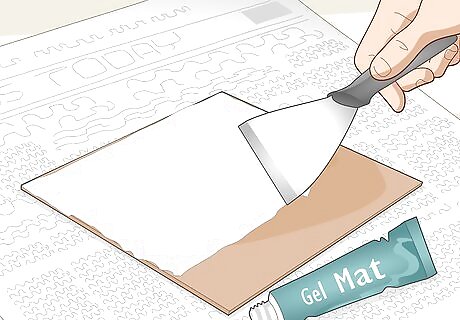
Cover the panel or board in a thin layer of gel mat. Pick up some adhesive mounting gel mat from your local art supply store. Set the board or panel on top of newspaper or a piece of cardboard. Squirt a small amount of gel mat in the center of the board or panel and spread it around with a pallet knife. Continue doing this until you cover the entire board or panel. Then, spread the gel mat out with a paintbrush to make it even and flat. Gel mat starts drying after 15-30 minutes, so try to work quickly.
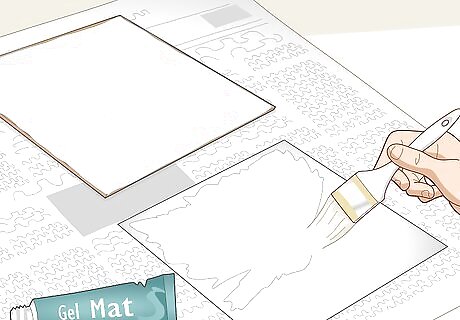
Apply another layer of gel mat over the back of the painting. Flip your painting upside down. Repeat this process on the back of the painting. Starting in the center, spread your gel mat out with a palette knife. Then, use a paintbrush to spread the gel mat away from the center. Be careful with the edges. You can bend them if you brush or touch them at the wrong angle. Always spread the gel out away from the center to avoid roughing the corners up.
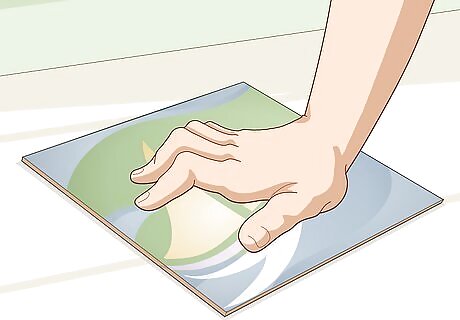
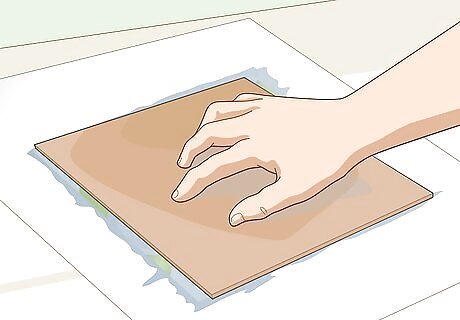
Attach the paper to your panel or board and apply pressure. Hold the paper by the edges and flip it over. Line it up with the board or panel. Gently lower the artwork until it comes in contact with the surface. Inspect the edges to make sure that they’re flush with one another. Then, press down with the palms of your hands in the center of the artwork. Push out gently away from the center to finish attaching the painting to the panel or the board. You don’t need to push down super hard to attach the painting. You can slide the painting around before pressing it down if you need to make minor adjustments. Push away from the center to keep globs of gel mat from building up in the center of the composition. If any gel mat squeezes out past the edges of the paper, brush it off with a paper towel or the tip of your finger.
Leave a heavy, flat object on top of the painting for 5-6 hours. Grab a big book or wood board and set it down on top of the watercolor painting. Put additional weights or books on top of that. Wait at least 5 hours to give the gel mat time to cure and permanently mount the painting to the panel or board. While gel mat starts drying pretty fast, it can take quite some time for it to cure and permanently affix the board to the painting.


Comments
0 comment