
views
Getting Ready

Choose a plaster. Venetian plaster comes in two varieties: synthetic and lime-based. Which one you use will depend on your budget and level of expertise. Lime-based plasters are true Venetian plasters. These plasters will, over time, turn to stone. Unlike the "faux-finish" of synthetic plasters, they are durable and retain their beauty longer. On the other hand, true Venetian plaster is harder to come by, more expensive, and more challenging to work with. Lime-based Venetian plasters are natural and considered more environmentally friendly than synthetics. They are also naturally resistant to molds and mildews. Lime-based plaster comes in many different colors, and you can also tint it yourself with a lime-based tint. Synthetic Venetian plaster is an acrylic-based substitute available at any home improvement store. It will result in a similar look to the traditional lime-based plaster and is less expensive. However, synthetic plaster does not have the life of traditional Venetian plaster. It is more easily damaged and harder to touch up. Synthetic plaster comes in many different colors and is thought to take vibrant colors better than lime-based Venetian plaster.
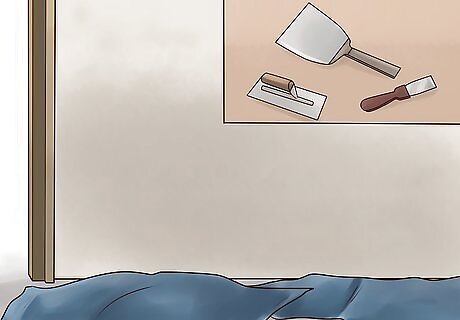
Gather your tools and lay down tarps. To protect the floor in your work area, it is a good idea to lay down tarps, just as you would if you were painting. Do not users painter's tape to protect molding or other walls you are not plastering. Plaster is not paint. It may bond to the tape and crack or flake when the tape is removed. This is especially true if you are working with lime-based plaster.
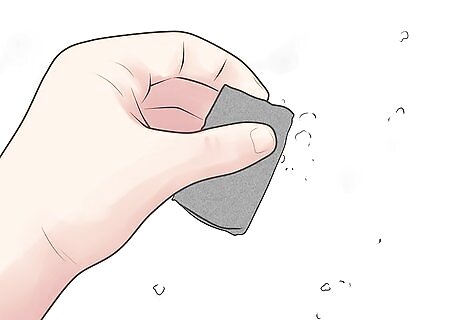
Prepare your walls. Fill any holes or dimples in the wall, otherwise, they may show through your finished work. If the wall you plan to plaster has a very bumpy surface, you may need to sand the wall in its entirety or even scrape it with a putty knife. If using synthetic plaster, you can also fill holes in the wall with plaster as you go.
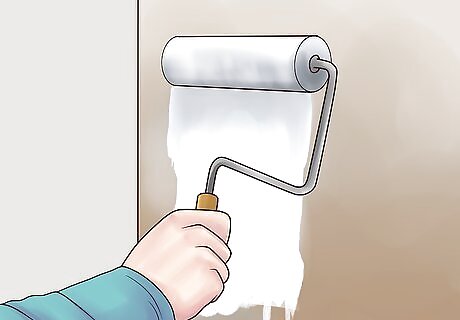
Apply primer. Using a paint roller, spread the primer across the wall evenly and lightly. Depending on the texture of the walls you are plastering, you may need to let it dry and then apply a second coat to get a smooth, even surface. Primer helps to bind the plaster to the surface, acting a little like glue. For lime-based plasters, you will need to either apply the plaster directly to stucco or masonry, or use a special primer called fondo. Natural Venetian plaster will not adhere well to standard primers. Apply in thin coats but also check the label to see how many layers the product recommends.

Let it dry. Make certain your primer is fully dried before you apply any plaster. This may take up to 24 hours.
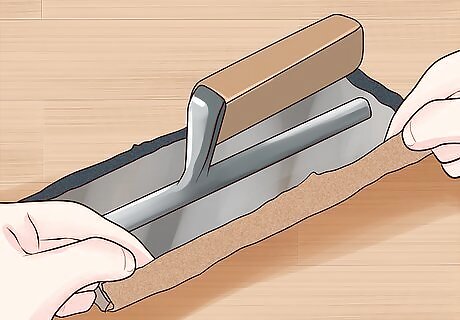
Prepare your trowel. Using 100 grit sandpaper, round the corners of a flexible steel trowel. This will reduce edge marks during application.
Applying Your Plaster
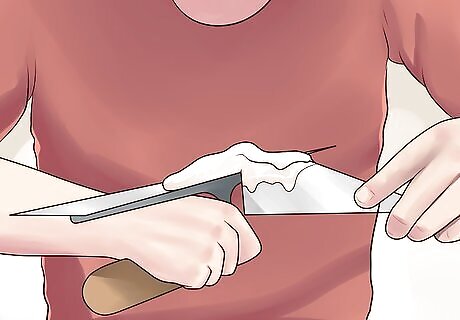
Apply the first coat. Using your trowel, apply a base coat of plaster. Using small strokes, spread your plaster as thinly as possible. Apply using random strokes, or work in patterns, just don't spread it all in the same direction. Hold the trowel at a 15 to 30-degree angle, and wipe it often with a clean, dry cloth to prevent dried bits of plaster from affecting your pattern. It is a good idea to start at the top, in a corner. To get plaster into tight spots, such as in a corner or along molding, simply apply the plaster with your finger using latex gloves. Then, immediately wipe away any plaster that gets on surfaces you are not plastering. If using traditional Venetian plaster, hang tarps over your surface so that it will dry slowly and evenly. Otherwise, it may crack.
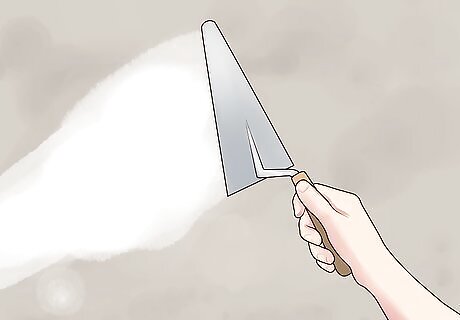
Apply the second coat. If using synthetic plaster, apply the second coat about four hours after applying the first coat. If using lime-based plaster, some experts recommend waiting as long as ten days between coats. Start in the same place you began applying the first coat. Hold the trowel at a 30 to 60-degree angle, and apply your plaster in long and short overlapping strokes to get the irregular look the final finish should have. If you unsatisfied with the final product after applying the second coat, you may apply a third coat if you wish. If you are lime-based plaster, it is at this stage that you add a tinted topcoat of lime dust, linseed oil, soap, and a coloring agent.

Let it dry. All plaster should be completely dry before you proceed any further. As before, if using lime-based plaster, hang tarps to make the drying process more even and gradual.
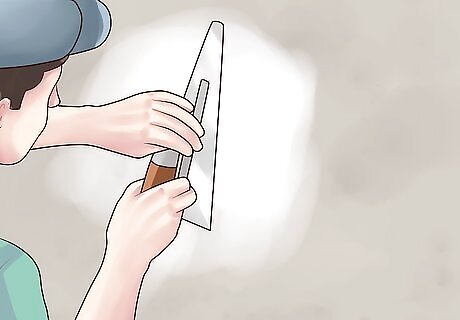
Burnish the surface. Go over the final coat it in a circular motion with a clean trowel, held at a 30-degree angle to give it a polished look. The more you burnish your plaster, the shinier it will become. For synthetic plaster, you can also burnish with 400-600 grit sandpaper if you prefer. This will provide a more matte-like finish. Synthetic plasters can be burnished any time between about four hours and seven days after the last coat has been applied.

Apply a topcoat. To preserve the polish and durability of your finished plaster surface, it's a good idea to go over it with a topcoat of some kind. If you are using synthetic plaster, there are commercial topcoats produced specifically for this purpose. Some of them even come in different colors if you decide you want to change the color of your wall after applying the plaster. You can also finish your plaster with beeswax or linseed oil to help protect it. This may, however, change the color slightly. For lime-based plaster, the final coat is sometimes made of an olive-oil based soap, which will form a compound with the wax and seal the plaster.


Comments
0 comment