views
- Use a wood cleaner and water to wipe down the surface of the wood before beginning the staining process to avoid streaking.
- Wait 48-72 hours after cleaning and before staining to ensure the wood is dry so that the stain adheres properly.
- Apply a water or oil-based wood stain with a sprayer, followed by immediate back brushing. Generally, pros prefer oil-based wood stains for their longevity.
- The best weather for staining is between 50-90 degrees Fahrenheit (10-32 degrees Celsius) with minimal cloud cover and low humidity.
Washing Your Logs
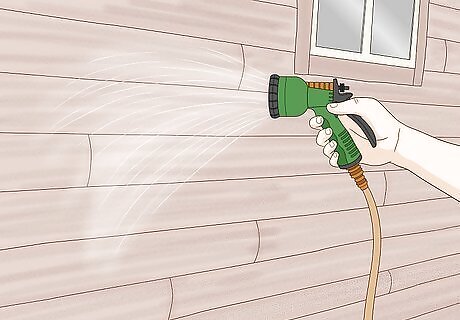
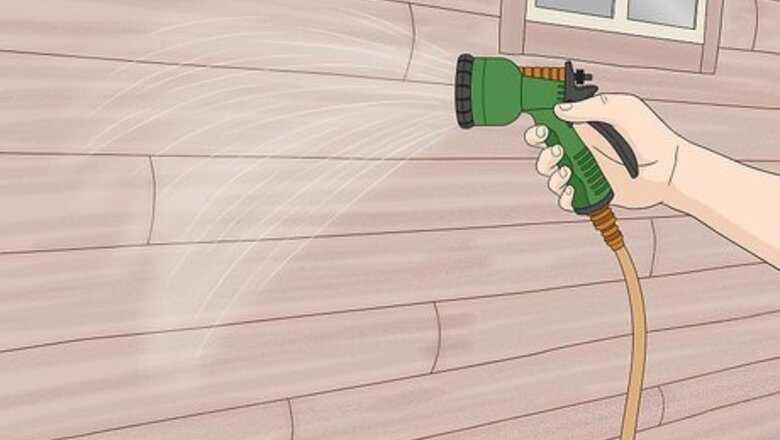
Wet the wood with a hose and cold water. Before starting the staining process, you must ensure your cabin wood is clean. Use a hose to wet down the wood, working from top to bottom. A light spray of water is sufficient enough for cleaning–you don’t want your cabin to be sopping wet, as it will take longer to dry. While many people prefer pressure washing for its ease of use, pressure washing can result in several problems, including water in the walls and wood-gouging. Make it easy on yourself and purchase an attachment mist nozzle for your hose if you don’t already have one. Having a mister makes it super easy to evenly disperse the perfect amount of water across your wood during cleaning.
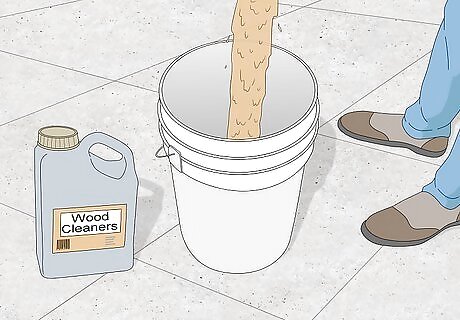
Mix your wood cleaner in a bucket. Follow the directions on the back of your chosen wood cleaner. Some wood cleaners don’t require mixing, while others require diluting the mixture in a bucket with water. Either way, pouring your wood cleaner into a bucket makes it easy to access when needed. Make sure to put on safety goggles and wear clothes that cover your entire body, like a long sleeve shirt and pants, to protect yourself from any stray particles throughout the entirety of the cleaning and staining process.
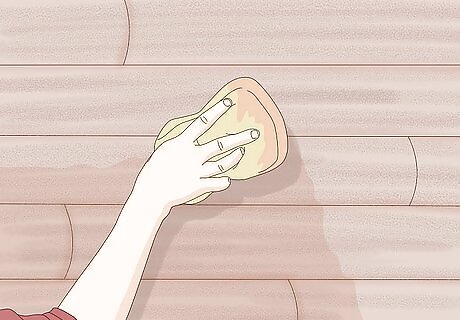
Apply the cleaner to 2-5 logs at a time. Dunk a large sponge into the cleaning solution and apply your wood cleaner starting at your bottom log, working your way up 2-5 logs at a time. Working from log to log makes it easier to clean each log thoroughly without unintentionally skipping over any areas. Use a bristle brush to get in there and scrub any hard-to-remove debris stuck onto the wood.
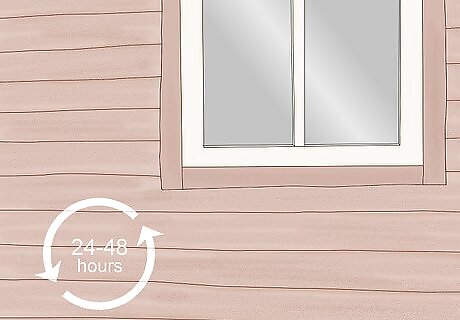
Let the solution sit for around 24-48 hours. Depending on your chosen wood cleaner, drying generally takes around 24 hours. It’s essential to read the directions on the back of your wood cleaning product and defer to the appropriate time to ensure you don’t wash the cleaner off too early. Remember to be patient throughout the drying process. While waiting for the cleaner to dry can be frustrating, those 10-15 minutes ensure the wood is immaculate and ready for staining.
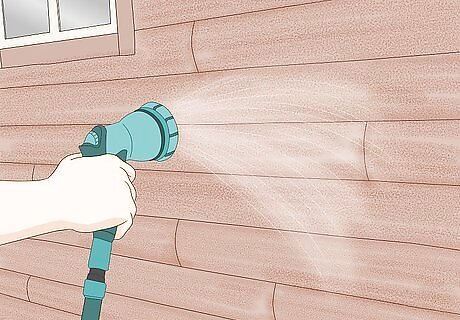
Wet the wood with a hose from top to bottom and let it dry for 72 hours. Using your hose and mist attachment, lightly spray the logs starting at the top of the wood paneling, working your way down to the bottom. Wait at least 48-72 hours for the wood to dry to ensure the wood stain adheres properly in the next step. If your cabin is in direct sunlight, the wood should take around 48 hours to dry, whereas if it’s in a more shaded area or the weather is overcast, it’s best to wait for around 72 hours instead. In general, it’s best to err on the side of caution and wait 72 hours to ensure the wood is fully dry.
Applying the First Coat
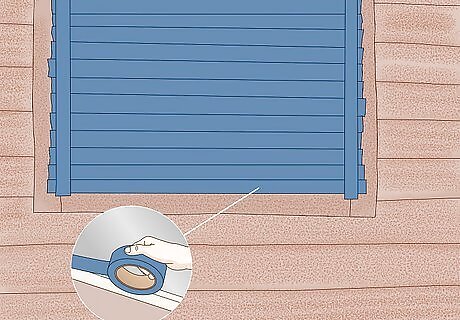
Cover windows and doors with painter’s tape and plastic wrap. Cover the windows and doors using painter’s tape and plastic wrap to avoid unwanted staining and a hefty cleanup process. Additionally, If you have any plants or furniture surrounding your house, move them out of the way, too, so they don’t get sprayed with wood stain. Pick a day with the right weather to make the staining process go smoothly. The perfect day for staining your cabin has minimal cloud cover and low humidity-anywhere between 50-90 degrees Fahrenheit (10-32 degrees Celcius). If you’re worried about hitting any planted foliage around your house with wood stain, you can cover it with plastic wrap and tape it off too.

Set up a paint or stain sprayer for use. A paint or stain sprayer is an excellent tool that makes stain application simple. Read the directions on the sprayer and set it up accordingly to avoid any fiascos that a dysfunctional device might cause.
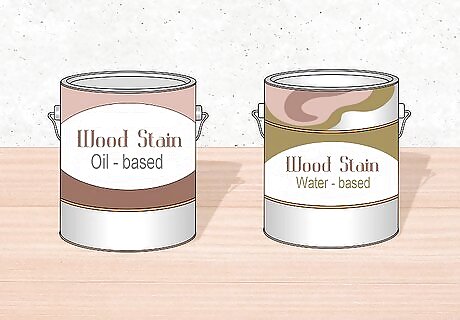
Choose oil- or water-based wood stain. Pro-stainers generally prefer oil-based wood stains over water-based wood stains because they offer more protection and adhere better to the wood. That said, water-based wood stains are popular for their easy clean up and extendability (4-5 buckets of stain vs. up to 12 for oil-based), but ultimately, it comes down to personal preference. There are countless wood staining products designed for log cabins, so whether you’re looking for a dark finish or want to enhance your wood’s natural color with a clear coat, there’s a perfect choice to suit your needs and preferences. You can use whatever stain color or base you want, regardless of your wood type. Keep in mind that any stain will deepen the color of your wood, so if you’re looking for a lighter finish, opt for a clear coat.
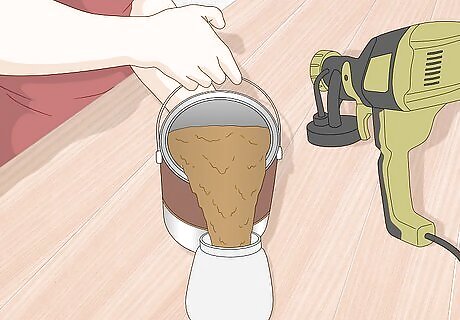
Fill the sprayer with wood stain and do a test area. After setting up your sprayer and pouring in your wood stain of choice, do a test area in an inconspicuous area of your cabin, like the back wall or an extra log, to get familiar with the application process. Use this time to ensure the sprayer is working correctly by playing around with different nozzle settings and getting a feel for how the device works. Make sure to wear a face respirator during the staining process to avoid breathing in harmful chemicals.
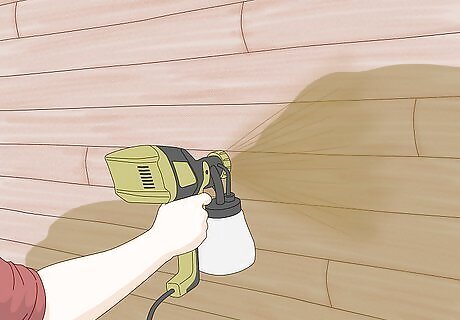
Apply the stain in a thin, even layer using your sprayer. Starting at the top of the wall you’ve chosen to spray first, begin by keeping your sprayer’s nozzle parallel to the wood. Use quick and even motions to spray a thin layer of wood stain across the first panel, continuing this process until you’ve reached the bottom. Spray horizontally to the wood grain for a uniform finish. Staining one wall at a time allows you to keep track of your work without getting confused about whether or not you’ve sprayed the area yet, which can result in a splotchy, uneven finish.
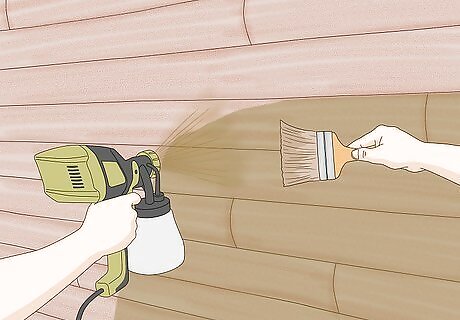
Get a friend to help back-brush the wood stain as you spray. While you spray on the wood stain, get someone to follow behind you with a brush to rub in the stain. Sprayers make application easy, but they aren’t powerful enough to get into all the cracks and crevices, like going over the stain with a brush can. A basic natural-bristle paintbrush will do the trick. All your helper has to do is rub the brush across the wood immediately after you’ve sprayed on the wood stain to ensure it gets in every crack and crevice, which helps it adhere better to the cabin. If you don't have a helper, spray the stain in small sections so you can brush over the stain right after you apply it.
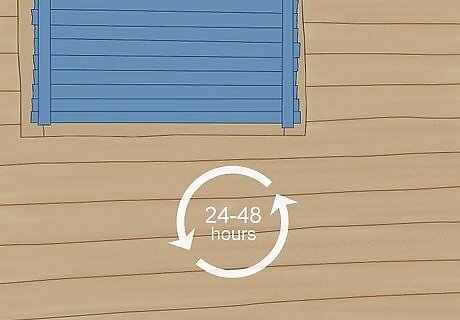
Let the wood stain dry for around 24-48 hours before applying a second coat. Wood stain typically takes between 24-48 hours for it to dry, but make sure to check your wood stain of choice’s directions so you know for sure how long to wait. Not waiting enough time for the wood stain to dry before applying the next coat will result in an uneven, blotchy finish.
Caulking & Applying the Remaining Coats
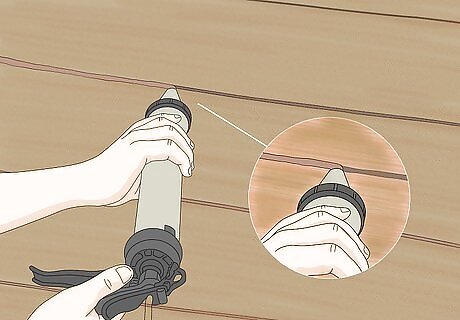
Seal splits and cracks with wood caulk. At least 24 hours after your first coat of wood stain has dried, grab your caulking gun and fill in any cracks or splits over 2cm (0.79 in). Sealing cracks and splits with wood caulking protects your cabin from water pooling in the logs and stops pests from moving in and eating away at your cozy cabin! Caulking after the first coat of wood stain has dried makes cleanup easier, as the caulking can easily be wiped off the wood, whereas it would sink in and make it impossible for the wood stain to stick properly had you not waited until the first coat was dry.
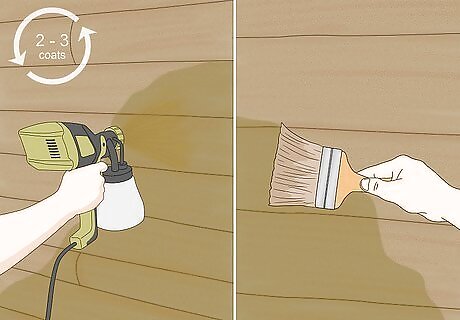
Apply 2-3 coats of wood stain followed by back brushing. Most wood stains require at least 2 coats but remember to check your wood stain’s directions before applying another. If your stain requires multiple coats, repeat the process of spraying a thin, even coat of wood stain across one side of your cabin at a time, working your way from top to bottom, followed by immediate back-brushing with the help of a friend. Oil-based wood stains typically require 2 coats, whereas water-based wood stains require 3. Again, checking how long your wood stain of choice takes to dry before applying another coat is critical to ensure an even finish. Generally, waiting 24-48 hours for each coat to dry is the standard.
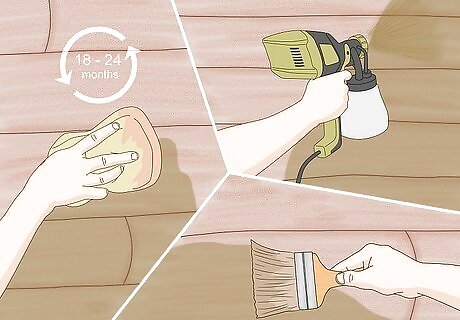
Repeat the prepping and staining process every 18-24 months. Hurray, you did it! Now that you’ve stained your wood cabin like a pro wait at least 18-24 months before repeating the prepping and staining process. Building and maintaining a cabin is no easy task, so making sure to clean, prep, and restain your cabin every 18-24 months ensures that your home is protected from environmental damage, pests, pollen, and mold, you name it, and stays standing for years to come. Upon restaining, use an orbital sander and 120-grit sandpaper to make sure the surface is smooth and free of dust. If you’re staining the wood for the first time, this may be unnecessary, but if you’re re-applying stain after a few years for maintenance, sanding is a critical step to help the stain stick better.


Comments
0 comment