
- Go to https://www.docfly.com/ and upload your PDF. Click "Image" to select a picture, then select its location.
- Upload a PDF to Google Drive, then open it in Google Docs. Use the "Insert" menu to upload a picture.
- Open a PDF in Adobe Acrobat Pro. Use the "Edit PDF" tool, then click "Add Image".
Using DocFly
Go to https://www.docfly.com/ in a web browser. DocFly is a free, third-party website that allows you to upload and edit PDFs. You can use DocFly for up to 3 files per month without purchasing a subscription.
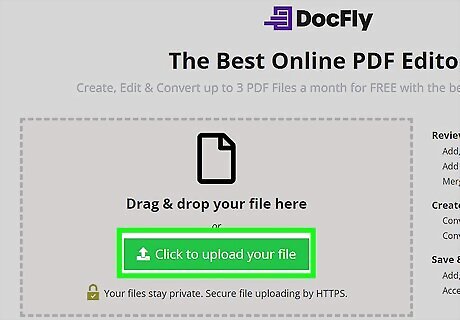
Click Click to upload your file. This is the green button in the dotted area.
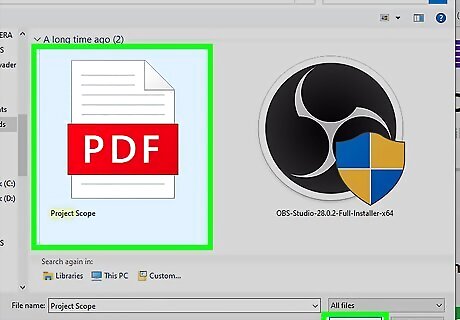
Select your PDF file. You'll be able to browse your File Explorer (Windows) or Finder (Mac) to locate your file. When you find it, click Open. You can also drag and drop the file into the dotted area. It will take a moment to upload.

Click the file. You'll see all uploaded files on your DocFly dashboard. Select the one you want to edit. You'll be taken to the editor.
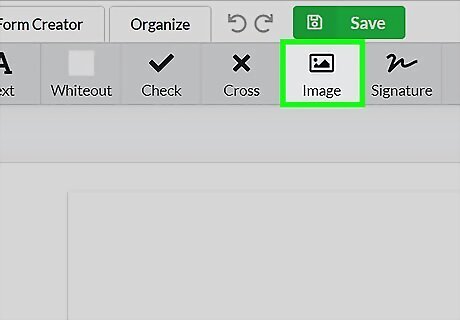
Click Image. This will be at the top, between Cross and Signature.
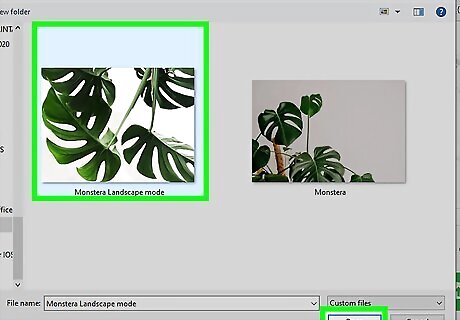
Select your image file. You can click Upload Image to browse your device, or you can drag and drop into the dotted area. You can also upload from Dropbox or Google Drive by clicking the respective icons below the image field. If you have multiple images, you can upload them in the same window.
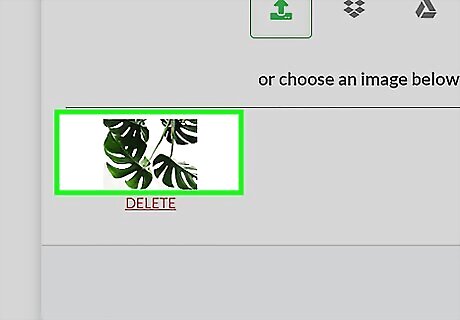
Click the image you want to input. The cursor will turn into a "+" with your image almost transparent.
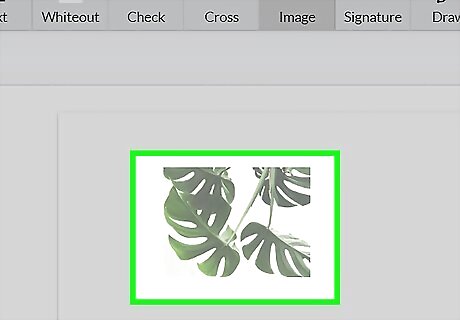
Click where you want the image. The image will be placed into the document.
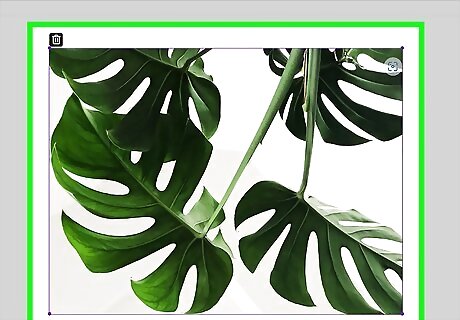
Adjust your image. If you need to move the image from the initial placement, click and drag it to another position.
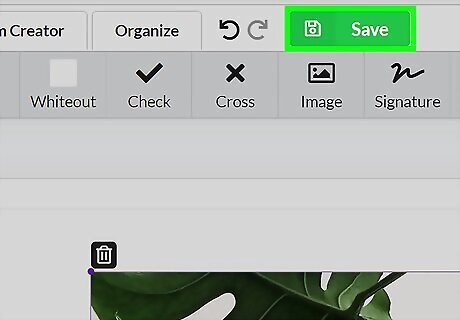
Click Save. This is the green button at the very top. When you save, the Export button will appear.
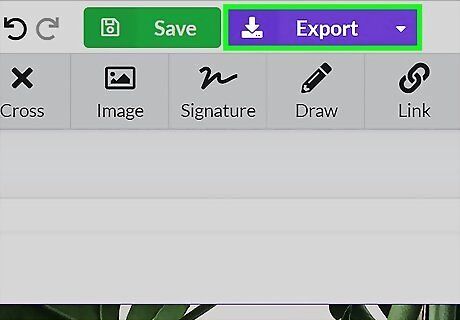
Click Export. This is the purple button to the right of Save.
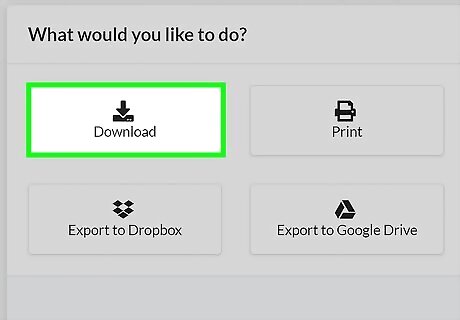
Click Download. Input a name for your new file, then click Save. You can also click Print, Export to Dropbox, or Export to Google Drive.
Using Google Docs
Go to https://www.google.com/drive/ in a web browser. You must have a Google account to use Google Drive. If you aren't already logged in, enter your email and password to do so now. Use this method if your PDF has simple formatting; complex formatting will not convert well into a Google Doc.
Click New. This is the button in the top-left corner.
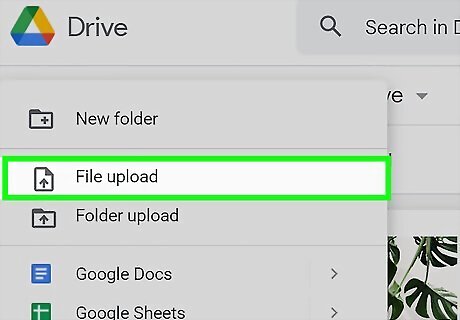
Click File upload. You can find this underneath New folder.
Upload your PDF file. Find your file in the pop-up window, and then click Open.
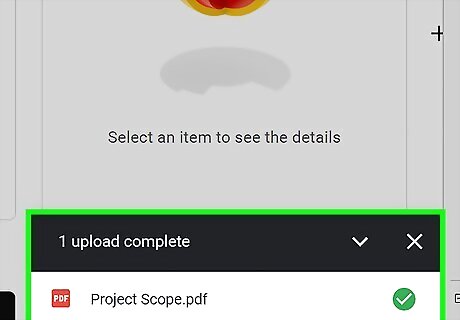
The file will be uploaded to your Google Drive. You can find it underneath Suggested or in the Recent tab.
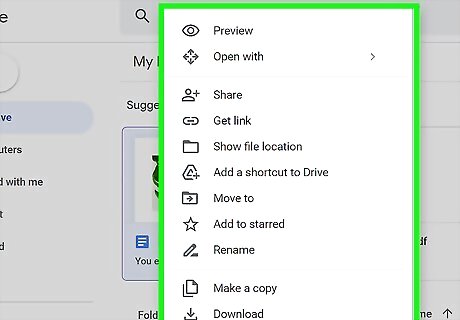
Right-click the PDF. A pop-up menu will open.
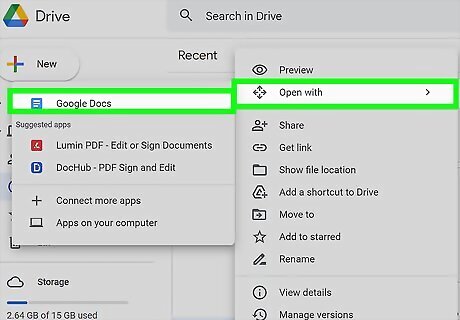
Select Open with, then Google Docs. The PDF will open in a new Google Docs page.
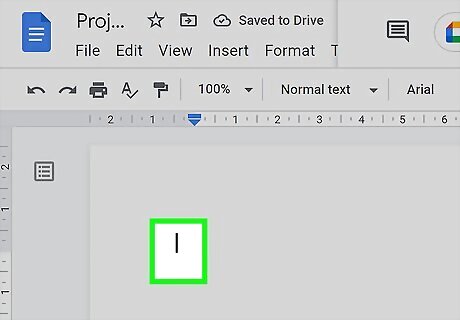
Click the place you want your image. Make sure the blinking line is where you want your image.

Click Insert. You can find this on the top toolbar, between View and Format.
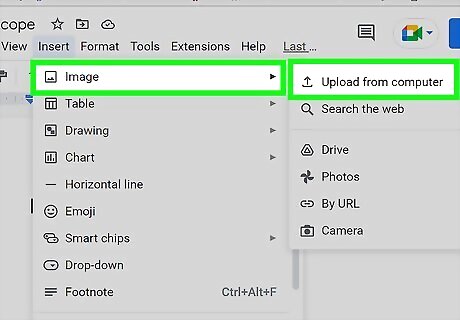
Click Image, then Upload from computer. Find your image file in the pop-up window, and then click Open. You can also click Search the web, or upload via Drive, Photos, By URL, or Camera.
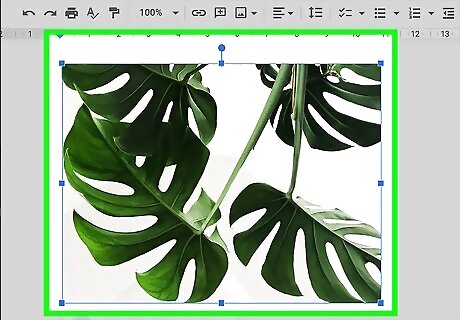
Adjust your photo. Double-click your photo and select the icon for Wrap text, Break text, Behind text, or In front of text. After doing so, you can click and drag your photo to move it freely.
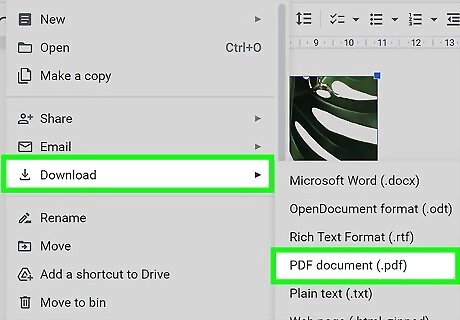
Save the file as a PDF. Click File in the top-left corner. Hover over Download, then select PDF Document (.pdf). The file will be downloaded to your device.
Using Adobe Acrobat Pro
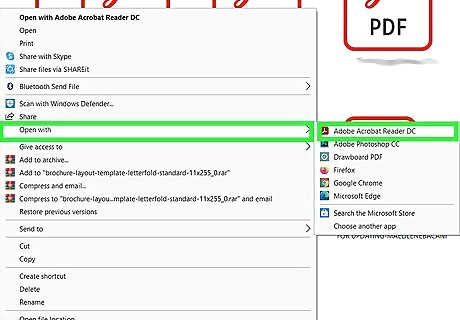
Open your PDF file in Adobe Acrobat Pro. Find and double-click on the PDF file you want to edit on your computer. Adding photos to PDFs in Acrobat requires a paid subscription to the software. If you haven't already installed and signed up for Acrobat Pro, click here to sign up for a free 7-day trial now. If Acrobat is not your default application for PDF files, right-click the file, select Open With, and then select Adobe Acrobat Pro.
Click the Tools tab. It's in the upper-left area of Acrobat Pro. This opens the toolbar.
Click Edit PDF on the toolbar. This option will allow you to add new text and images to your PDF file.

Click Add Image. It's on the right side of the toolbar. This will open a new dialogue box, and allow you to select the image you want to insert.

Select the image you want and click Open. This imports the image into the file.
Click where you want to insert the image. The image now appears in the file. If you need to move the image, click and drag it to the desired location.
Drag the corner handles of the image to resize it. Click and drag the image corners in or out to make your image bigger or smaller. You can also use the image editing tools on the right-hand panel under "Objects." This will allow you to Flip, Rotate, and Crop your image.
Press ⌘ Command+S (Mac) or Control+S (PC) to save. The updated version of the PDF is now saved to your computer.


Comments
0 comment