

Rotating with the Mouse
Open your document in Microsoft Word. If you don't already have an image inserted, do so now.

Click the image. You'll see an outline appear around the edges of the image, with boxes on the corners and midpoints of the outline. You'll also see a circular arrow at the top of the image.
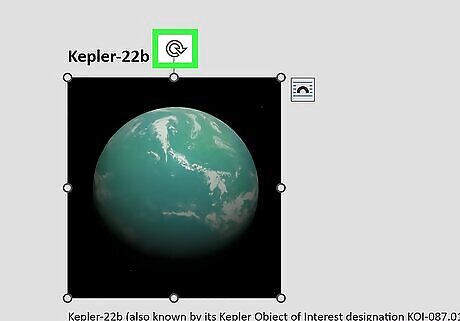
Click and hold the rotation handle. This is the circular arrow icon above or near the picture.
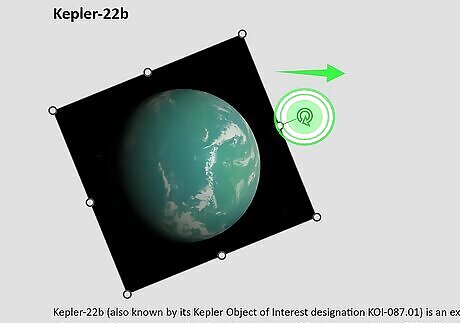
Drag in the direction you want to rotate. When you do this, the picture will rotate to follow your cursor. If you want to rotate the picture by 15 degree increments, hold Shift while dragging. To save the position, release the mouse button. Make sure to also save your document.
Rotating by Degrees
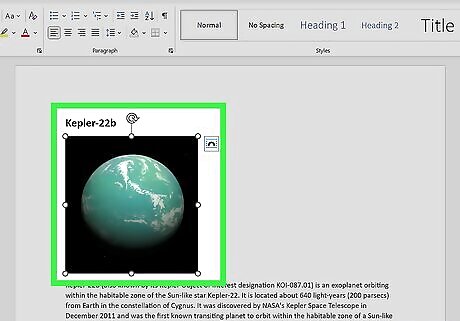
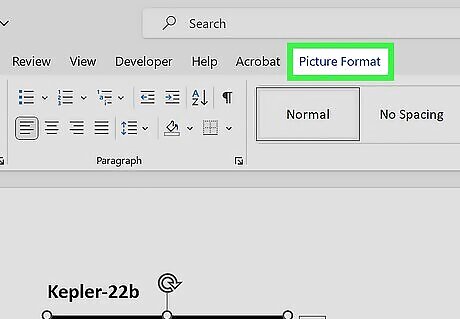
Click the image. This will open the Picture Format tab at the top of the window.
Click Format. You can find this in the top-right corner of the toolbar.
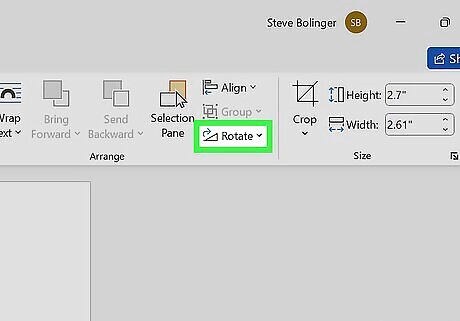
Click the Rotate icon. This looks like a triangle with an arrow above it. You can find this in the Arrange section in Word for Windows. This section isn't labeled in Word for Mac, but you'll see it in the same place, on the right side of the menu close to the Selection Pane button. A drop-down menu will open.
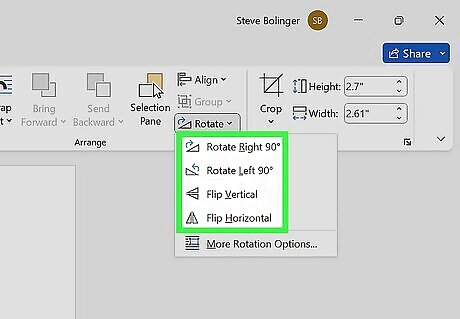
Rotate the image by preset angles. In the drop down menu, you'll see four different basic options: Rotate Right 90, Rotate Left 90, Flip Vertical, and Flip Horizontally. Click one to apply it to your image. Flip Vertical will mirror the image along the X-axis. Flip Horizontal will mirror the image along the Y-axis. You can also use keyboard shortcuts (Windows only): Click the photo to select it. While holding ALT, press J, P, A, Y. While holding ALT, press R (Rotate Right), L (Rotate Left), V (Flip Vertical), or H (Flip Horizontal).
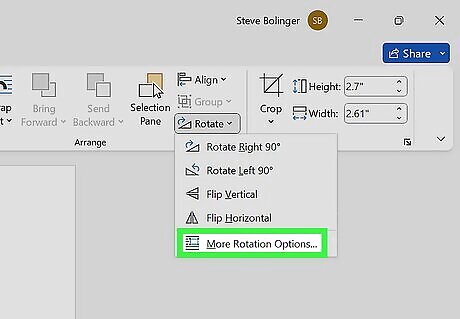
Rotate the image by exact angles. From the same drop down menu, click More Rotation Options… and find the Rotate header. Enter a degree for rotation or use the up/down arrows. Positive numbers will rotate the image to the right and negative numbers will rotate the image to the left. Any degree greater than 360 degrees will be unnecessary since rotating the picture 360 degrees will only return the picture back to its original orientation. Press OK when you're done to apply the rotation.
3-D Rotation (Word 2007 & up)
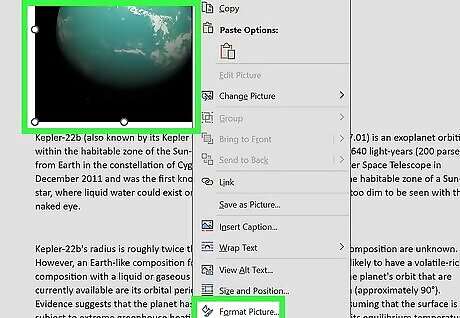
Right-click on the image and select "Format Picture". You will see a new panel open up either on the right side of the window or on the top of the window. If you're using a Mac with no right mouse button, Ctrl-click the image instead.
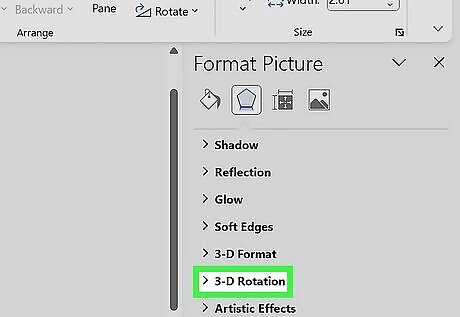
Select "3-D Rotation". Depending on your version of Word, it will be in different place in the list. For example, in the most recent version of Word for Mac (as of Feb. 2024), it's in the Effects tab that appears on the right side of the document window. This tab has an image of a pentagon. 3-D Rotation is near the bottom of the list of options.
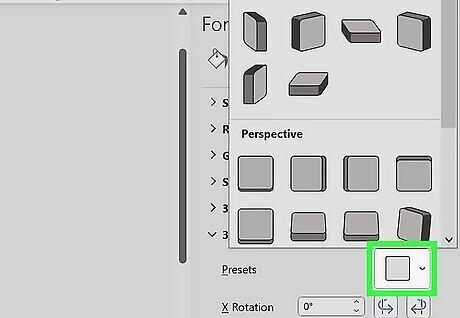
Select a preset. Word includes quite a few different preset options for 3-D rotation. Scroll through the list by clicking on the icon next to "Presets."
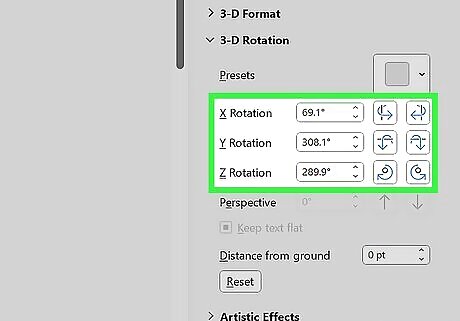
Manually enter in the degrees. Either press the arrows or manually enter in the desired degree in the input fields next to X-Rotation, Y-Rotation, and Z-Rotation. X-Rotation will rotate the image up and down, as if your were flipping an image away from you. Y-Rotation will rotate the image side to side, as if you were turning an image over. Z-Rotation will rotate the image clockwise, as if you were moving an image around on a table.


Comments
0 comment