
Left & Right Click: Windows
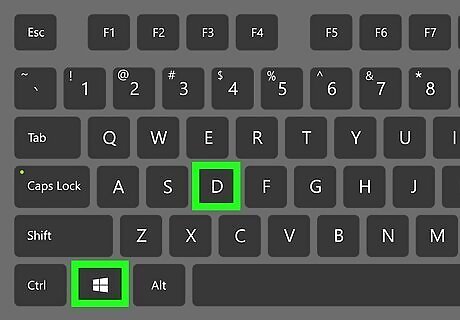
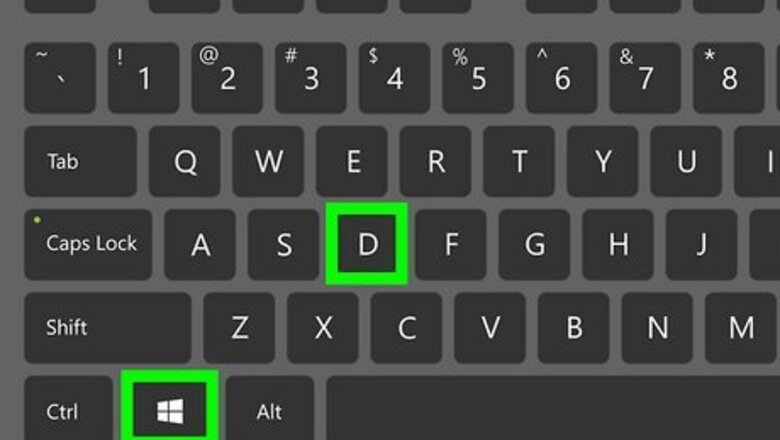
Select the item you want to click. Before you can click something without a mouse, you'll need to select an item, like an icon or menu option, with the keyboard. If you're unable to use the mouse at all, there are several ways to select items: Desktop: Press Windows key + D to switch to the desktop, then use the arrow keys to navigate to and select any item. Pressing a letter will prompt the selection to jump to the next item that begins with that letter. For example, pressing R might select Recycle Bin. Start menu: Press the Windows key, press Tab to switch between sections, then use the arrow keys to select an item. Menus and toolbars: Press Alt on the keyboard to activate the menu bar. Use the arrow keys to navigate, and Tab to switch between sections and toolbars. File Explorer: Press Windows key + E to open File Explorer, then use Tab to switch between panels. You can navigate each panel using the up, down, left, and right directional arrow keys.
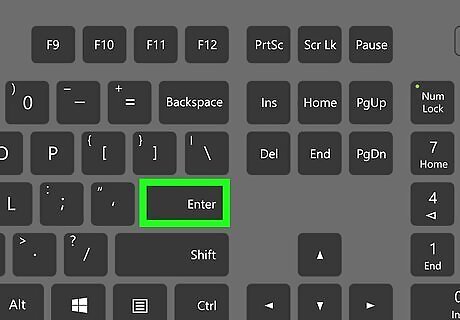
Press ↵ Enter to left click. Once you've selected an item, pressing Enter will have the same function as pressing the mouse button. If you select an icon to open a program, file, or folder, pressing Enter will emulate a double-click to open the selected item. This is because you've already selected the item with the arrow or Tab keys.
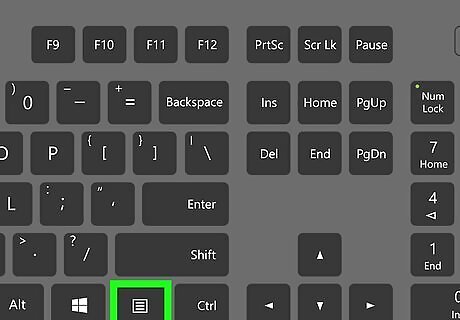
Press the ≣ Menu key to right-click. If you need to right-click, you're in luck. Most PC keyboards now have a menu key, which is typically to the right of the Spacebar. It looks like a window containing a "hamburger" menu (three lines), and may share its function with another key like Ctrl. When you press the Menu key with an item selected, you'll bring up the same context menu you'd see if you were to press the right mouse button. If the Menu key is shared with Ctrl or another key, hold down Fn as you press it. If your keyboard does not have a Menu key, you can press Shift + F10 instead. You may need to hold down the Fn key for this shortcut to work.
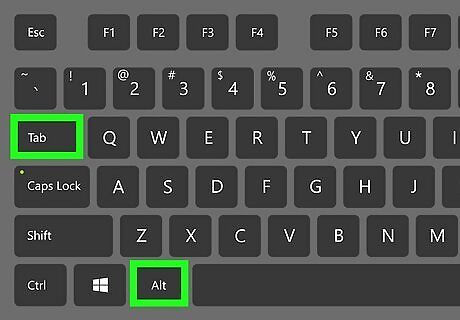
Other Windows keyboard shortcuts. Windows has many keyboard shortcuts you can use to navigate when you aren't able to use a mouse. Press Alt + Tab to switch between windows. If you can't use a mouse and need to switch to another app that's open, press these two keys at the same time. You can also press and hold these two keys, then release the Tab key (while continuing to hold down F4) to see all open windows on the screen at once. Press Alt + F4 to close the active window. On some keyboards, you'll need to hold down Alt + Fn and tap F4 instead. Press Windows key + S to activate the Search bar, where you can then type the name of a program, file, or other item you're looking for. Press Windows key + X to open the Power User menu, where you can launch system tools and programs like File Manager, Task Manager, Command Prompt, and more. Windows key + E opens the File Explorer. You can use Tab to switch between panels.
Left Click: Mac
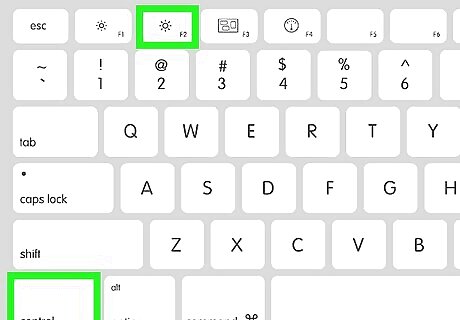
Select the item you want to click. You can easily left click using your Mac's keyboard without any special setup. But first, if you can't use your mouse, you can make the selection with your keyboard. Menu bar: To select something from the menu at the top of the screen, press Control + F2 to activate the menu bar, then use the arrow keys to move through the menus and sub-menus. You may need to hold down Fn as you press Control + F2 for this to work. Dock: To get to the Dock without a mouse, press Control + F3 (or Fn + Control + F3), then use the arrow keys to navigate. Finder: To open Finder, press and hold Command + Tab to see all open apps. Continue holding down Command as you press Tab repeatedly to cycle through the app list until you reach Finder. If you don't see a Finder window when you select Finder, press Command + N to open one now. App preferences: Press Command + , to open the preferences for the active app. Use Tab to switch between sections, and the arrow keys to move up, down, left, and right.
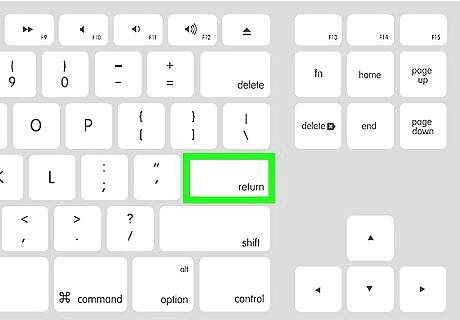
Press ⏎ Return to left-click the selection. This will be the equivalent of a left-click on the item you have selected. If you're navigating a menu that isn't in the menu bar at the top of the screen, you'll use the Spacebar to right-click instead. To right-click without a mouse, you'll need to use enable mouse keys.
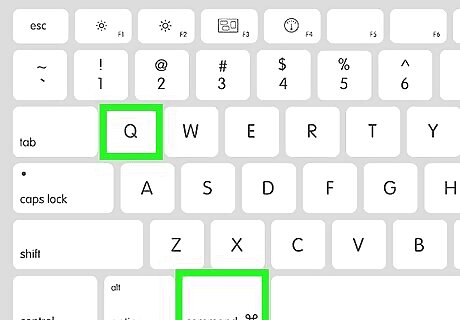
Other Mac keyboard shortcuts. Your Mac has other helpful keyboard shortcuts you can use to navigate without a mouse. Command + Q shuts down the active app. Command + Tab switches between all open apps. You can continue holding down Command as you press Tab repeatedly until you've selected the desired app. Command + ~ switches between different windows in an app. Command + L activates the Safari address and search bar. Command + Spacebar activates Spotlight search, which makes it easy to search for anything on your Mac.
Enable Mouse Keys: Windows
Make sure that your computer has a number pad. Mouse Keys allows you to move your mouse cursor with your PC's numeric keypad instead of just navigating with the directional arrow keys. If your computer doesn't have a dedicated number pad on the right side of the keyboard, you won't be able to turn on this accessibility feature. Instead, try AutoHotKey.
Open Start Windows Start. Press the Windows key on your keyboard, or press Ctrl + Esc at the same time.
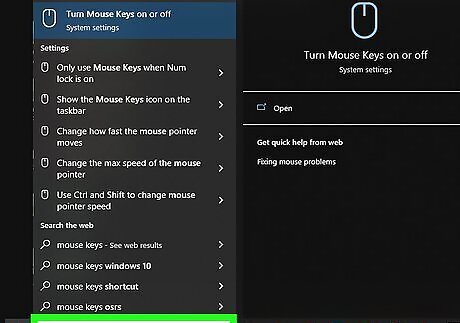
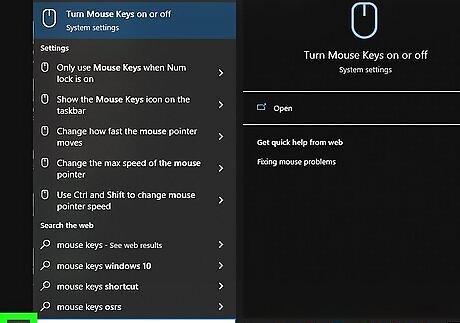
Type mouse keys and press ↵ Enter. This opens the Mouse Keys area of your Accessibility options.
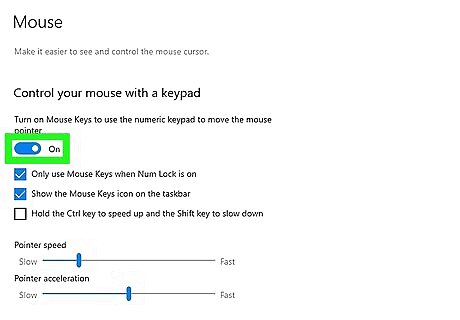
Enable Mouse Keys. If you can click, just click the switch at the top of the window. If not, press Spacebar to toggle on the switch, which should be selected already. If the switch is not selected, use the Tab key to select it.
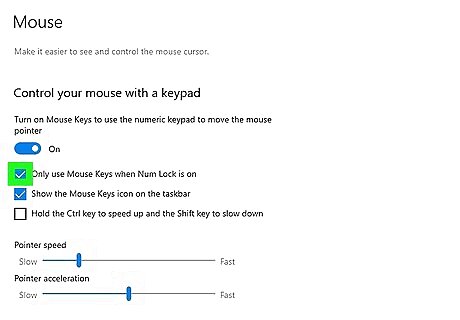
Make sure "Only use Mouse Keys when Num Lock is on" is selected. If there's no checkmark in the box, use the Tab key to navigate to the box, then press Spacebar to add a checkmark.
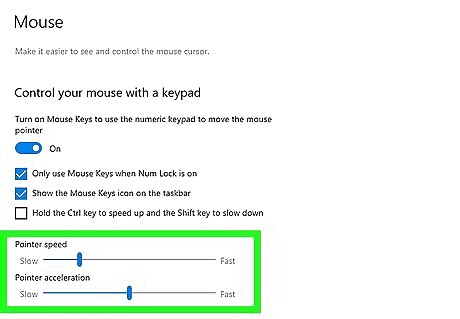
Change the speed of the cursor. If you don't change the mouse speed and acceleration, the cursor will move extremely slow. Use Tab to select "Mouse keys speed" (Windows 11) or "Pointer speed" (Windows 10). Press and hold the right arrow key to increase the speed—you might want to boost it all the way. Press Tab to move to "Mouse keys acceleration (Windows 11)" or "Pointer acceleration" (Windows 10). Press and hold the right arrow key to increase the speed. Again, moving this slider all the way might be your best option.
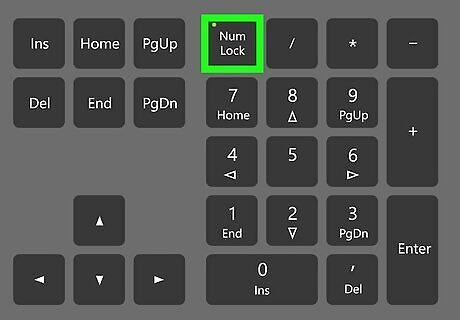
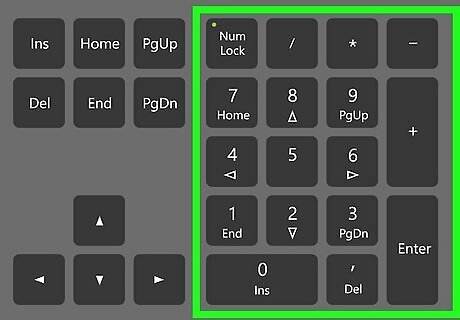
Press the Num Lock key to enable Mouse Keys. This key might be called Num Lock, NmLk, or another variation of "Number Lock." If this key shares a function with another key, you may have to press Fn to turn it on.
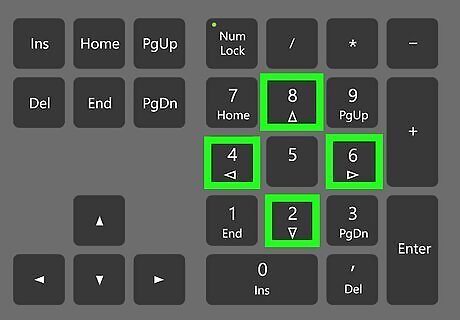
Use the arrow keys on the numeric keypad to move the mouse. You can now use these keys to move the actual mouse cursor around the screen, just like moving a mouse or dragging on a trackpad. Press and hold 4 to move left, and 6 to move right. Press and hold 8 to move up, and 2 to move down. Press and hold 7 to move up diagonally to the left, and 9 to move up diagonally to the right. Press and hold 1 to move down diagonally to the left, and 3 to move down diagonally to the right. If the mouse doesn't move when you press and hold these keys, press the Num Lock key again.
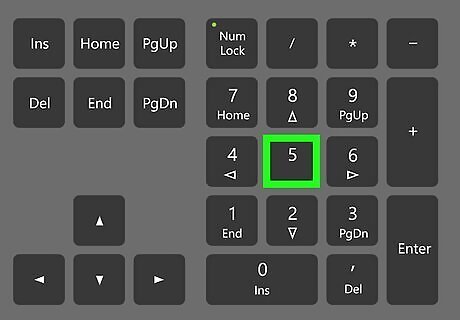
Select left-click or right-click. When you're using Mouse Keys, the 5 key on the numeric keypad acts as your mouse button. You can change the function of the 5 to make it a left-click or right-click as you work. Press the / key on the numeric keypad to change the 5 key to left-click, which is a standard mouse click. Press the - (minus) key on the numeric keypad to change the 5 to right-click, which usually opens context menus.

Press 5 to click with Mouse Keys. This will now left-click the selection (if you pressed / to enable left-click), or right-click (if you enabled right-click). The function of the 5 will remain the same (e.g., it'll stay in left-click mode if you pressed /) until you change it.
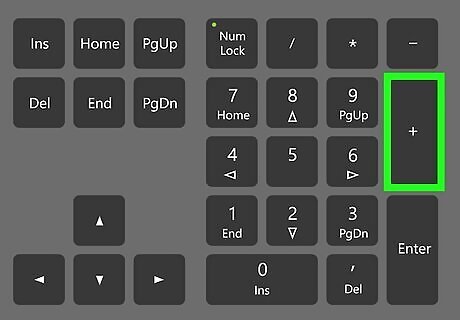
Press the + key on the numeric keypad to double-click. This double-clicks the active selection.
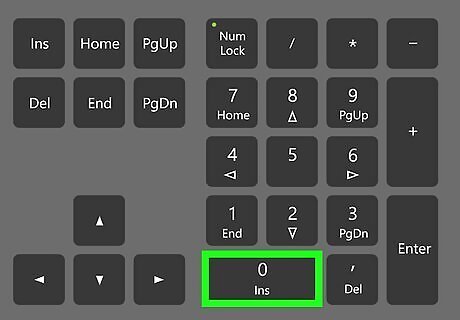
Drag and drop with Mouse Keys. If you need to move something without the mouse, you can drag and drop with Mouse Keys: To drag an item, use your Mouse Keys to point the cursor at the item, then press and hold 0 as you continue moving the cursor. To drop the item, press the decimal point on the numeric keypad.
Enable Mouse Keys: Mac
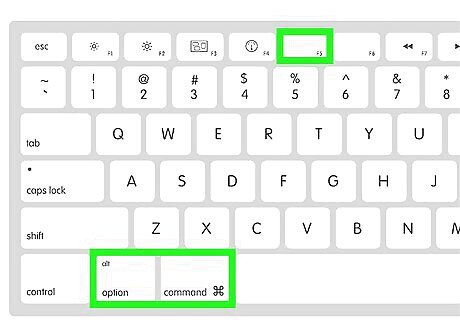
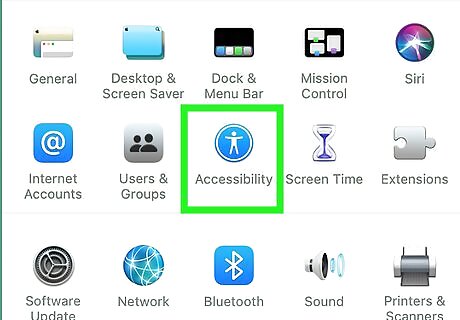
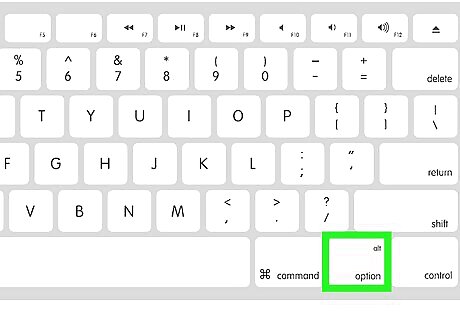
Press ⌥ Option+⌘ Command+F5 to open the Accessibility panel. If you need to be able to right-click on your Mac without a mouse and/or move the pointer around with the keyboard, you can enable Mouse Keys. If your Mac has a Touch Bar, use Fn + Option + Command + F5 instead. Depending on your settings, you may be able to quickly enable Mouse Keys by pressing the Option key 5 times quickly. If you see "Mouse keys on" when you do this, you can now skip to Step 3.
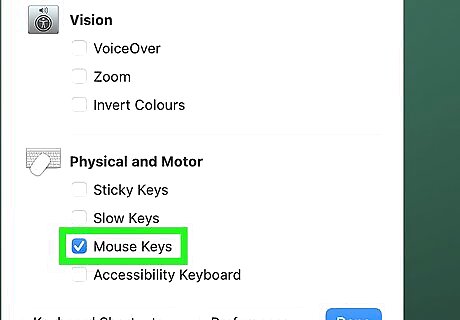
Check the box next to "Enable Mouse Keys." If you can't use a mouse to do this, press Tab until "Enable Mouse Keys" is highlighted, then press Spacebar to check the box. Mouse Keys is now enabled.
Enable the feature that lets you easily toggle Mouse Keys on and off. This is important, as using Mouse Keys disables the rest of the keyboard—if you want to be able to switch between using the keyboard and mouse functions, you'll want this feature so you can quickly turn Mouse Keys on and off by pressing Option 5 times. If you can use a mouse, go to System Preferences > Accessibility > Pointer Control > Alternate Control Methods > Options, then check the box next to "Press the Option key five times to toggle Mouse Keys." If not, continue with these steps. Press Command + Shift + ? on the keyboard to activate Help on the menu. Use the left arrow key to move to the Apple menu. Use the down arrow to select System Preferences and press Return. You'll see that the cursor is active in the Search bar—type alternate control methods into the search bar, use the down arrow to select Alternate Control Methods and press Return. Use Tab to select the Options button and press Return. Press Spacebar to check the box next to "Press the Option key five times to toggle mouse keys". Use Tab to select OK and press Return.
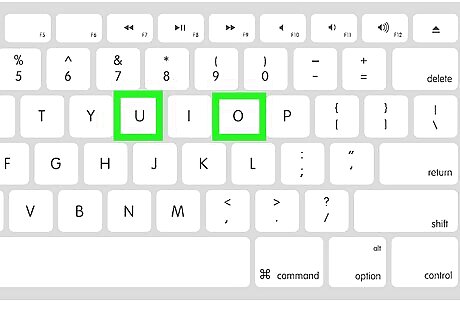
Move the mouse with your keyboard. Now that Mouse Keys is enabled, you can use the keys on your keyboard to emulate mouse movements. Press and hold the U key to move to the left, and O to move right. On a numeric keypad, use 4 to move left, and 6 to move right. Press and hold 8 to move up, and K to move down. On a numeric keypad, use 8 to move up, and 2 to move down. Press and hold 7 to move up diagonally to the left, and 9 to move up diagonally to the right. 7 and 9 work the same on the numeric keypad as well. Press and hold J to move down diagonally to the left, and L diagonally to the right. On a numeric keypad, use 1 to move down diagonally to the left, and 3 to move down diagonally to the right.

Press the I key to left-click. Doing so will act as a mouse click on whatever your mouse is currently selecting. If you're using the numeric keypad, use 5 to left-click.
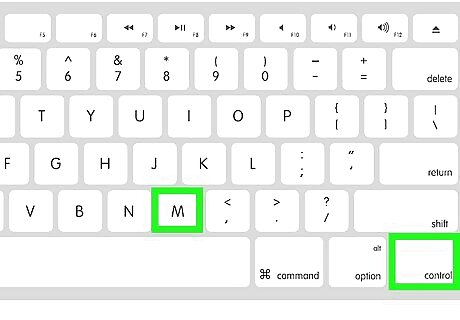
Press Control+M to right-click. This performs the same action as Control + Click, or right-click, with your mouse. If you're using the numeric keypad, you can press Control + 0 instead. To press and hold the "mouse button," press M on the keyboard, or 0 on the numeric keypad.

Press M to hold the mouse button and . to release it. This will allow you to activate certain menus (e.g., the Trash menu).
Toggle off Mouse Keys. Since you can't type while using Mouse Keys, press Option 5 times to disable the feature. Alternatively, you can triple-tap the Touch ID button (if available), or press Option + Command + F5 and remove the checkmark from the feature.
AutoHotkey on Windows

Go to https://www.autohotkey.com in a web browser. AutoHotkey is a free scripting language available on Windows that allows you to create your own keyboard shortcuts. Assigning a key combination to click is quick and straightforward. If your mouse isn't working, use Mouse Keys to download, install, and configure AutoHotKey. Take a look at our guide on using AutoHotkey for general information on installation and scripting.

Download AutoHotkey. Follow these steps to download the installation file: Click Download. It’s the green button in the center of the page. Download options will appear on the page. Click Download Current Version. This will download the installation file for the latest version of AutoHotkey.
Run the installation file. Double-click the file you downloaded to start the installation process. The file name will be formatted as “AutoHotkey_version number_setup.” Your downloaded files can be found in your Downloads folder by default.

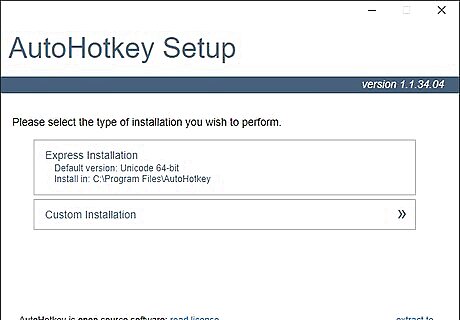
Click Express Installation. Follow the installation instructions to finish installing AutoHotkey. Express Installation will install AutoHotkey on your computer with the default configuration. When it's finished installing, you can click "Run AutoHotkey" to launch some of the documentation about AutoHotkey.
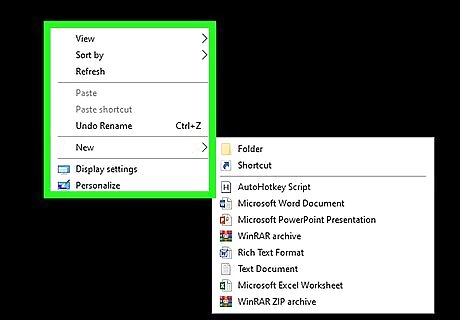
Right-click your desktop. Right-clicking on a blank part of your desktop will open a drop-down menu.
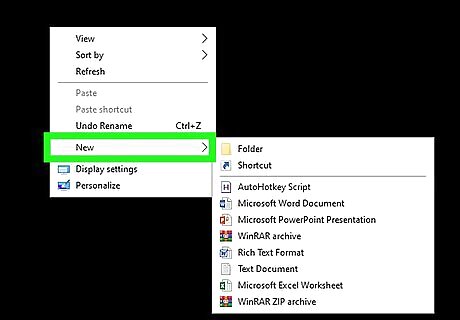
Hover your cursor over New. This will open a list of programs you can create a new file for.
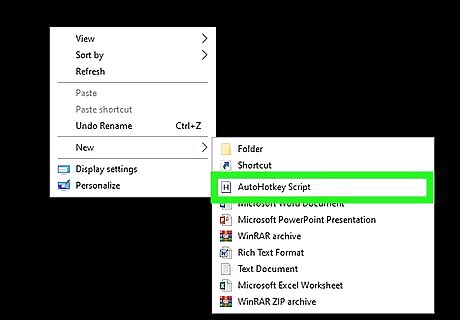
Click AutoHotkey Script. This will create a new AutoHotkey script on your desktop. It will have an image of a white paper with a red “H” on it. You can rename the file while the default name is highlighted. For example, “Click Keyboard Shortcut.” Make sure not to delete the file extension “.ahk” at the end of the file name. Deleting it may cause the script to stop working.

Edit the new script. Right-click the new script. Then select Edit Script in the dropdown menu. The AutoHotkey script will open in Notepad.
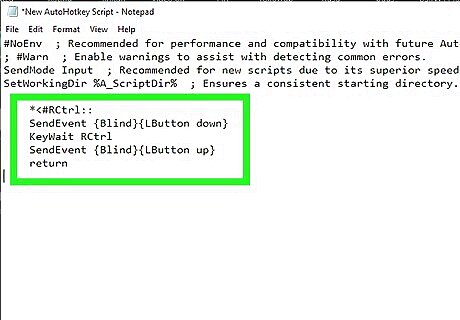
On a new line, type the following code. This script from the AutoHotkey documentation will allow you to press left Windows + right Control to left-click. Start typing below the default AutoHotkey code. Note that each bullet point of code should be on its own new line in the script. *<#RCtrl:: SendEvent {Blind}{LButton down} KeyWait RCtrl SendEvent {Blind}{LButton up} return
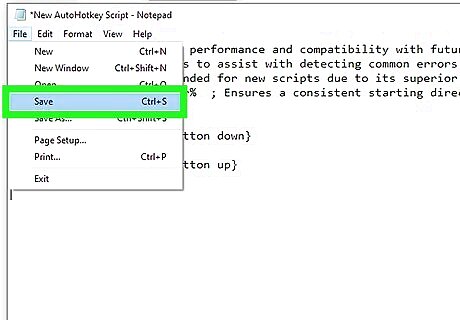
Save your script. Click File in the menu bar at the top of Notepad and click Save in the drop-down menu. This will save the code you've added to the script file. You can close Notepad after saving your work.

Run the script. Double-click the script file on your desktop to run the script. You'll see a green AutoHotkey icon appear in your system tray on the bottom-right of your screen. This indicates that an AutoHotkey script is active.
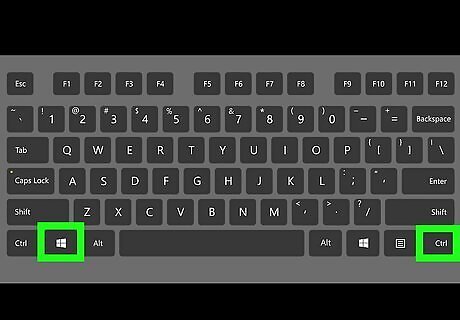
Test your Hotkey. Hover your cursor over a button you can left-click on your computer. Press left Windows + right Control. This should left-click the button. Now you’re all set up to click using your keyboard. Right-click the AutoHotkey tray icon for additional script options. To stop the script from running, select Exit in the menu.


Comments
0 comment