
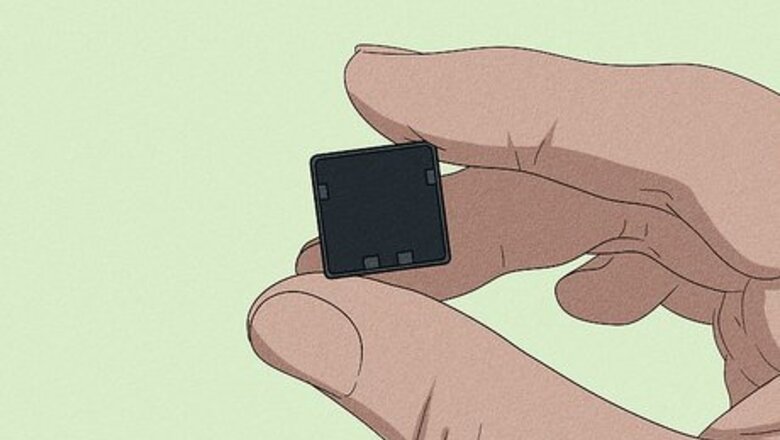

Inspect the back of the key for damage. Turn the key over so you can make sure that the part of the key that latches onto the keyboard is still in place. You should see a small plastic piece that will attach to the keyboard base. There are a variety of laptop keyboards available, which means the reattachment steps may be a little different than these steps, but they shouldn't be too different that you can't follow along. These steps work with HP Pavilion notebooks as well. If the key is broken or loose, there are different ways to repair it including using a tweezer and cleaning your keyboard. It can help to inspect the key with your phone camera (by using it as a magnifying glass).
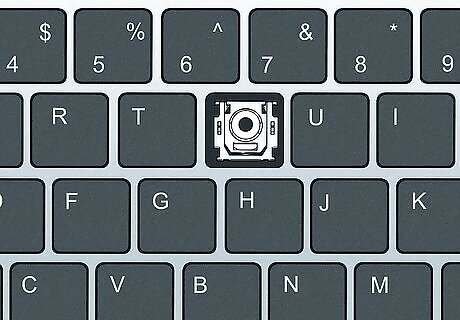
Check your keyboard to make sure the base is intact. In order for your key to reattach and work, the keyboard base must still have its parts. Look to see if the rubber nub in the center is still there, as well as the small metal or plastic hooks that will hold the key.
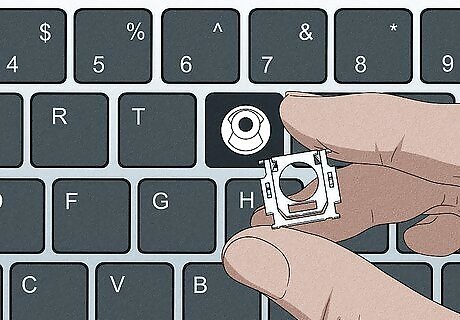
Replace the retainer clip. The retainer bracket is made up of two separate pieces that fit inside each other and is usually clear or opaque white. It could still be attached to either the base or the key. First, if the retainer clip has separated into two pieces, you'll need to fit the smaller piece back inside of the larger piece by aligning the hooks. The inner piece should easily snap into place once the clips are properly aligned. It may be easier to remove the base U-shaped piece from the keyboard in order to attach the O-shaped piece of the retainer if they are separated. Line up the assembled retainer bracket with the key base on the keyboard. Look at the keyboard base to see how the retainer bracket matches up to the base, and then click the retainer bracket back into place. If you're having a hard time fitting the retainer back onto the keyboard, you may be able to remove the round pad at the center. Lift it gently from the base, attach the retainer, and then press it back into the center of the key once the retainer is fitted. If you don't immediately see the plastic piece that connects with your key, check if that piece is still connected to the underside of your key. If you still can't find it, look around your work area or anywhere it might have fallen. This piece keeps your key in place and is necessary to continue.
Hook the side of the key with the latch into place first. Your keyboard may have metal or plastic hooks, and these need to slide into the respective loops or holes to keep the key in place.

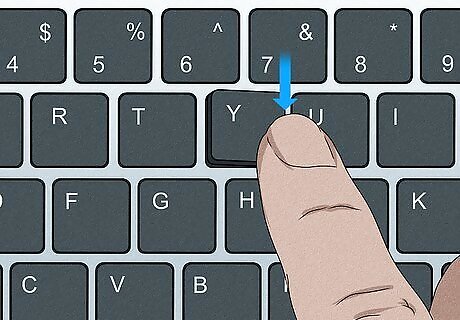
Push the other side of the key into place. After you fit the key onto the hook, gently press down on the other side of the key. You should feel it snap back into place, and you may hear a click.
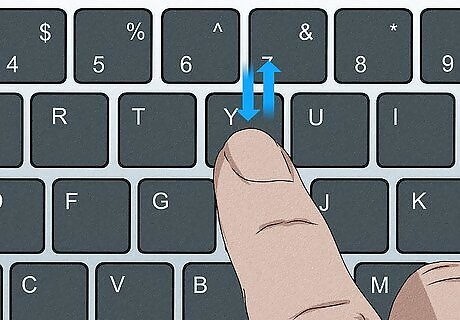
Press up and down on the button to make sure it holds. Test the key by pressing it several times to see if it is securely in place. The key should have a bounce to it. If you have a desktop computer, the keys on those keyboards are different. Refer to How to Reattach a Desktop Mechanical Keyboard Key instead.


Comments
0 comment