
views
- Create your own three-point lighting setup with 2 lamps and a standing light.
- Put a foam core board on a table to help reflect light.
- Make a reflector by connecting an umbrella on your tripod.
Simple Photography Lighting DIYs
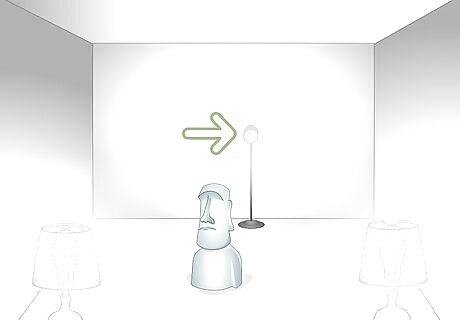
Set up a standing light and 2 lamps to create a three-point lighting setup. Three-point lighting is the standard lighting setup used by professional photographers in the studio. It involves setting up one light behind and above your subject, and 2 lights on opposite sides of the camera. A three-point setup can be created used a standing light and 2 desk lamps with LED or CFL bulbs. The light in the back of your subject is called the backlight. The main light next to the camera is called the key light, and the fill light refers to the final light on the opposite side of the key light. Place your standing light above and behind your subject to make it the backlight. Use lamps for the key and fill, which go under your subject on opposite sides of your camera. Make your brightest bulb or strongest lamp the key light.
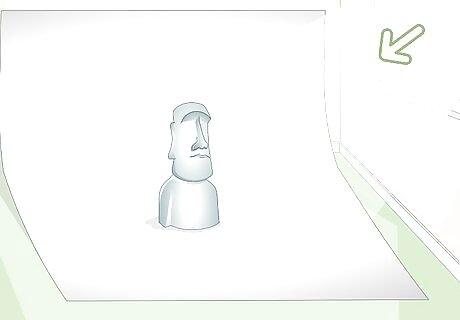
Arrange your studio near a window or fill light. In a three-point lighting setup, the key light is the main light source that you use to illuminate a subject. A fill light is the light source on the opposite side that softens shadows. Set up your studio space so that it’s right next to a window to save yourself from having to get an extra light. You can use the window as a fill or key light depending on whether the natural light is stronger or weaker you’re your lamp. Window light will provide your subject with a clean, natural look that studio lighting often has a hard time imitating. Choose an east-facing window if you want to shoot in the morning and a west-facing window to shoot in the evening.
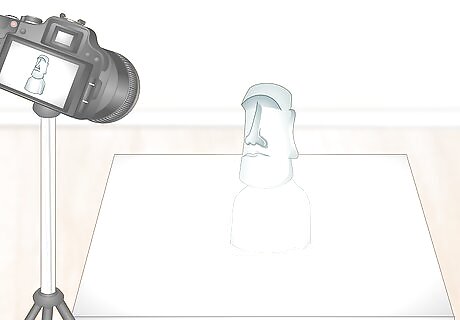
Lay a foam core board on a table to reflect light. If you’re shooting objects on a table, lay down a white foam core board underneath your subject. Use clamps to secure your foam board to the table and tilt your camera above your subject. The foam board will reflect light to make it easier to get a good exposure at a higher shutter speed, and will serve as a clean, minimalistic background for your compositions. White paper can have a similar effect, but it’s easily damaged and torn.
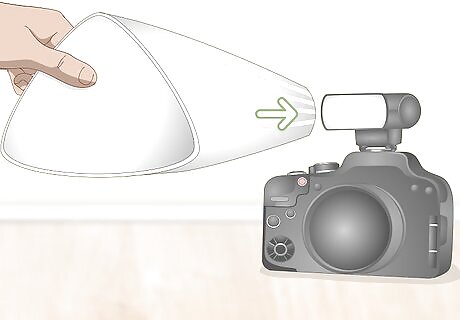
Use a downspout funnel as a flash diffuser. Light diffusion refers to the process of spreading light from a concentrated source out evenly across a surface. It’s important in photography, especially when using your standard flash. You can create a light diffuser for your flash by using a white downspout funnel. To use it as a diffuser, slide it over the body of the flash by sticking the hollow opening over the bulb. The shape of your flash will keep it in place as you shoot. If the funnel won’t fit over your flash mount, hold the flat surface area 2–4 inches (5.1–10.2 cm) away from your flash bulb as you shoot.
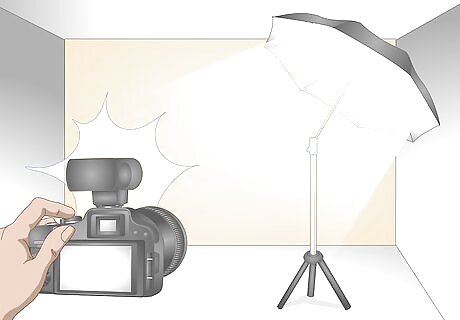
Attach an umbrella to your tripod to make a reflector. Another way to soften harsh flashes and light sources is to bounce them off of a reflective surface. You can build a simple reflector for your flash kit by taking a black umbrella and taping plain printer paper to the inside surface area of the umbrella. Layer your paper so that it is flat and covers every open surface. To use the reflector, point your flash directly towards the inside of your umbrella, away from your subject.Tip: There are attachments for tripods that allow you to connect special reflective umbrellas. Use one of these to affix your umbrella to a tripod. Many tripods come with this adaptor preinstalled, so look near the top for an opening for your umbrella. The light will fill the room based on the angle that you’re holding the umbrella. Adjust its position based on the strength of the light that you desire.
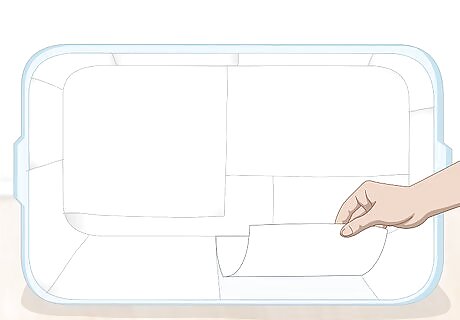
Use an empty plastic box and white paper to make a light box. A light box is a small box with reflective sides that bounces light in every direction to diffuse it and soften shadows. You can build your own light box with a translucent plastic box and white paper. Flip your box so that the opening of the container is facing your camera. Then, take a large sheet of white paper and tape it to the topmost section of the back of the container. Let the paper stretch out past the bottom of the container at a soft decline to avoid rough angles or crumples in your paper. Place your subject in the middle of the light box. This only works if you’re shooting smaller subjects. Set up multiple light sources around the box so that each side gets covered in light from the outside. Light boxes are sometimes called photography tents.
How to Make a Softbox
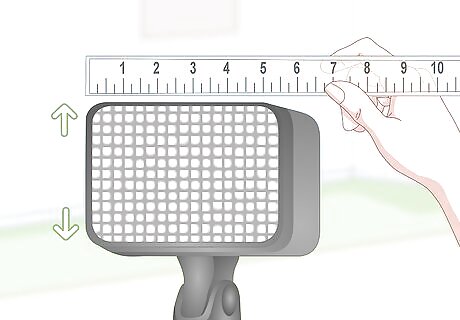
Measure the sides of your softbox light to determine your base. A softbox reduces the harshness of strong lights to create a more even range of shadows and highlights. To build a softbox, start by measuring the height, width, and depth of your light to determine how big you need to make the bases of each side of your box. If you’re using a clamp light, measure the horizontal head on the tripod that you’re attaching the softbox to. The measurements of your light’s edges will determine how long you make the base of your panels.
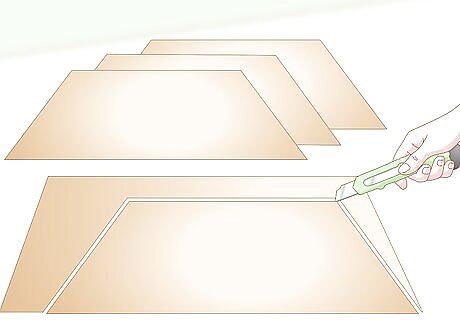
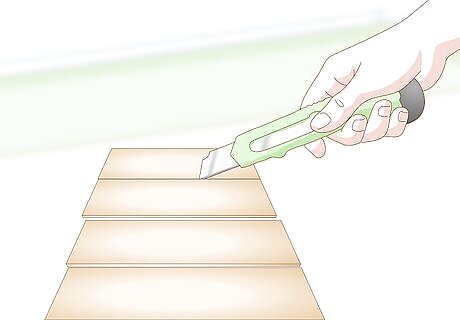
Cut 4 panels out of a large sheet of cardboard using a utility knife. Cut each side of your panels at an angle away from the center of a sheet of cardboard to make 4 isosceles trapezoids. Make the smallest base of each panel 0.5 inches (1.3 cm) bigger than your tripod’s horizontal attachment. Cut each side of your panel so that it is 16–24 inches (41–61 cm), depending on the size of your light. If you’re using a larger clamp light, make the sides of your panels a little bigger. Use the finished end of the cardboard as the longest baseline. This will ensure that your open end is even, and will make attaching the cover easier. Place your pieces in a square on a flat surface with the biggest base facing away from the center. Your panels are sized correctly if the exterior edges are flush.
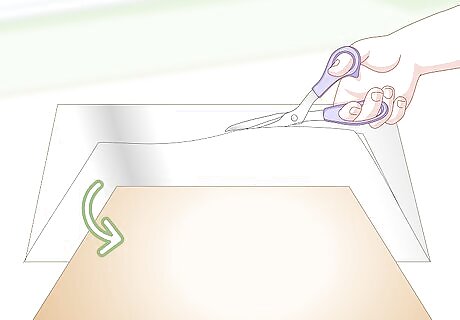
Trace the panels on sheets of aluminum foil and cut them out. Place a panel on top of a section of aluminum foil so that the foil extends past all 4 sides of the panel. Trace around the panel to transfer the shape on to the foil with a marker, and set the panel aside. Carefully cut out each shape in the aluminum foil with a pair of scissors. Repeat this step 4 times, once for each panel. You can also choose to use the panels as a straight edge for your utility knife if you don’t feel like drawing the outline.
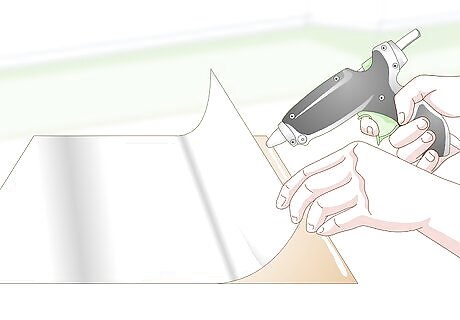
Glue the foil sheets on to the cardboard panels with a glue stick. Use a glue stick to cover your cardboard panel in glue. While the glue is still wet, fit your aluminum foil over the shape and smooth it out with the palm of your hand. Do this carefully so that each edge is flush with cardboard panel as you’re applying it. Make sure that you put the shiny side of the foil facing up! Do this one panel at a time to keep the glue from drying out before you get a chance to attach the foil.
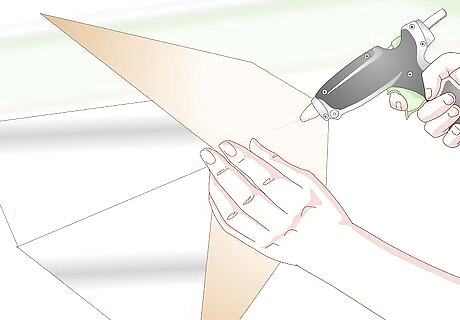
Use a glue gun to fix your 4 panels together along the edges. Hold a panel so that you’re facing one of the angular sides. Run hot glue along the angular edge and press it against another panel on the corresponding angle. Make sure that your foil is on the inside of each panel before gluing it. Hold each panel in place for 45-60 seconds to give the glue time to dry. Once you’ve glued your 4 panels together, run another layer of hot glue along the interior edges where the panels meet. You can move your panels a little bit as the glue is drying without breaking it, so don’t worry about making your softbox sides perfectly symmetrical. You can fix any minor problems by slightly bending the panels towards their correct position before adding the extra layer of glue at the end.
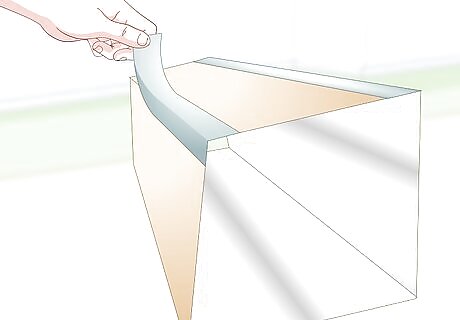
Tape the edges that you glued with duct tape. Run long strips of duct tape along the outside of the sides where you glued them. The duct tape will reinforce your structure and prevent the hot glue from melting through the outside of your softbox if it gets too hot under the light. Use black tape if you want to make your softbox look more professional. You really only need to worry about the glue melting from the light’s heat if you’re using a clamp light for an extended period of time.
Cut out 4 smaller, cardboard rectangles to make the gate for your light. You’re going to use Velcro to affix the exterior sides of the light to the interior edges of your gate. Measure the sides of your light to determine how big you need to make your rectangles. Cut out the cardboard rectangles to form the gate of your softbox. If you’re using a clamp light, match the sides of the gate to the edges of your tripod.
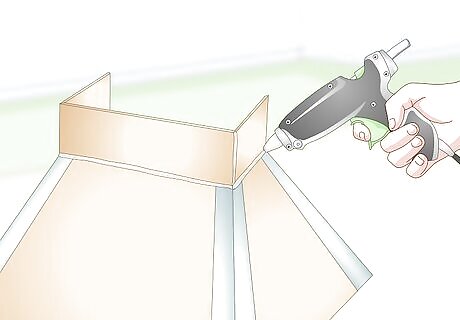
Attach your gates to the small opening at the end with hot glue. Use hot glue to place each piece so that they extend out from your softbox and form a rectangle around the small opening. Use lots of hot glue and wait at least 20-30 minutes after each application to ensure that the glue has time to dry. Use duct tape to reinforce the glue by placing it around the exterior sides.
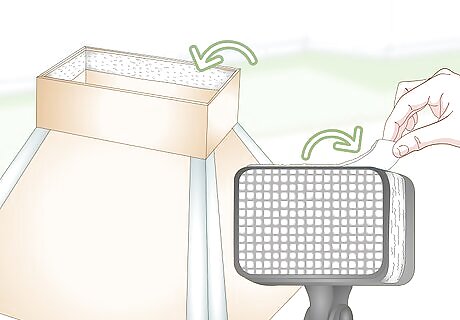
Place Velcro strips along the inside of your gate and outside of your camera. You are going to attach your light to the softbox by using Velcro, so place your Velcro strips along the inside edges of your gate. Then, place corresponding Velcro strips along the exterior sides of your light. Test the attachment by lifting your light up and seeing how it fits.Tip: If the Velcro isn’t enough to keep your softbox attached, stretch a rubber band over the sides of your light and around your gate.
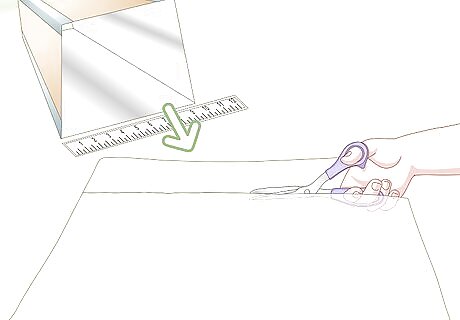
Measure the big opening on the front of the box and cut out a white shower curtain. Measure each side of the opening in the front of your box with a measuring tape. Transfer the measurements on to a clean, white, plastic shower curtain, adding 1 inch (2.5 cm) to each side. Use scissors to carefully cut out the outline. The shower curtain has to be white, and it has to be plastic. Any other material or color will turn your softbox into a simple light stand.
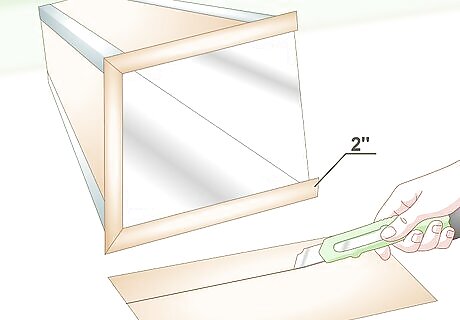
Cut and glue a 2 in (5.1 cm) lip to the edges of your opening. Using the measurements from the previous step, cut out strips of cardboard that are 2 inches wide, with the length for each strip matching each side of your opening. Glue the strips perpendicular to your light’s edges to form a lip.
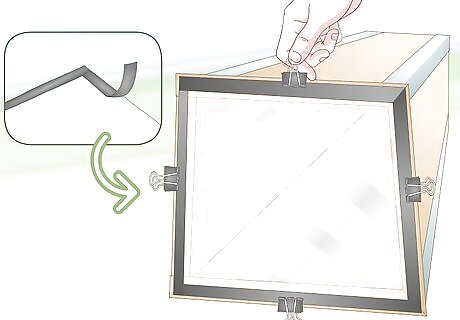
Tape the edges of your shower curtain and clip them to the light. Fold tape lengthwise across each edge of your shower curtain to prevent it from tearing at the edge over time. Hold it up to your softbox and use binder clips to attach each side of the curtain to the lip of your light. Fit the curtain so that it lays flush along each edge.







Comments
0 comment