
Setting Up
Identify the kind of 3D printer. Determine whether it's a simple Ender 3 or a Prusa i3 MK3. There are hundreds of brands and models out there for you to try. Just make sure to get them from a licenced dealer/seller. A FDM or LCD, DLP, SLA. The main 2 big printer types are FDM (Filament printers) and Resin printers. FDM printer is run by a 1kg spool of filament and prints in layers. FDM printers usually will print with supports and are less precise than a resin printer, this might require more cleanup of the print such as more sanding and cleanup of the supports. A resin printer uses a vat of resin. Resin printers are much more precise, they print upside down and take the shape of your 3D model with an ultraviolet light. these printers usually let off dangerous fumes so it's a good idea to have them in a well-ventilated area. Each printer has its pros and cons just find what best suits you!
Launch the CAD software that you are going to be drawing your sketches in. Use a tool such as Tinkercad, Google Sketchup, or Blender. Put it through the file preparation software for your specific device. (You can find this on the manufacturer's website). Find a filament that you can print with, whether it's PLA, ABS, PETG, TPU or Nylon.
Making the Model
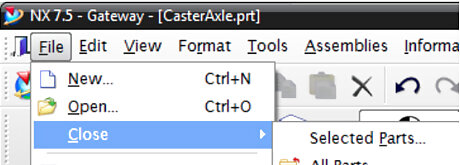
Click on New, then model, then press OK after you name your file. Save all your part files in the same folder. Create a model of your own! It can be anything you want, such as a bracket you need or something fun you would like sitting on your desk.
Save your model frequently.
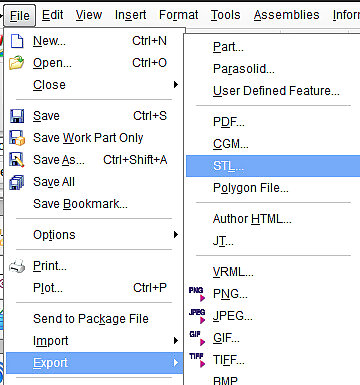
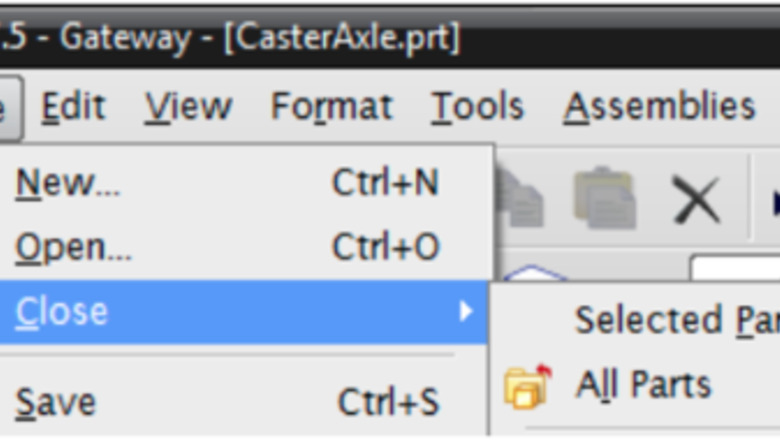
Export your model as an STL file to your desktop.
This is where you can adjust the temperature, infill type, infil% and bed temperature. every filament will be different, even the same filament from two different brands can have differences that matter. So you'll want to save it as an STL file as well as keep the original Tinkercad file which can allow you to come back and make any edits to the drawing as needed. Then click OK for the next two prompts without changing anything.
Printing the Model
You'll want to turn the printer on and level it on any nonresin printers before doing anything else. For this there are many different methods, one method is to use a piece of paper and place it on the build plate of the printer. Then disable the steppers in the settings of the printer which will allow you to freely move the nozzle around. Move the nozzle close to the paper and move it around so that its snug but not too close as to where it will rip the paper, do this over each corner of the build plate. Repeat this process once more just to ensure everything is leveled. There are many different ways to level a 3D printer and these methods can be found with some simple internet research.
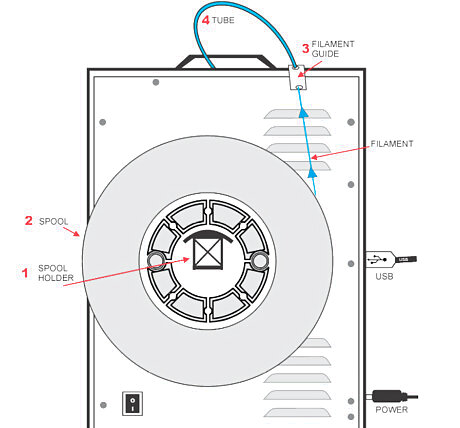
Insert the plastic filament spool at the back of the 3D printer, and insert the filament into the heating block.
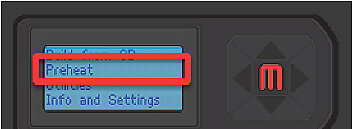
Turn on the 3D printer, and select the option to "Preheat" the printer as you import your file. Interface_preheat.png
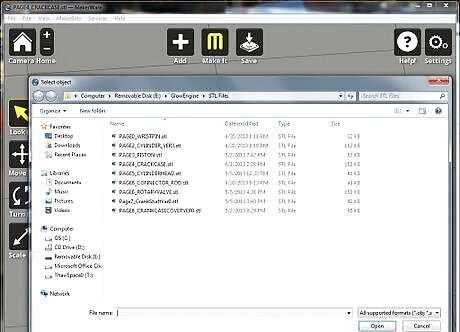
Import the STL file model into the 3D printing software that comes with the 3D printer. A window will pop up and ask where the model should be placed. Click on absolute center as this would put the model in the middle of the printing tray.
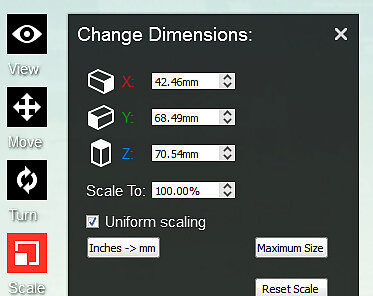
Check the "Uniform Scaling" box on the left hand side under the Scale box. The model can be resized, rotated, and adjusted using these four left hand buttons.MakerbotAdvancedSettings.png
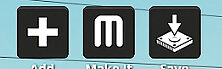
Push the "Make" button on the top of the screen, and choose the location of where you want this file to be saved. (Desktop if connected by USB, or SDCARD if connected to a card reader)Screen Shot 2015 06 07 at 6.18.50 PM.png
Select the connected setting on the printer (USB cable or Card reader).
Select the file of your model that you would like to print.
After running the file make sure to keep an eye on it for a little bit. most issues occur with the first couple of lines printed, either due to poor leveling, wrong temperatures, or a bad build plate so closely watching the print can help deter some of these issues before its too late.
Allow your printed model to cool for about a minute before removing it from the printer.


Comments
0 comment