views
Applying Decals to Plastic Models
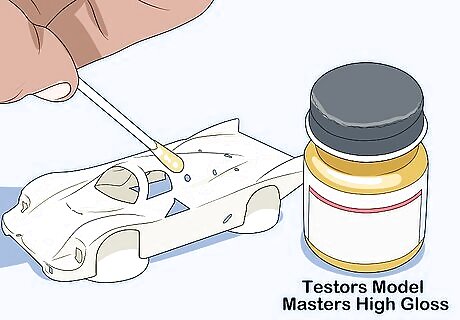
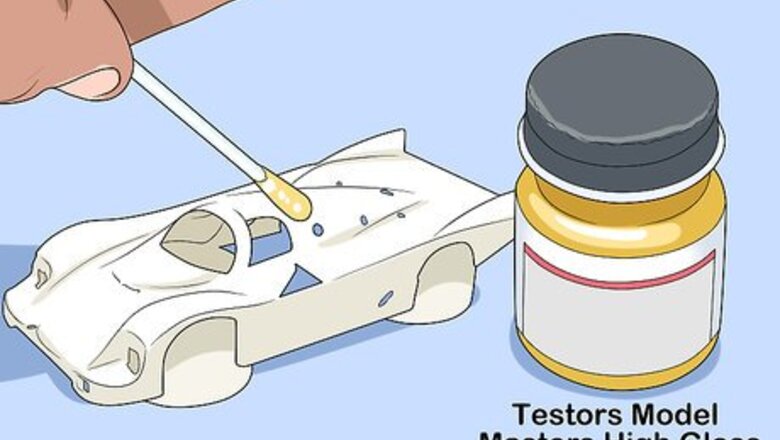
Apply clear gloss to your model. When the area of your model that you want to place the decal is painted and dry, begin applying layers of clear gloss such as Testors Model Masters High Gloss to it. Apply coats according the gloss directions and allow it to dry between coats. The glossier you make your model the better, because this will make a smooth area that the decal will suction well to.
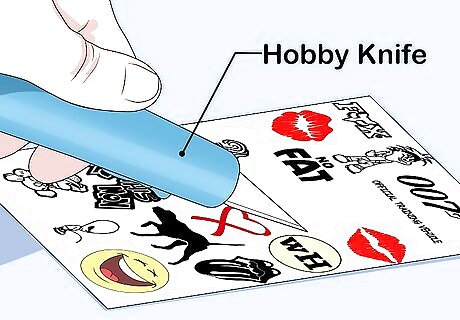
Cut your decal from the rest of the decals sheet with your hobby knife. Your model likely came with a sheet of decals, so cut the decal you’d like to use away from the rest. Trim it with the knife to get the exact size you want.

Soak the decal in a little bit of water for 1-2 minutes. Set your decal into a small tray of water and allow it to soak. While you’re waiting, rub some water onto your model surface, where you’re applying the decal, with a cotton swab. Adding a bit of water to the model itself will aid in suctioning a little better.
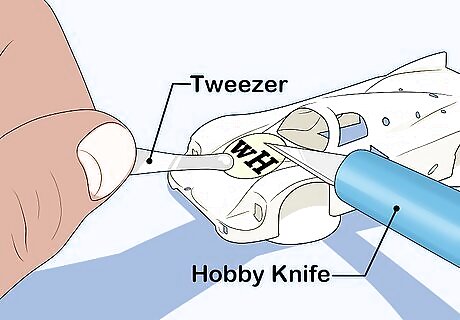
Use tweezers and your hobby knife to get the decal onto the model. Set the decal gently onto the model with tweezers, with backing paper still on. Use the tip of your knife to slide the backing paper out from under the decal, holding the decal in place with your tweezers. Move the decal gently to exactly where you want it with your cotton swab. You can also use the cotton swab to smooth any edges that wrinkled in the application process.
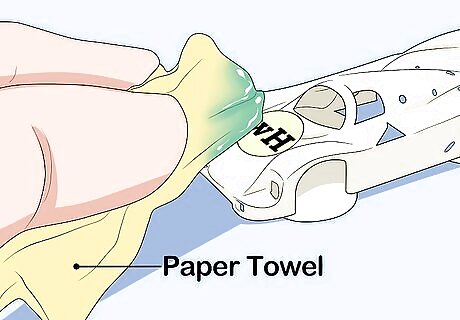
Dab the decal with a paper towel to soak up extra water. Get excess water out from under the decal by blotting it with a paper towel. If the decal slides again while doing this, you can realign it again using your cotton swab.
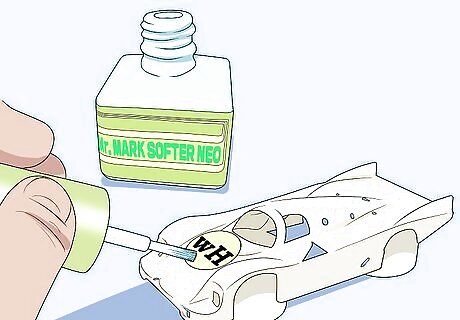
Brush decal softener onto the decal. Once the decal is dry and exactly where you want it, take your decal softener such as Mr. Mark Softer and brush it all over the decal, making sure it doesn’t move. If it does move, quickly realign it with your hobby knife before the solution starts to work. Dab any excess softener with paper towel. The softener will make your decal look like it’s melting a bit. That’s ok; it forms back into shape flatter and more suctioned to the model when it is set.
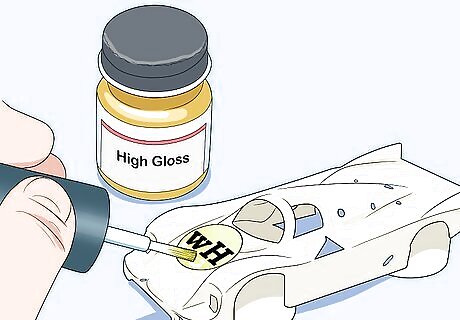
Apply another coat of clear gloss to the surface with a brush. Once the decal is suctioned to the kit with the softener and smooth, apply another coat of clear gloss to seal everything in and prevent damage to the decal. Allow the top coat to dry and you’re all done!
Applying Decals to Nails
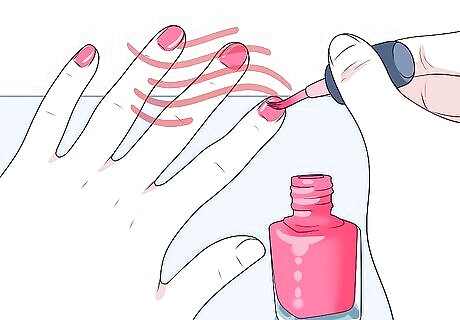
Apply clear base coat or nail polish to your nails and allow them to dry. Choose a color of nail polish or a clear coat and brush it onto each of your nails. Allow your nails to dry fully before moving onto the next step.
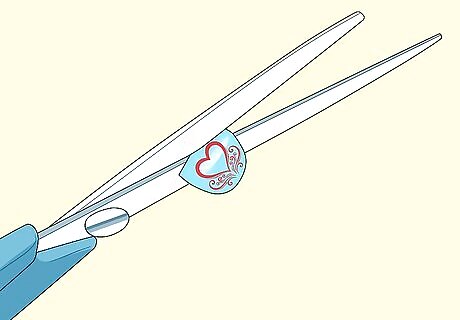
Cut out your nail decals with scissors and choose one for your first nail. After you’ve cut out all the decals, remove the plastic on the tops of them and find a decal that fits the nail you’d like to start with. Most nail decal sets come with different sized decals to match each of your fingernails. Try to match the decal as closely as you can, but don’t worry if it’s not exact because you will get to trim the excess later.
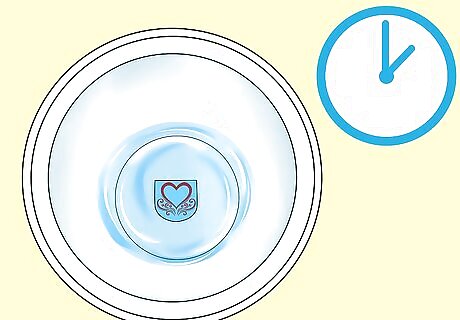
Plop the decal into a small bowl of water for a few seconds. Within a few seconds, you will notice that the decal starts to slide off the paper backing. Once this happens, you’re ready to move onto the next step.
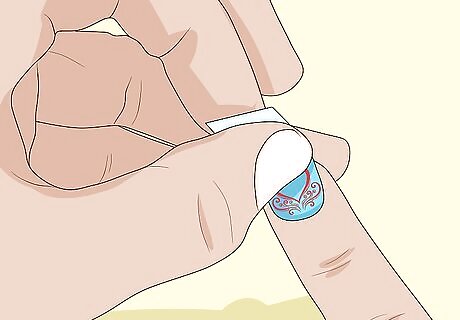
Slide the decal onto your nail and smooth it down. Using your fingers, slide the decal onto your nail. Then use your cuticle pusher or orangewood stick for smoothing the decal down where you would like it to be. Your decal will slide around a bit on your nail, so you have some time to get the right placement.
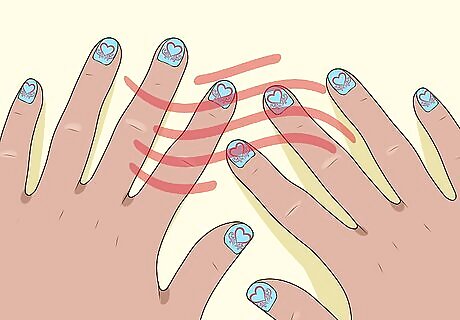
Apply decals to all your nails and allow them to dry. Repeat steps 3 and 4 for all your nails. Allow them all to dry fully. A bit of extra decal may hang down off your nails; that’s okay, you will address that in the next step.
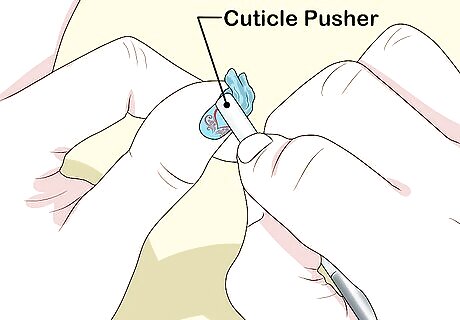
Remove excess decal with your cuticle pusher or a nail file. For any excess decal on the sides of your nails, use your cuticle pusher or orangewood stick to trim the decal and push it down into the sides of your nailbeds. For excess decal remaining at the ends of your nails, gently file your nails in a downward motion with your nail file.
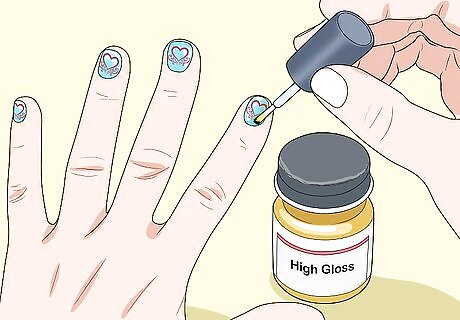
Apply clear top coat to all your nails. The top coat will turn your decals into a type of polish that will remove any wrinkles in the decals. Wait for your nails to dry and then you’re all done!
Applying Decals to Ceramics
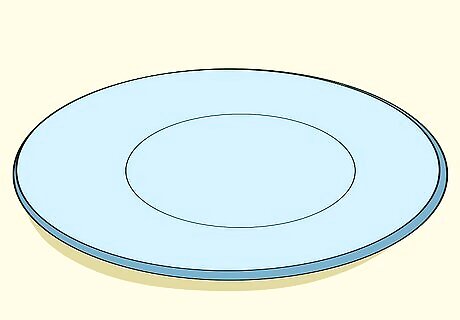
Make or buy a clean glazed ceramic item. Choose (or make) an item that you would like to decorate. You could use a plate, bowl, coffee mug, vase, or any other piece of ceramic. You just want to make sure the item is complete, glazed, and clean. The glaze on your ceramic will allow your decals to have a smooth surface to stick to.
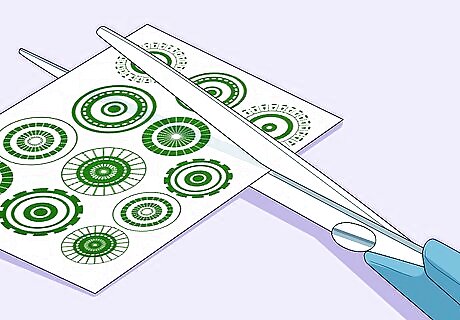
Cut your decals to the shape you want them with scissors. Using scissors, trim your decals to the size and shape that you’d like them to appear on the ceramic.
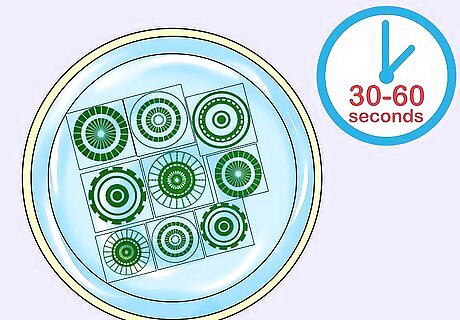
Soak your decals for 30 to 60 seconds each in water. Set your first decal into a bowl of water. The paper backing begins to fall off the decals in 30 to 60 seconds. Be ready to move the decal right away onto your ceramic when the paper backing falls off.
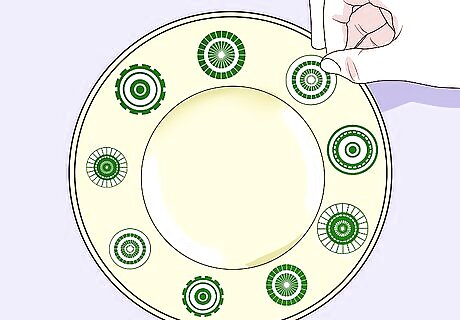
Place the decal onto your ceramic. Using your fingers, place the decal onto your ceramic in the area where you would like it. Slide it to exactly where you would like it before beginning the next step.
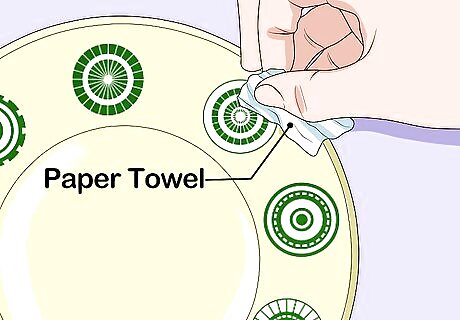
Blot your decal with a paper towel or sponge. To remove any excess water or air bubbles, blot the decal carefully with a sponge or paper towel. Begin where the bubble is and press gently, working toward the closest edge to get the water or air bubble out.
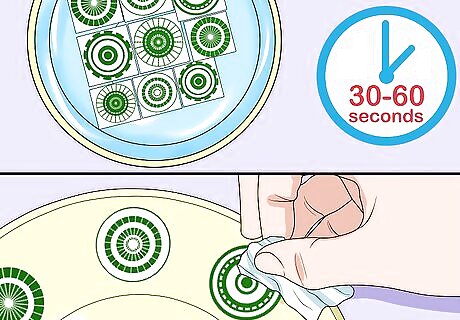
Repeat steps 3-5 for any other decals you’re using on this ceramic. Before you let the decals dry, put any other decals that you want to include on the ceramic. Some ceramic decals come in sets, such as a ring of leaves and flowers. Place all decals onto this item starting with the soak process.

Allow your ceramic to dry for 24 hours. Once there are no water or air bubbles under the decal, allow the ceramic to sit out and dry for 24 hours. This will allow the decal to fully stick to your surface.
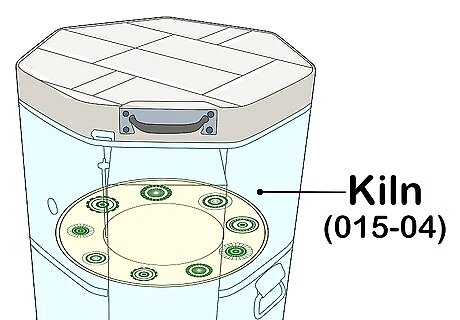
Fire your ceramic in a kiln at 015 to 04. To be able to use your ceramic without having the decal wash off in water, you will want to fire your ceramic in a kiln at the setting appropriate for the decal you used. For a colored waterslide decal, 015 should work well. A black and white decal should be fired at 04 to ensure the iron merges with the glaze well.





Comments
0 comment