
Baking them in the Oven
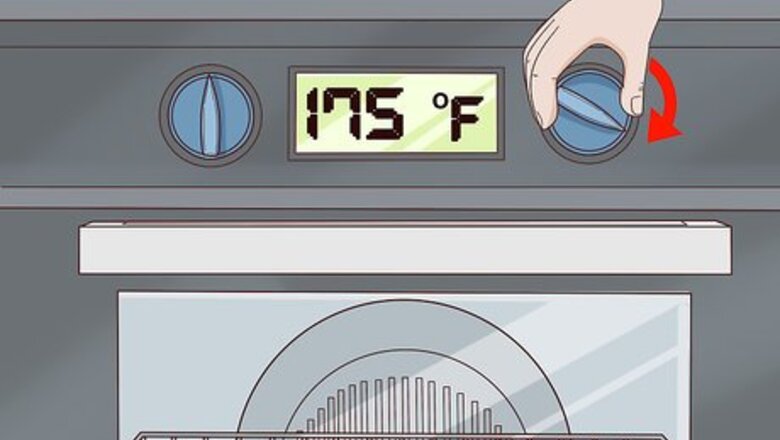
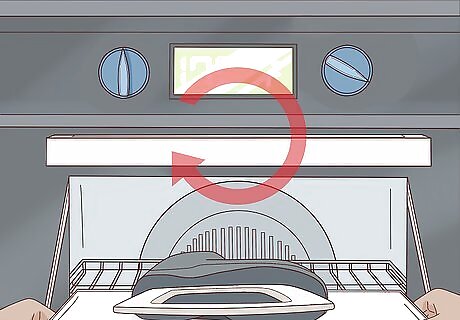
Pre-heat your oven to 175 °F (79 °C). To get the skate material to loosen you need to heat it so that the molecules soften, but the materials don't come apart. 175 °F (79 °C) is the ideal temperature for this process as it won't be hot enough to melt any plastic on the skate. Use an oven thermometer if you have one. Sometimes ovens don't display the correct heat. To prevent inaccuracy, double check the temperature with a thermometer.
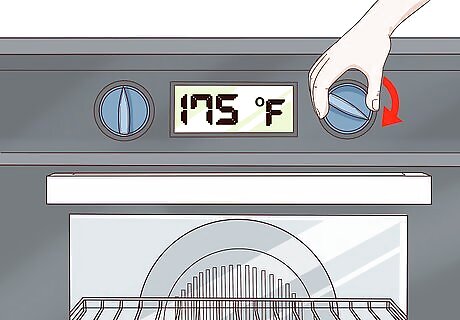
Turn the oven off once it is pre-heated. Most ovens have a way of showing you when it's preheated. Some will make a small sound where others will have a small light that will turn off. Shut the oven door tight to prevent any loss of hot air. Applying constant heat to a skate when baking it can result in permanent damage. By putting it in a pre-heated oven that's not pumping out any more heat the skate will bake, not break.
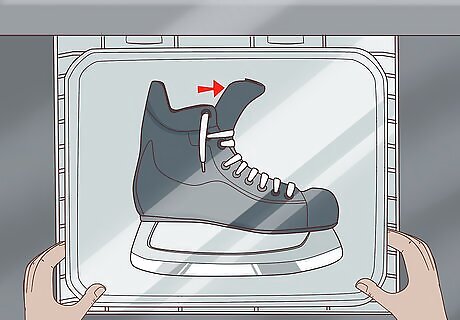
Place a single skate on a baking tray and loosen the tongue. Hockey skates are large and most ovens will only be able to fit 1 at a time. Even if you can fit 2 in your oven, baking the skates 1 at a time will ease the pressure on you, especially if it's your first time baking a skate. Then, undo all the laces and lay them over the center of the skate and loosen the tongue. If the tongue is not loosened before baking you may have a hard time fitting your foot in it when it comes to molding.
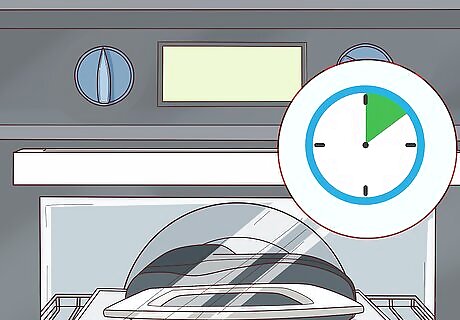
Bake the skate for 6-8 minutes. Set a timer so that you don't lose track of time. By the time the skate is ready, you should be able to smell a faint plastic scent and the shoe will be soft. Take the shoe out immediately and begin the molding process. You can check midway through the baking process to make sure everything is alright. Open the oven door and gently press the outside material of the skate that should have softened. Do not overbake the skates. If you do you can permanently damage the skate.
Molding Your Skates
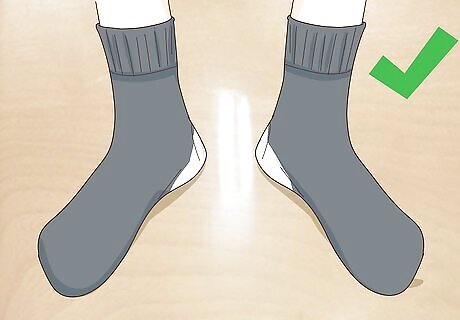
Put on the socks you normally wear when you skate. The thickness of your socks can change the overall shape of the mold when you try your skate on. You should wear whichever socks you usually wear with your skates to get the most accurate mold possible.

Bring your skate to a chair right after you take it out of the oven. Time is of the essence when it comes to molding the skate. As the skate cools it will begin to mold, so you need to be ready as soon as possible.
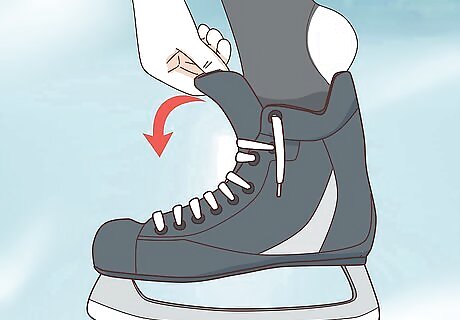
Bend the tongue forward and place your foot in the skate. Slide your foot into the skate making sure your heel is at the back of the skate. Tap the skate against the ground a few times to secure your foot. If you have heated the skate at the correct temperature the skate will be warm, but not so hot that you will burn yourself.
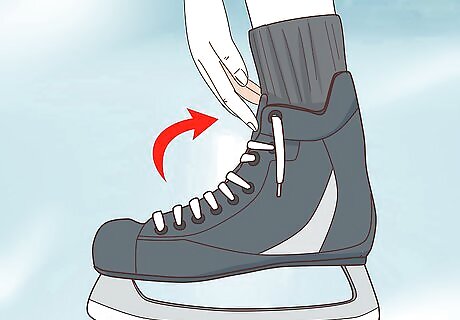
Bring the tongue back to your shin and lace up the skate. Once your foot is in the skate, bring the tongue back against your shin so that it's square. With the tongue is in the position, lace the boots as you would if you were going skating, tying them as tight as is comfortable.
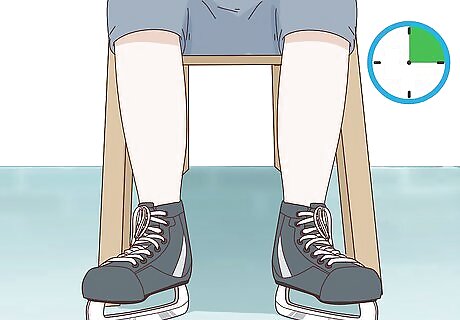
Wait for 15 minutes while the skate molds. Keep your foot still as the skate molds around your foot. The material around the skate will begin to harden and shape around the shape of your foot. If it's comfortable, tuck your heel underneath the chair and touch the front edge of the blade against the floor. This will resemble the shape of your foot when you are skating and will result in a better fit. If you want the skate to be wider, stand up in the skate so that the material spreads outwards. Walk around in the skate. Only stand with your weight evenly displaced.
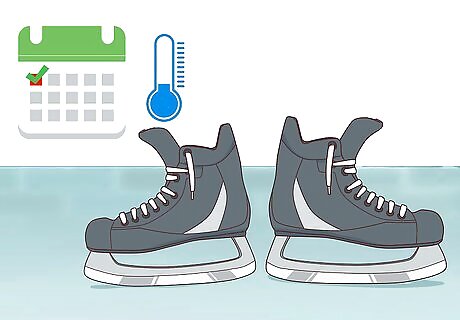
Take the skate off and allow it to cool for 24 hours. After 15 minutes, unlace the skate, take it off, then lace it up again. Then, place the skate in a cool place for at least 24 hours as the skate material solidifies. If you wear the skate too soon after the molding process you risk undoing the mold you've made or even damaging the skate.
Repeat the process for the other skate. Once you've finished baking and molding your first skate, begin the entire process again for the second skate. It's best to bake your skates 1 at a time so that you can focus on getting the best mold.


Comments
0 comment