views
Getting Started
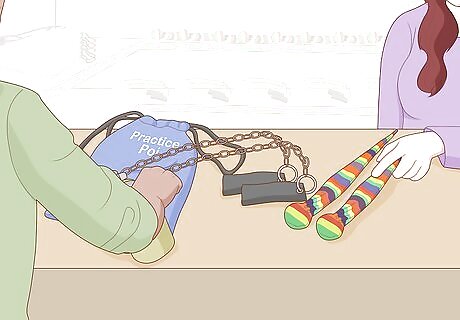
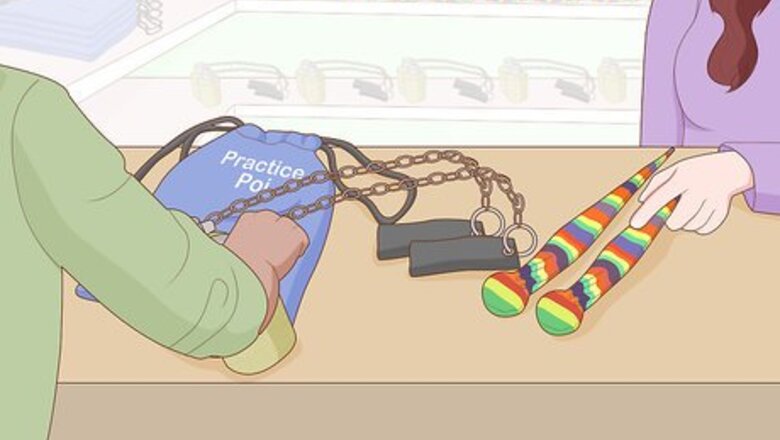
Buy or make a pair of practice poi. Practice poi have soft objects at the ends so that you can practice without hurting yourself. There are many kinds of practice poi available. Search the web or ask at your local juggling store for advice. You can make your own simple poi by attaching a piece of string to a small bag filled with dry beans.
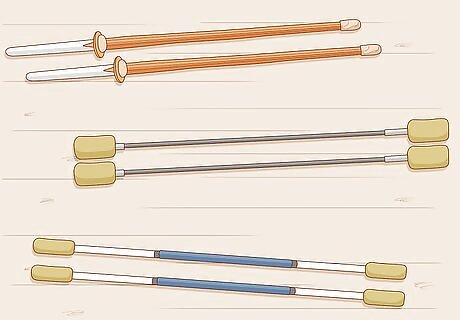
Buy or make a practice fire staff. Practice staffs come in three basic types: bamboo, wood, and aluminum. Search the web or ask at your local juggling store for advice. You can also make your own staff or simply use a long straight stick or other piece of wood.
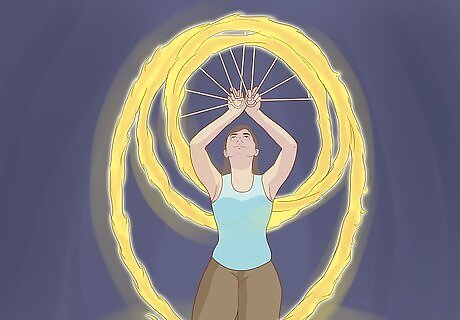
Purchase real fire poi and a real fire staff when you’re ready to start dancing with fire. Fire poi and a fire staff will come equipt with ends wrapped in kevlar that can be dipped into kerosene and lit on fire.
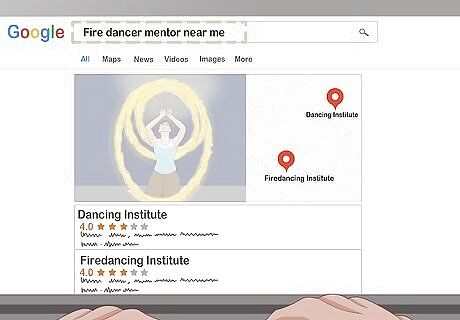
Find a fire dancer to help you get started. Finding a fire dancing mentor will make learning how to fire dance easier, safer, and more fun. If you don’t know of any fire dancers in your area, try searching on meetup.com.
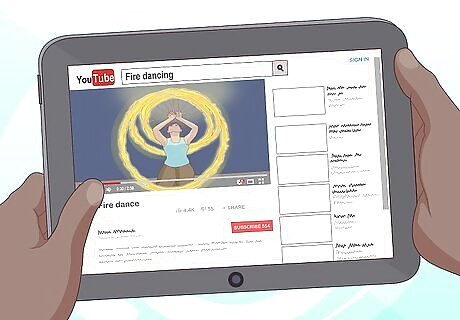
Watch instructional videos on the web. Fire dancing is a visual activity, and seeing people actually perform the moves will make learning to fire dance much easier. If you ever get confused learning a new move, watch a few videos online to orient yourself.
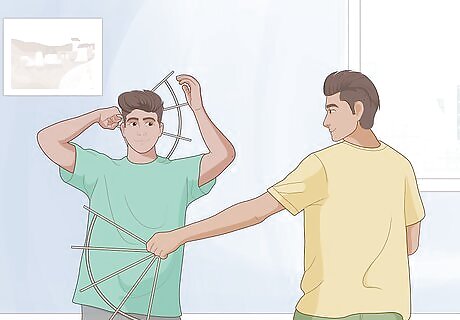
Put time and effort into learning the basic moves. Fire dancing with poi and a fire staff both involve variations on a few simple moves. Learn the basics first, then move onto more advanced moves.
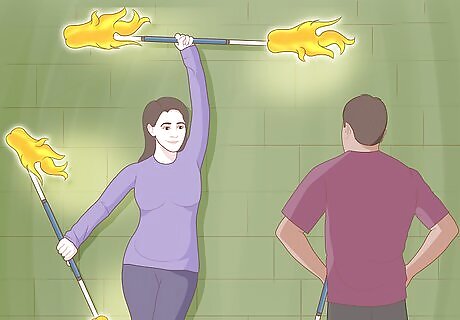
Never try a move with fire until you’ve mastered it without fire. Fire dancing is a dangerous activity, so it’s important to make sure you have a move down with your practice poi or practice fire staff before you try it with fire.
Fire Dancing with Poi
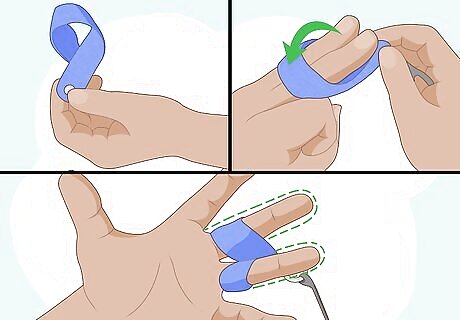
Practice kite grip. Kite grip is the most common way to grip poi. If it feels comfortable to you once you learn the grip, you can stick with this grip or experiment with other grips. Hold the strap of one poi between the thumb and forefinger of your right hand. Hold it by the right end of the strap so that the strap is pointing to the left. With your left hand, twist the strap towards you by ninety degrees to form a loop. Put your left middle and ring fingers through the opening in the loop. Let the loop come all the way over the two fingers to right below the first knuckle. Run the leash between your left middle and ring ringers so that when your hand is facing upwards the leash falls down towards the floor. Repeat these steps with to get the other poi on your right hand.
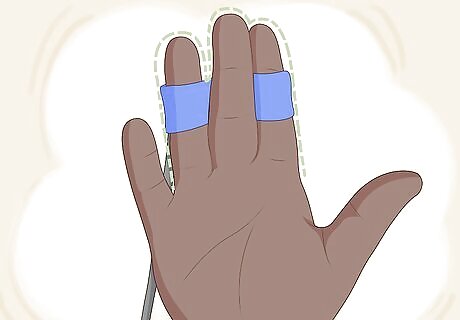
Practice three-finger over-and-under grip. This is a popular alternative grip. If it feels more comfortable than kite grip, use it. Turn your left hand palm up. With your right hand, hold the loop of one poi open. Put your left hand index and ring fingers through the loop. Let the loop come all the way over the two fingers to right below the first knuckle. Your middle finger should not be in the loop; it should be out and resting on top of the loop. Looking down at your left hand, the loop should come over your index finger, under your middle finger, and over your ring finger. With your left palm facing up, the leash should fall straight down to the floor.
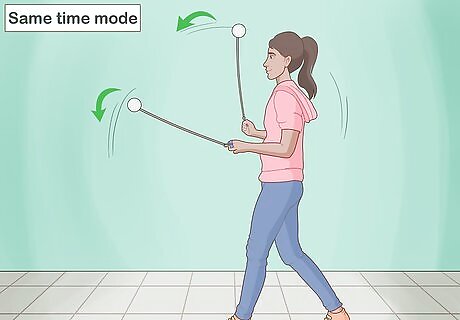
Practice same time mode. This is the first and easiest of the four basic poi modes. The goal is to get each poi spinning in simultaneous circles on either side of your body. Grip your poi in either kite grip or three-finger over-and-under grip, whichever is more comfortable. Face forward with your hands at your sides. The poi should be hanging straight down on either side of your body. Spin both poi forward simultaneously using your arms, wrists, and hands to create momentum. To help visualize the motion, imagine that you are spinning two levers in a circle on either side of your body. The movement of the circles should be simultaneous, so that the movement of each poi perfectly mirrors the other. Once you’ve mastered same time mode with the poi traveling forwards (clockwise), use the same technique but reverse the motion so the circles are traveling backwards (counterclockwise).
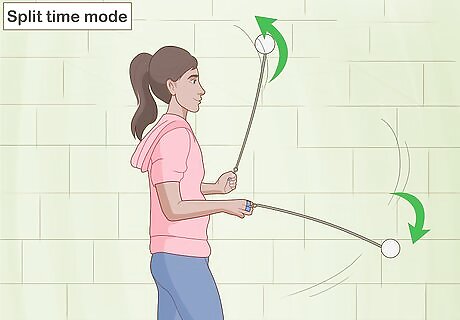
Practice split time mode. This is the second of the four basic poi modes. The goal is get each poi spinning in successive circles on either side of your body. Grip your poi in either kite grip or three-finger over-and-under grip, whichever is more comfortable. Face forward with your hands at your sides. The poi should be hanging straight down on either side of your body. Spin the right hand poi forward, making a circular motion. When the end of the right hand poi reaches the top arc of the circle, begin spinning the left hand poi in another circle. This will look and feel much different than same time mode. With split time mode, you are creating successive circles, so that when the end of one poi is at 180 degrees, the end of the other poi should be at 0. Once you’ve mastered split time mode with the poi traveling forwards (clockwise), use the same technique but reverse the motion so the circles are traveling backwards (counterclockwise).
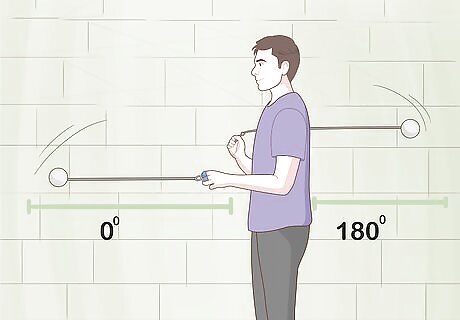
Practice opposites mode. This is the third of the four basic poi modes. The goal is have one one poi traveling in a forwards (clockwise) circular motion while the other travels in a backwards (counterclockwise) circular motion, with the ends of both poi passing each other at 0 degrees and 180 degrees. Grip your poi in either kite grip or three-finger over-and-under grip, whichever is more comfortable. Face forward with your hands at your sides. The poi should be hanging straight down on either side of your body. Spin the right poi forwards like you did with same time mode. At the same time, spin the left poi backwards. You should be making two large circles, with the ends of each poi traveling in opposite directions and passing each other at the top and bottom of the circles. Once you’ve mastered the motion, reverse the motion, using the same technique so that the right poi is spinning backwards while the left poi is spinning forwards.
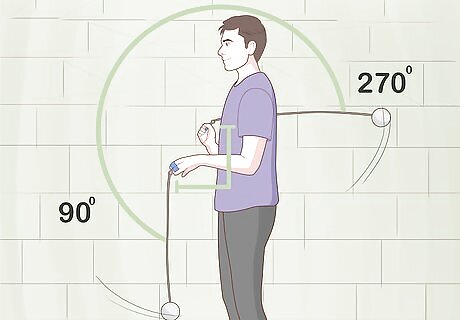
Practice split-time opposites mode. This is the fourth of the four basic poi modes. The goal is have one one poi traveling in a forwards (clockwise) circular motion while the other travels in a backwards (counterclockwise) circular motion, with the ends of both poi passing each other at 90 degrees and 270 degrees. Grip your poi in either kite grip or three-finger over-and-under grip, whichever is more comfortable. Face forward with your hands at your sides. The poi should be hanging straight down on either side of your body. Spin the right poi forwards, making a circular motion. When the end of the right hand poi reaches 90 degrees, being spinning the left poi backwards in a circular motion. This will look and feel differently than split time mode. With split time opposites mode, the ends of the poi will be traveling in opposite directions and passing each other at 90 and 270 degrees. Once you’ve mastered the motion, reverse the motion, using the same technique so that the right poi is spinning backwards while the left poi is spinning forwards.
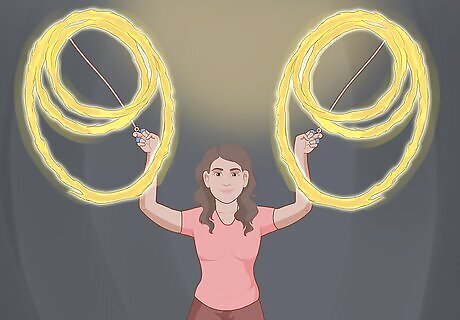
Experiment with switching between the four basic poi moves and connecting them in creative ways. Nearly all intermediate and advanced poi moves derive from the four basic modes. As you practice the modes and mix them together you’ll naturally start finding interesting ways to dance with your poi.
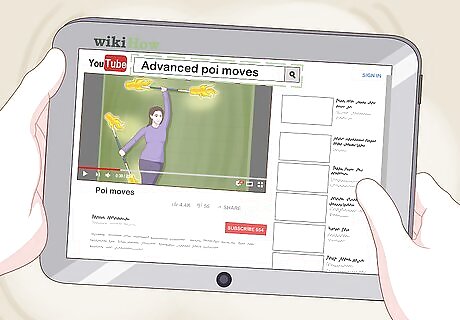
Learn intermediate and advanced poi moves. More advanced poi moves will be difficult to learn from words alone. Seek out online videos or a local fire dancer to help you learn more difficult moves.
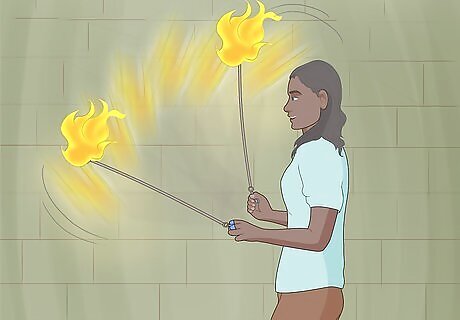
Light your poi on fire when you are fully comfortable with the moves. You’ll need kevlar poi for this step. You’ll also need kerosene. Pour the kerosene into a bowl or other container. One measuring cup of kerosene should be more than enough. Slowly dip the kevlar wicks of your poi into the kerosene, one by one. Let the excess kerosene drip back into the bowl. Once the kevlar is soaked but not dripping, carefully light the ends on fire with a match or lighter. Spinning with your fire poi will feel strange at first since the flame creates additional resistance.
Using a Fire Staff
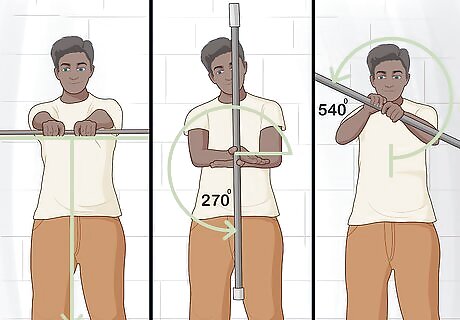
Practice the rotor. This is the most basic staff move where you turn the staff in a large circle in front of your body. Hold the staff in front of you with your hands face down and gripping the staff in the middle. You arms should be fully extended and the staff should be perpendicular with the ground. Release your left hand from the staff. With your right hand, turn the staff in a clockwise circle until you’ve reached 180 degrees. You should maintain your grip during this part of the turn and let your wrist move with the motion of the staff. At 180 degrees, your right hand should be palm up with the staff with the staff perpendicular to the ground. In a fluid motion, release your full grip on the staff and allow it continue moving in a clockwise direction until it reaches 270 degrees. Maintain a loose grip on the staff with only your thumb and index finger, keeping your palm up. At this point the staff should be vertical with the ground. Still in a fluid motion, reach down with your left hand, palm facing up, and grip the staff in the same thumb-index-finger grip. Let go with your right hand and let the staff’s momentum carry the staff to 360 degrees. At 360 degrees, grip the staff fully with your left hand and spin it back to 540 degrees and the starting position. At 540 degrees, place your right hand back on the staff in the starting position. Once you’ve mastered the motion, reverse it, using the same technique but moving the staff in a counterclockwise direction.
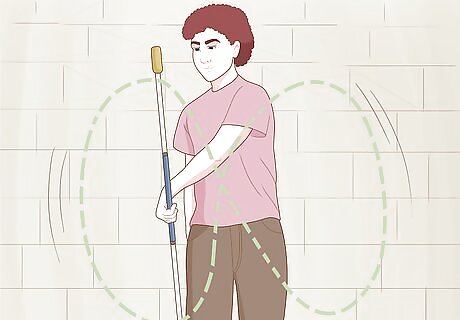
Practice the forward figure eight. This is the quintessential staff move where the staff moves in an 8 shape around your body. Hold the staff in the center with your right hand facing palm down. Your arm should be so that the staff is perpendicular with the ground, with the top end of the staff facing forward. Maintaining your grip, rotate the staff down across your body so that your right hand ends up on the left side of your body at your waist. The front of the staff should now be facing backwards. Following the momentum of the staff, let the top end rotate upwards along the left side of your body. When the staff passes the vertical and becomes perpendicular with the ground again, your hand should be facing palm up. When the staff becomes perpendicular, bring it down and back across your body to the right. The front of the staff should be facing backwards. Follow the momentum of the staff and let the top rotate back through a vertical position and down to the starting point. Using the same technique, practice the forward figure eight with your left hand. If the figure eight motion feels difficult, try performing the motion without holding the staff.
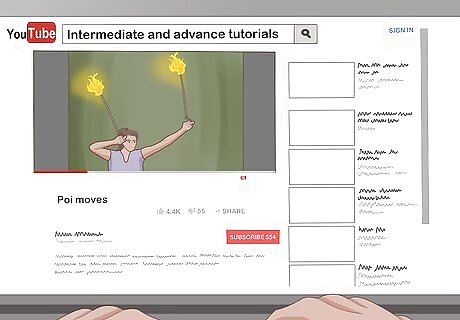
Learn intermediate and advanced fire staff moves. More advanced moves will be difficult to learn from words alone. Seek out online videos or a local fire dancer to help you learn more difficult moves.
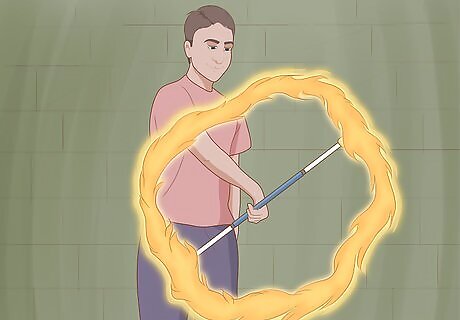
Light your staff on fire when you are fully comfortable with the moves. You’ll need kevlar poi for this step. You’ll also need kerosene. Pour the kerosene into a bowl or other container. One measuring cup of kerosene should be more than enough. Slowly dip the kevlar wicks of your poi into the kerosene, one by one. Let the excess kerosene drip back into the bowl. Once the kevlar is soaked but not dripping, carefully light the ends on fire with a match or lighter. Spinning with your fire staff will feel strange at first since the flame creates additional resistance.


Comments
0 comment