views
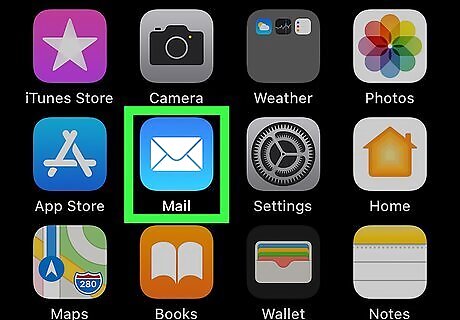
Open the Mail app on your iPhone or iPad. It's the blue icon with a white envelope inside. You'll find it on the home screen, in a folder, or by searching.
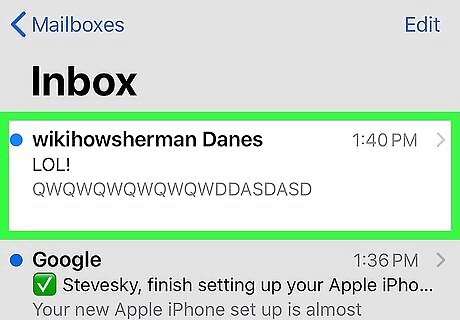
Tap a message from the person you want to block. You can search for the sender by typing their name or email address into the "Search" field at the top of the screen.
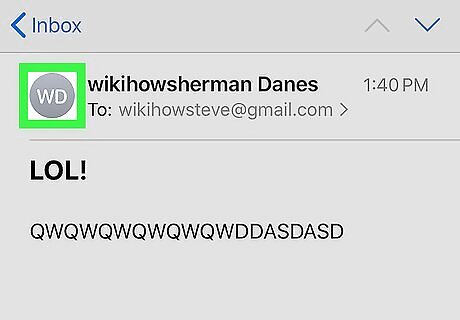
Tap the sender's profile image. This displays more details about the sender at the top of the message. If no custom photo is set, the image will be a circle containing the sender's initials.
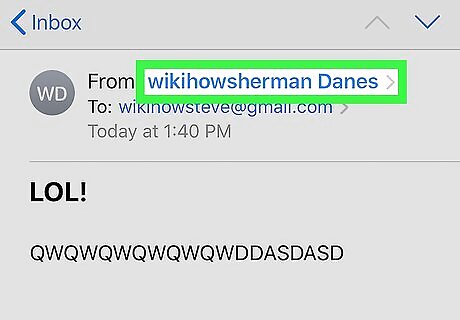
Tap the sender's name in the "From" field. It's the blue text that appears right after "From" at the top of the message. The sender's contact card will expand.
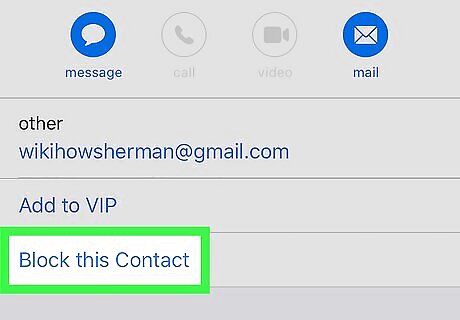
Tap Block this Contact. It's in the first set of options. A confirmation menu will appear.
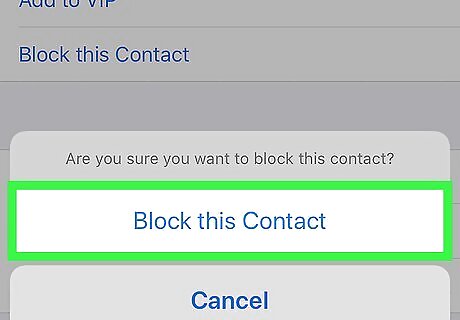
Tap Block this Contact to confirm. Now that you've blocked this sender, you will no longer be notified of their new messages upon arrival. However, they'll still appear in your inbox until you change a few settings. To remove a sender from the Blocked list, go to Settings > Mail > Blocked, swipe right on the sender, and then tap Unblock.
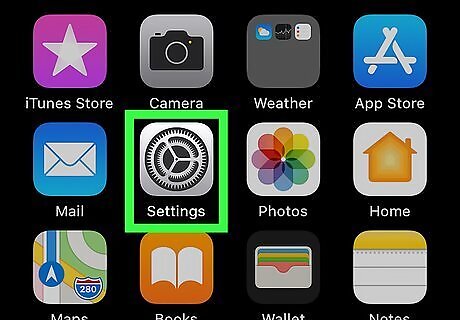
Open your iPhone or iPad's Settings iPhone Settings App Icon. It's the gear icon found on the home screen, in a folder, or by searching.
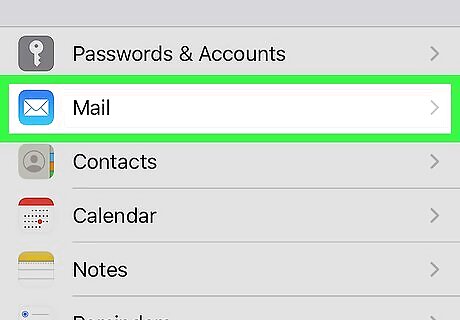
Scroll down and tap Mail. It's the blue-and-white envelope icon in the fifth group of settings, near the top.
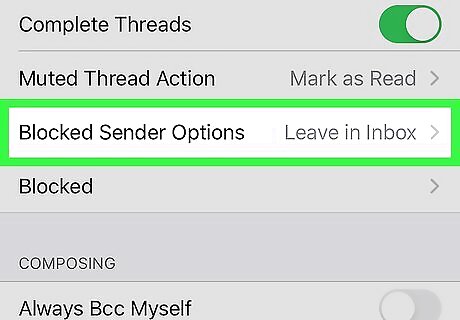
Scroll down and tap Blocked Sender Options. It's in the "THREADING" section.
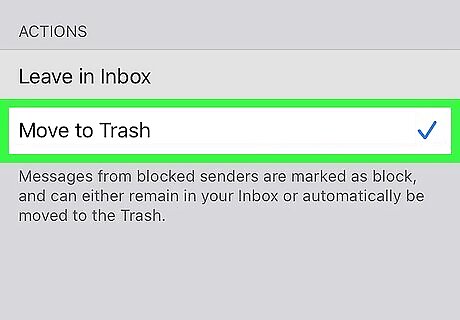
Tap Move to Trash. A blue checkmark will appear beside it. As long as this option is selected, messages from blocked senders will automatically be placed into the Mail app's Trash folder. If you block additional senders, their messages will also be routed to the Trash. You can still read messages from blocked senders if you wish. Just launch the Mail app, tap the Trash folder, and then tap the message. Blocked messages will remain in the Trash for 30 days before they are permanently deleted.






Comments
0 comment